Once you have created a Register you can import Items or add them manually, you can either create Register Items individually or import them:
Creating Individually
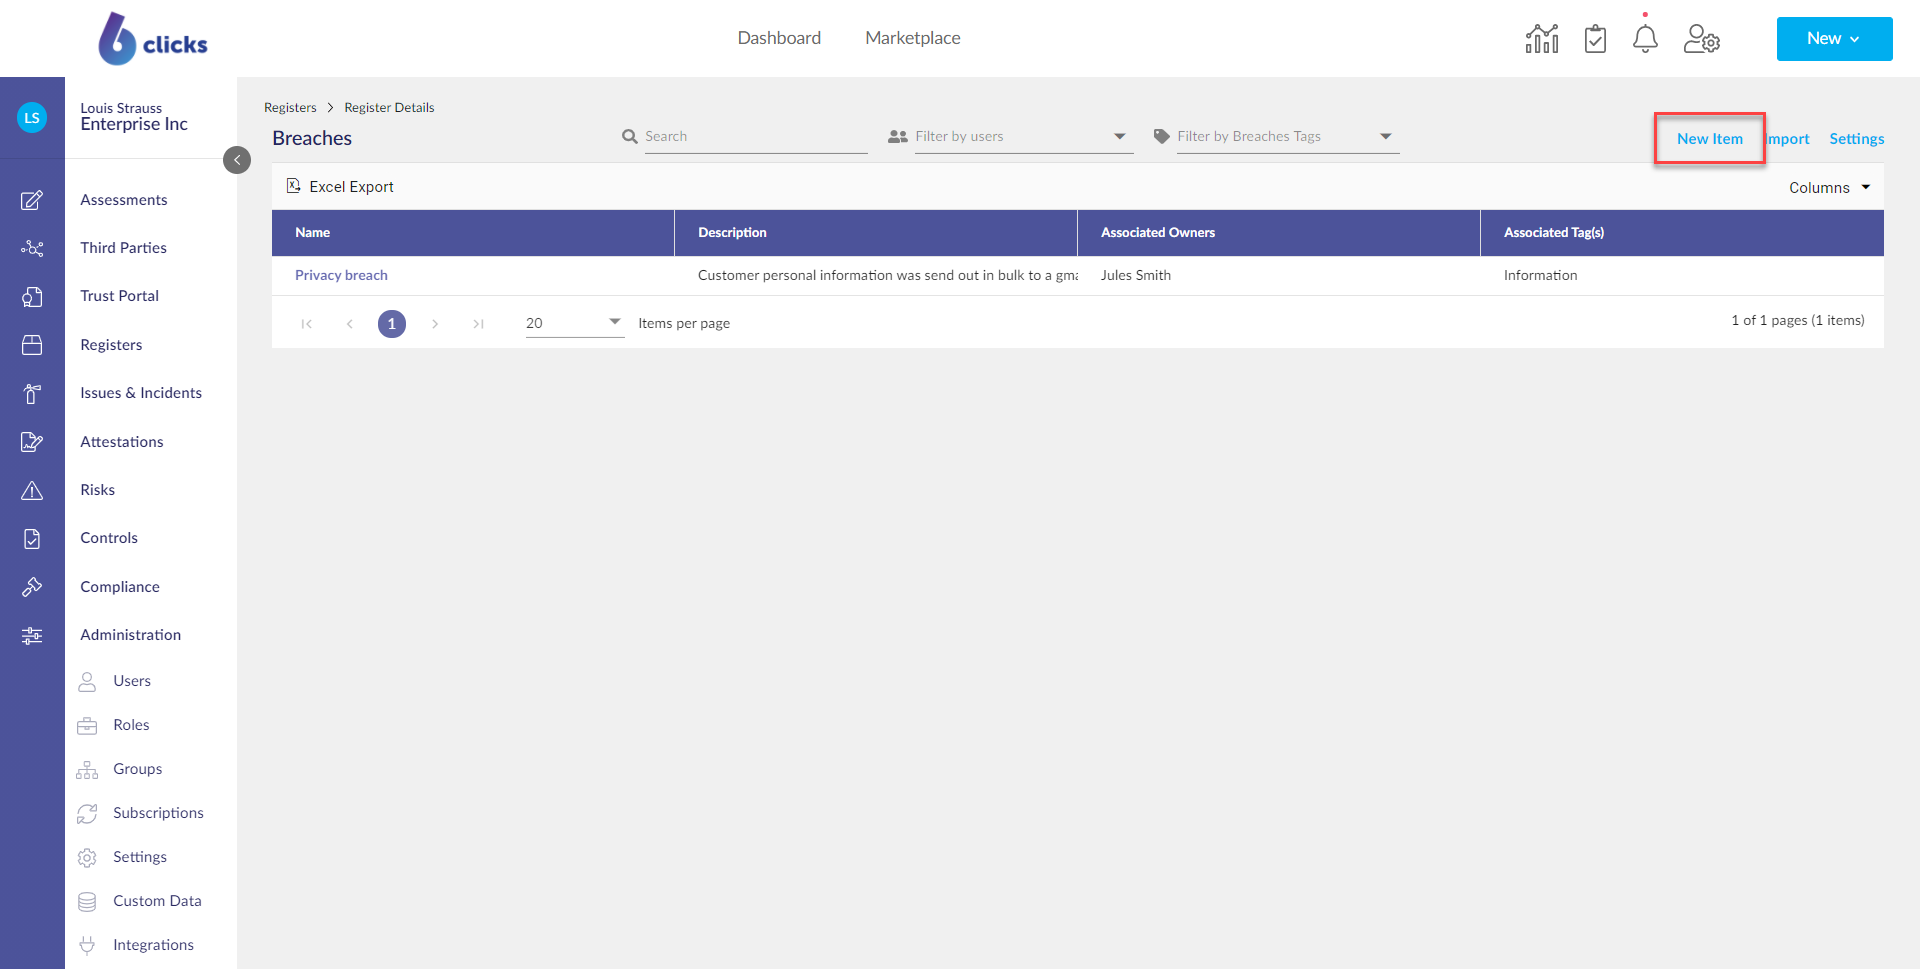
To create a new Register Items. In the Register, click the New Item button.
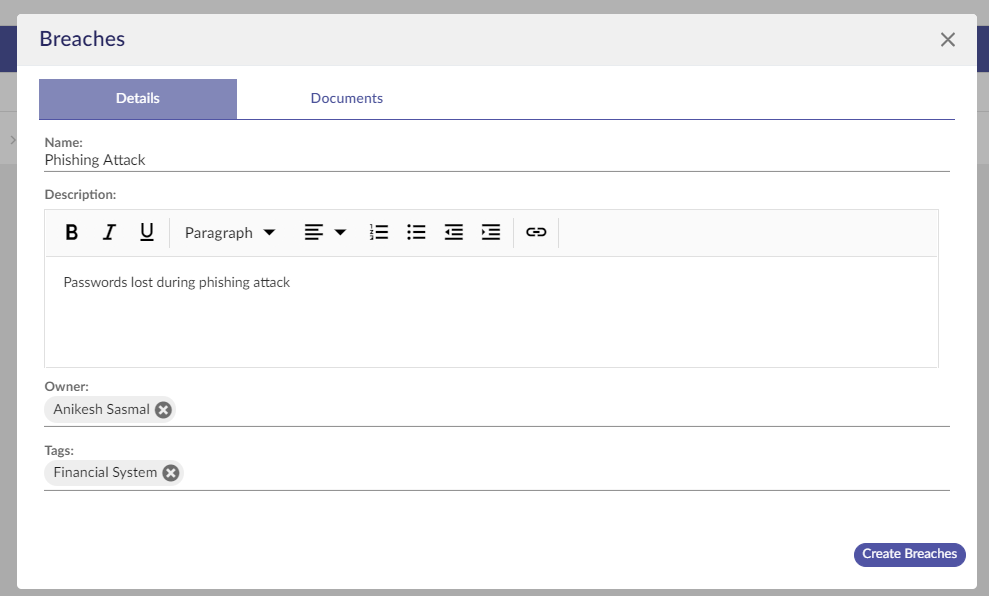
Add the relevant details of the Register Item in the Item Modal, then hit Create [Register Item Name].
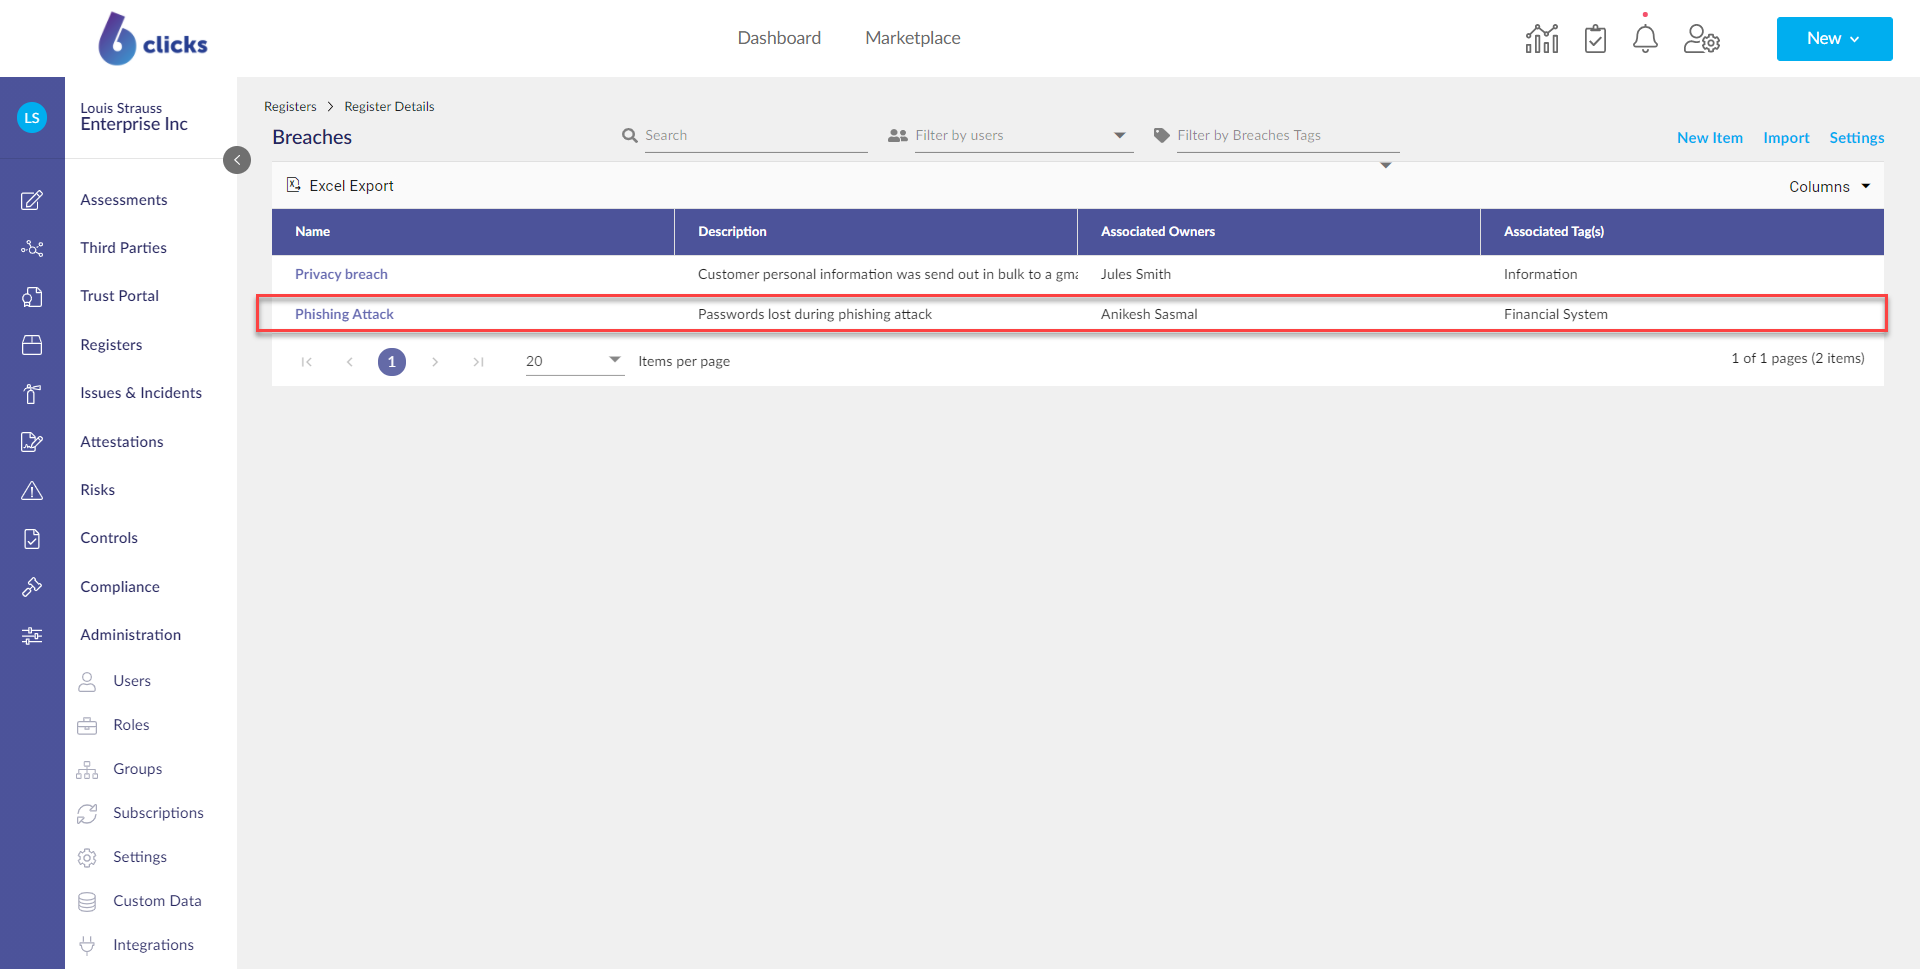
The Item will appear in the Register Item table.
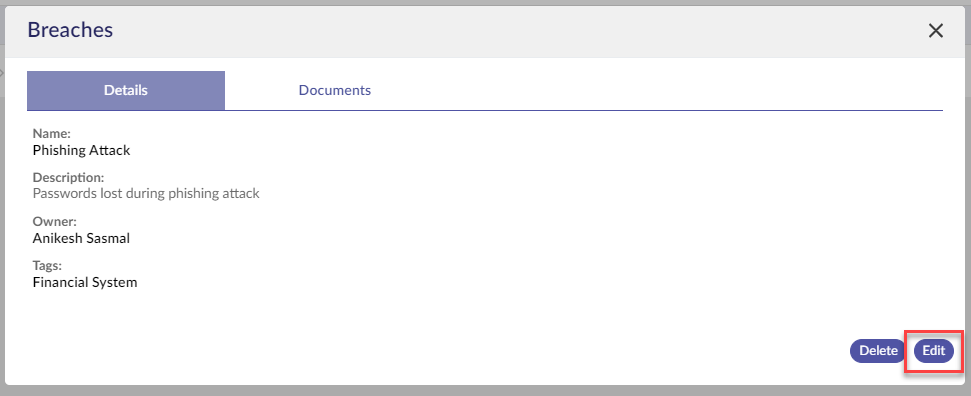
You can edit the Item by clicking on the Item's name and the modal will appear. To edit the item, click Edit.
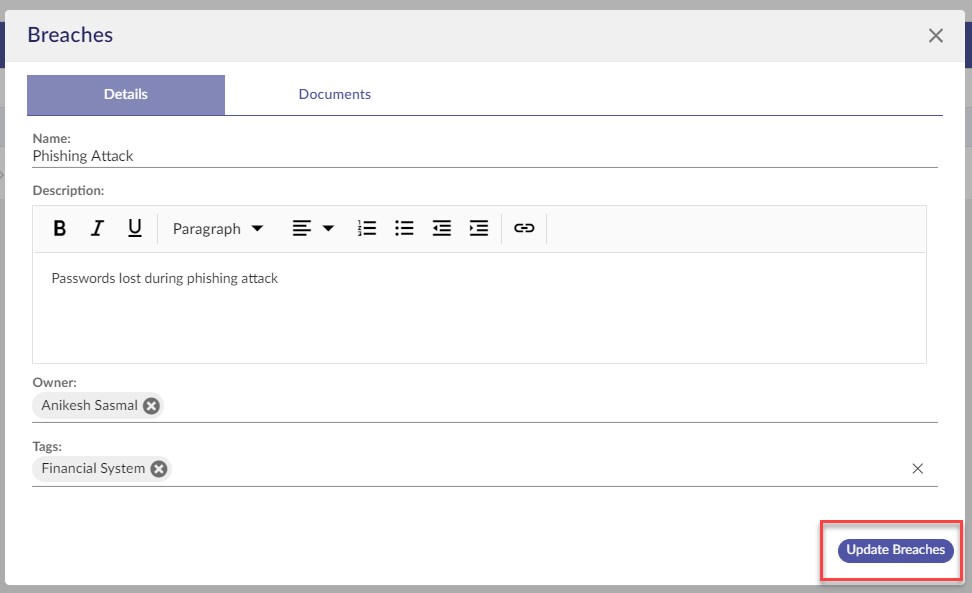
Update the relevant details and then click Update [Register Item Name].
Importing Items
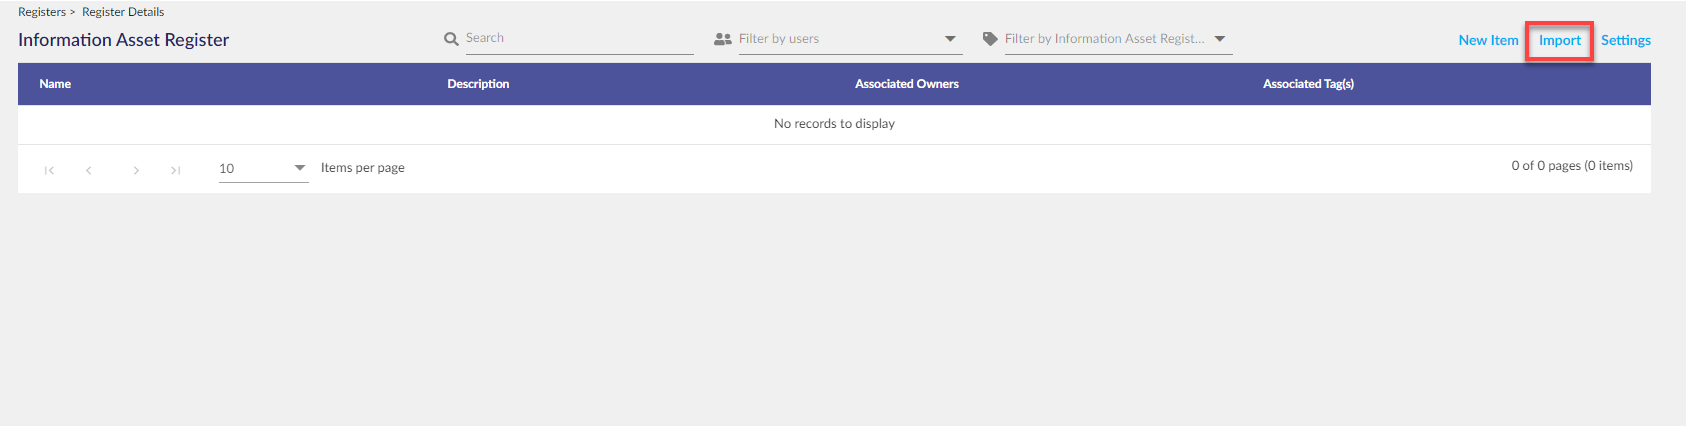
From the Register Details screen, select Import at the top right of the screen.
 Select Download template to ensure you have the most recent template version.
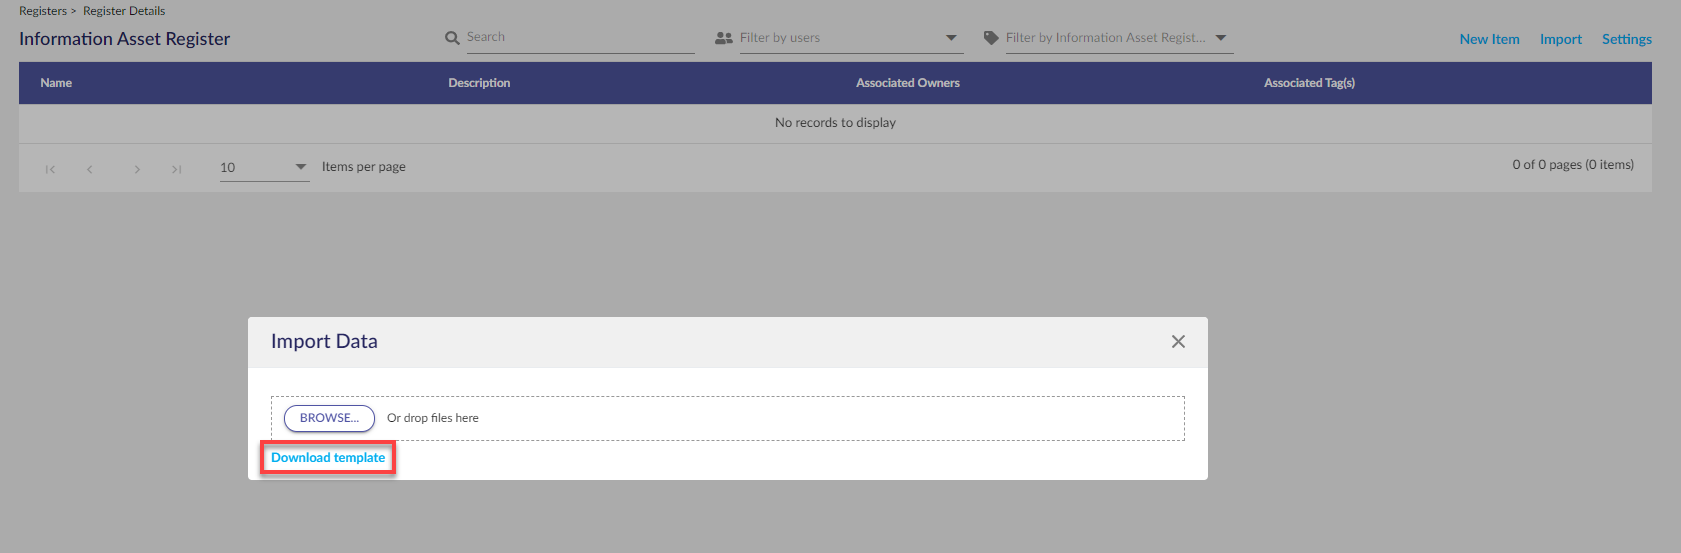
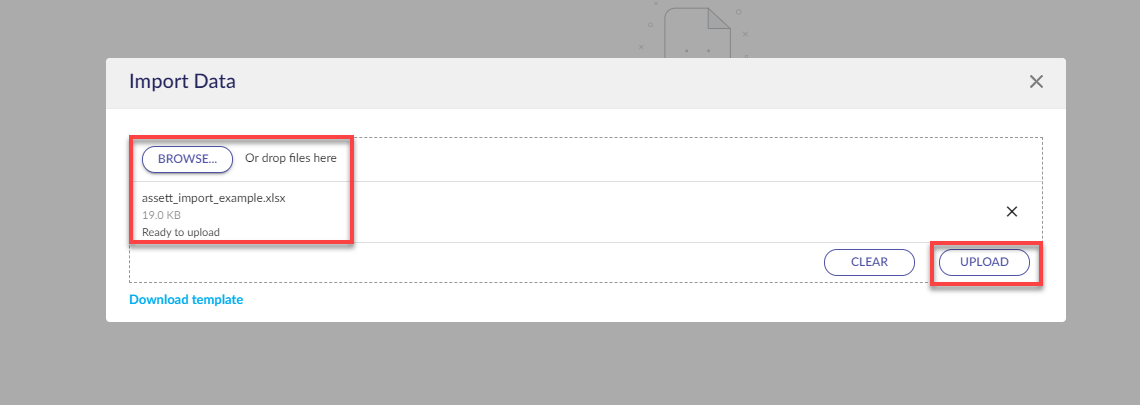
Select the Browse button to import an Excel file or drag and drop as per prompt.
After the template has been imported, refresh the page to display the imported Assets in the Register.
Importing Registers with Custom Fields
 To import a Register with custom fields ensure additional columns are added to the right of the template, and in the correct order as the corresponding custom fields created within the web application. Use the name of the custom field as the header.
Note: For for fields containing Dates the acceptable format is full year, date and month i.e 29/10/2022 entering 29/10/22 will not work.
There are three types of custom fields:
- Dropdown: for dropdown, add a single option to the cell that corresponds to one of the dropdown options

- Multiselect Dropdown: for multiselect, add one or more option that correspond to the options in the dropdown, separated by a comma, to the cell

- Free Text: for free text, add any text to the cell

- Rich Text: similar to free text, but will include formatting
- Dates: data must be in General format and entered as "dd/mm/yyyy", Date formats will not import
- Number: Only numeric values will import
Select the Browse button from the Import Data modal, select file, confirm 'Ready to upload' text appears then select the Upload button.