
Create a Control Set
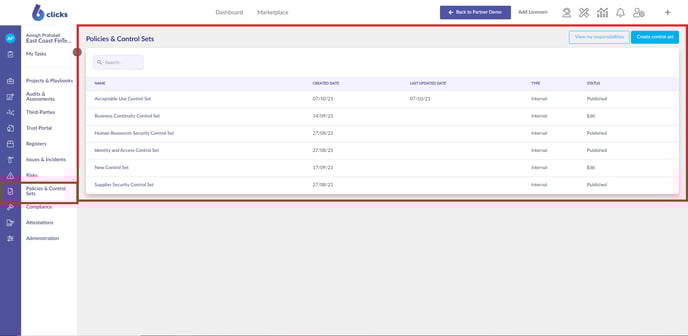
Select Control Sets from the left navigation panel to navigate to the Control Sets screen.
 All Controls are displayed within the table, with the ability to view key criteria, sort, or search Controls.
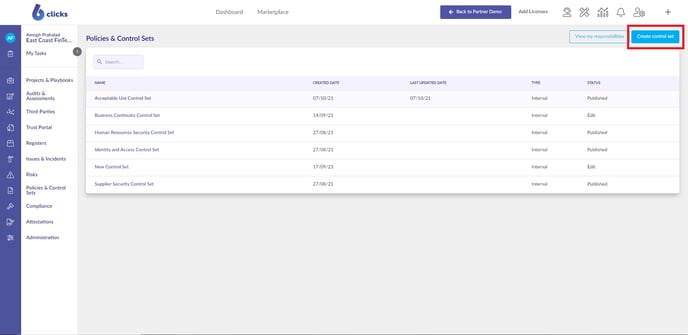
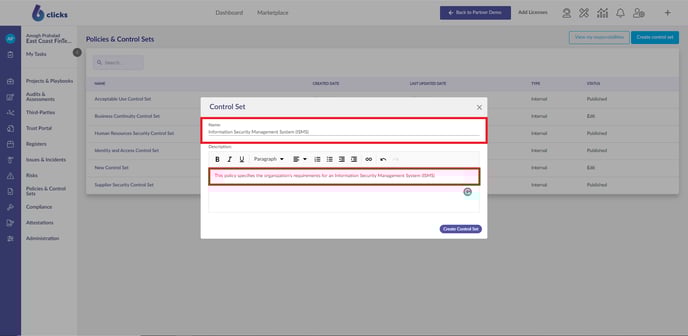
Click Create Control Set at the top right of the Internal Controls screen.
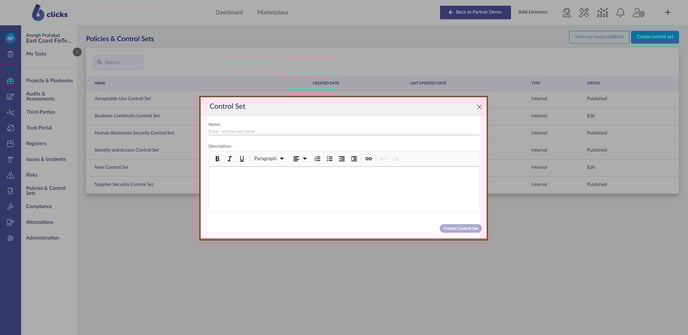
Enter the name, and optionally a description, of the Control Set, then select the Create Control Set button.
Your Control Set has now been created with details displayed in the Control Set Builder screen.
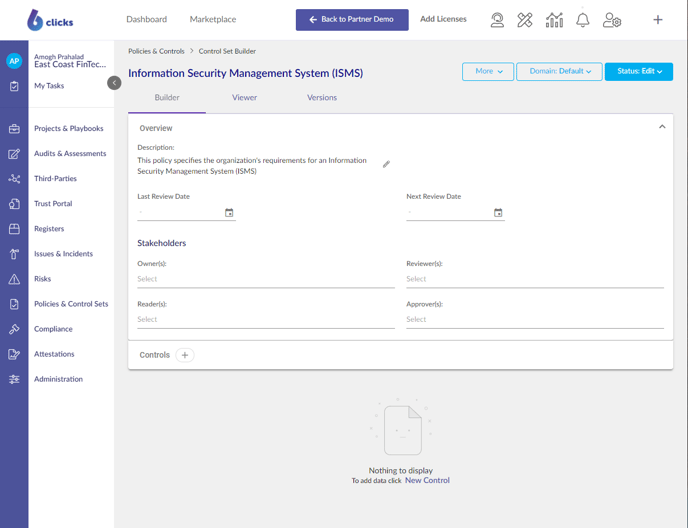
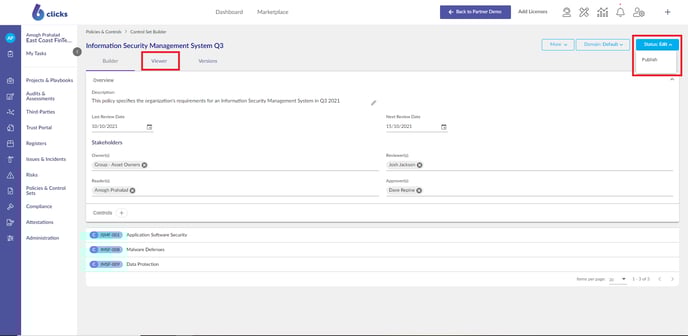
The top panel organizes all of the features that will assist in building your Control Set, with three process tabs on the left of the panel and on the right. All of the action and administration functions can be viewed on this screen.

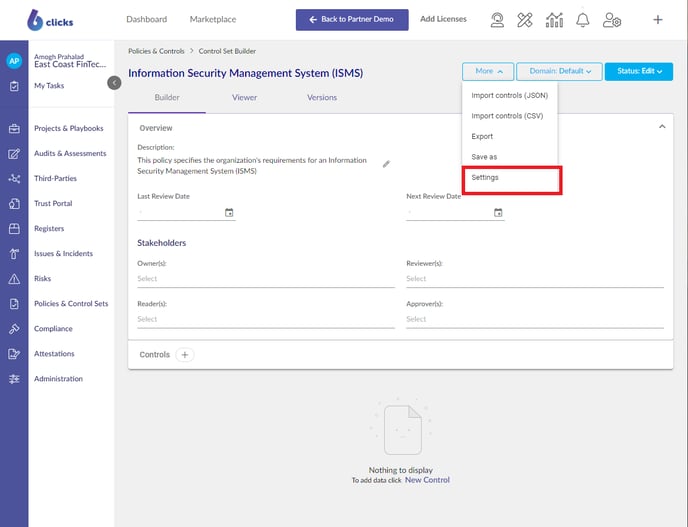
Click on Settings at the top right to open the Control Set Settings side panel.
Here you can edit the Name and Description, as well as add the Last Review Date and Next Review Date.
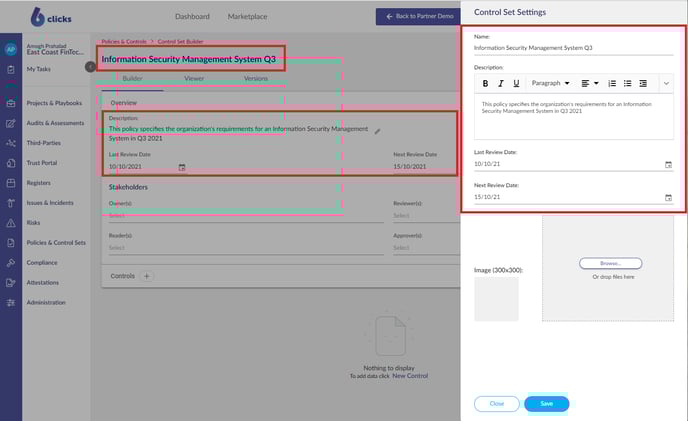
You can also upload an image that will be displayed if you add this Control Set to your Trust Portal.
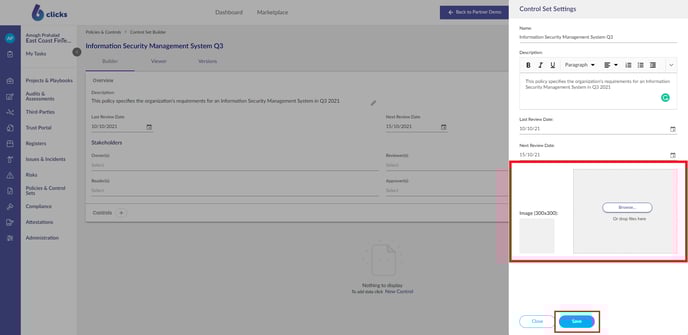 Click the Save button at the bottom of the Control Set Settings side panel to save the changes and close.
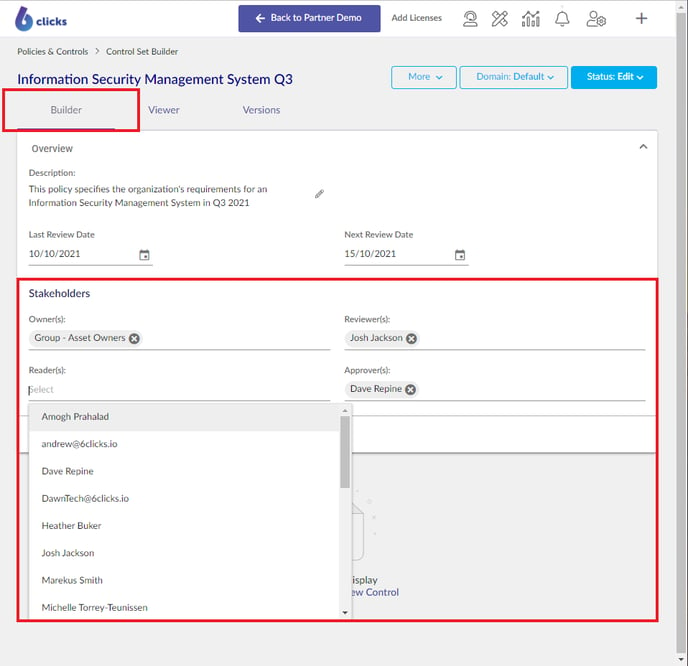
The Builder tab accommodates the Overview panel where you can assign Stakeholders and view Review Dates as required.
You can create Control Set Domains (groups of Controls) using the Domain dropdown.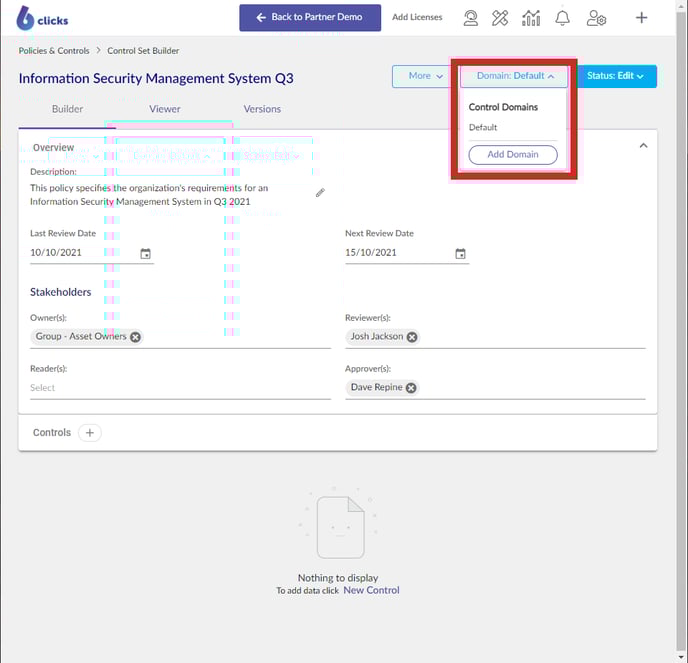
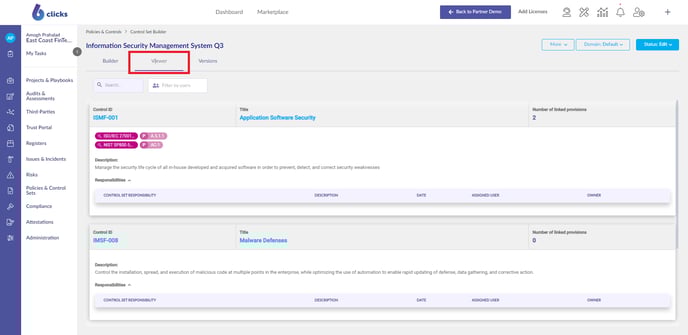
The Preview tab allows you to preview the tab in view-only mode. You can also change the Status of the Control Set from Edit to Published once you've added your Controls.
At any time, select Save As to make a duplicate of the Control Set to use as a future template.
Now that a Control Set has been created, you can add the relevant Authorities from the Content Library.
Next, learn how to Add Authorities and Controls to Control Sets.