
Creating New Users
Select Administration then Users from the left navigation panel.
From Users screen select New User at the right of the top panel.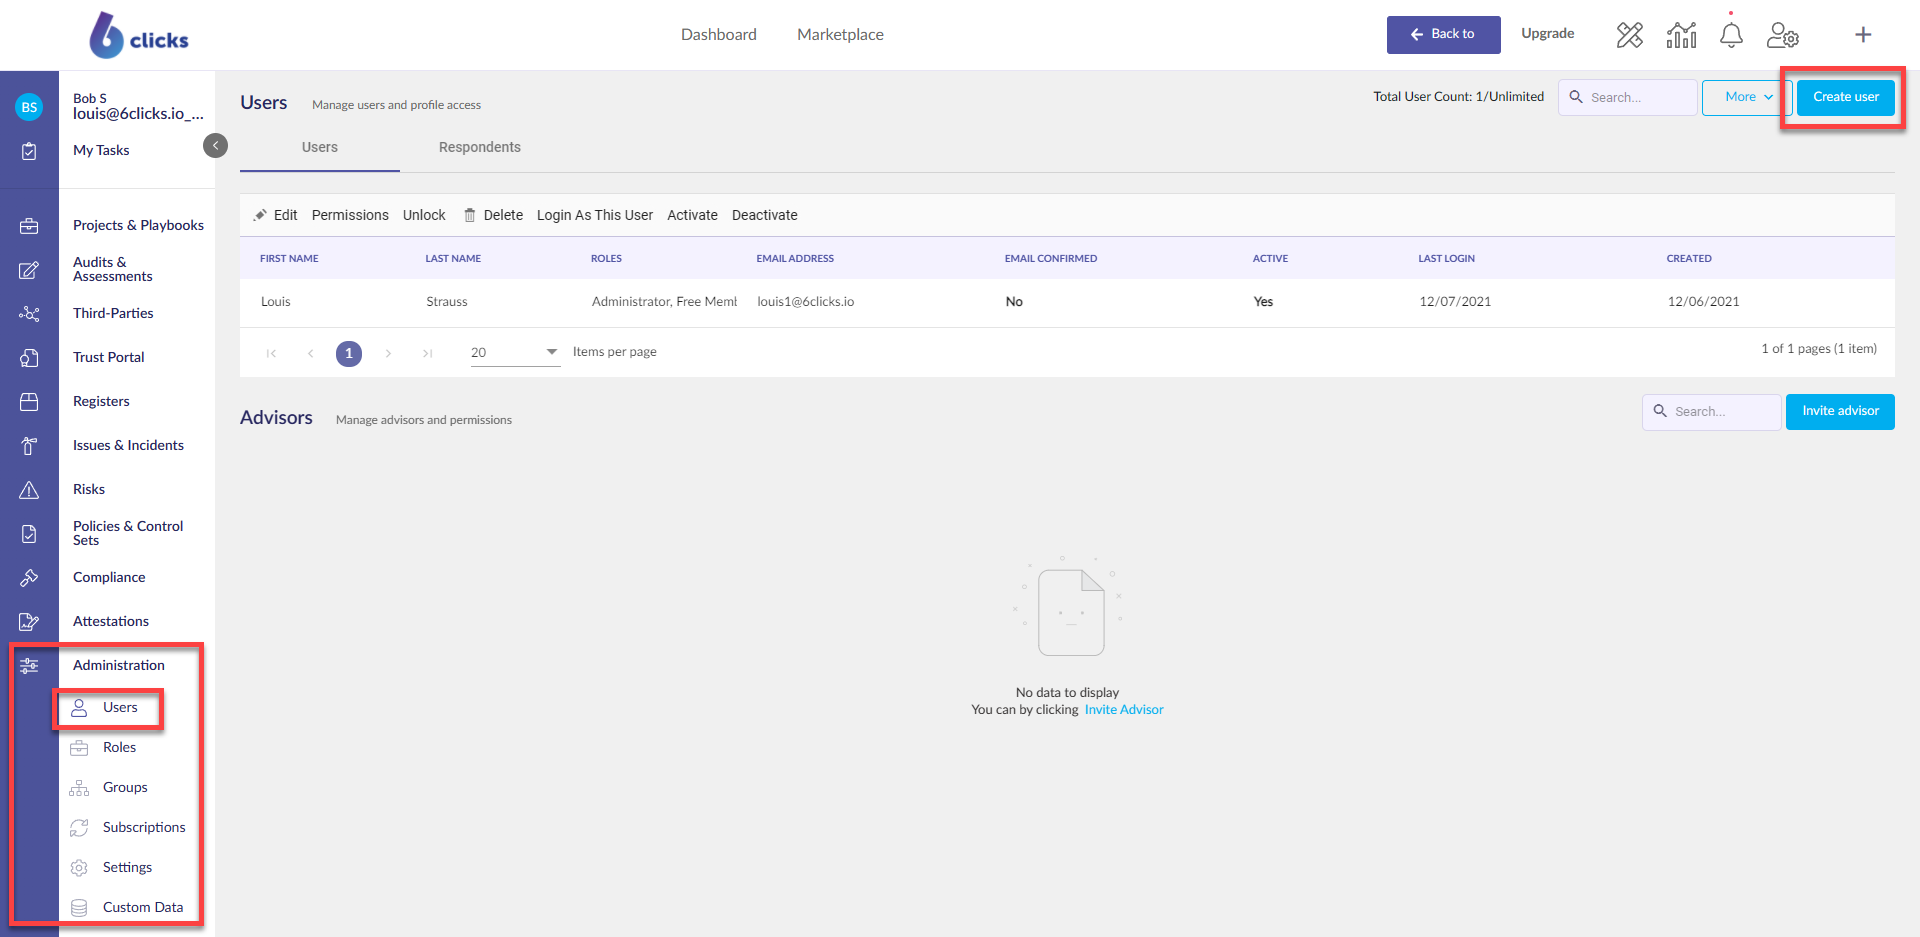
Add first name, last name and email address.
Default options are ticked, change only if required.
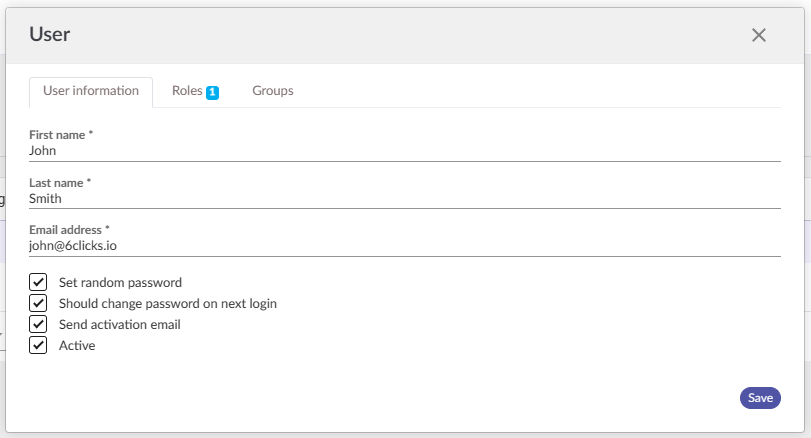 Note - Ensure Active is ticked if the user is to access 6clicks from the activation email without any further steps required.
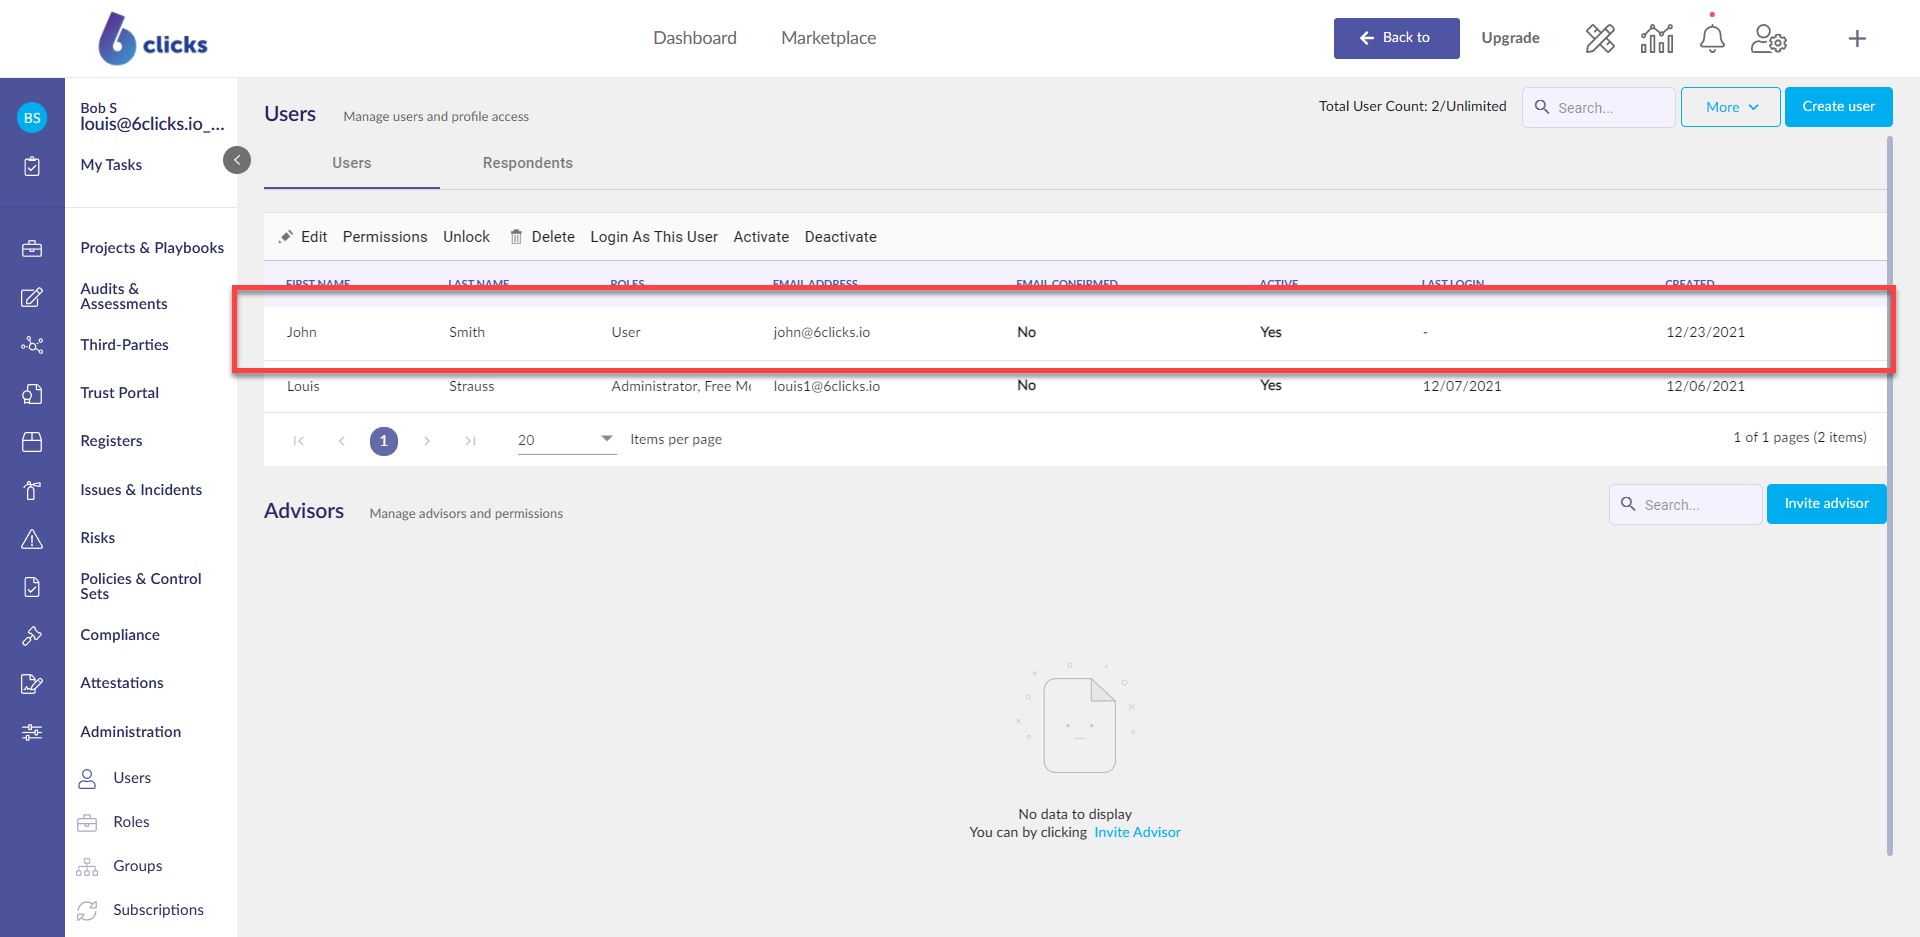
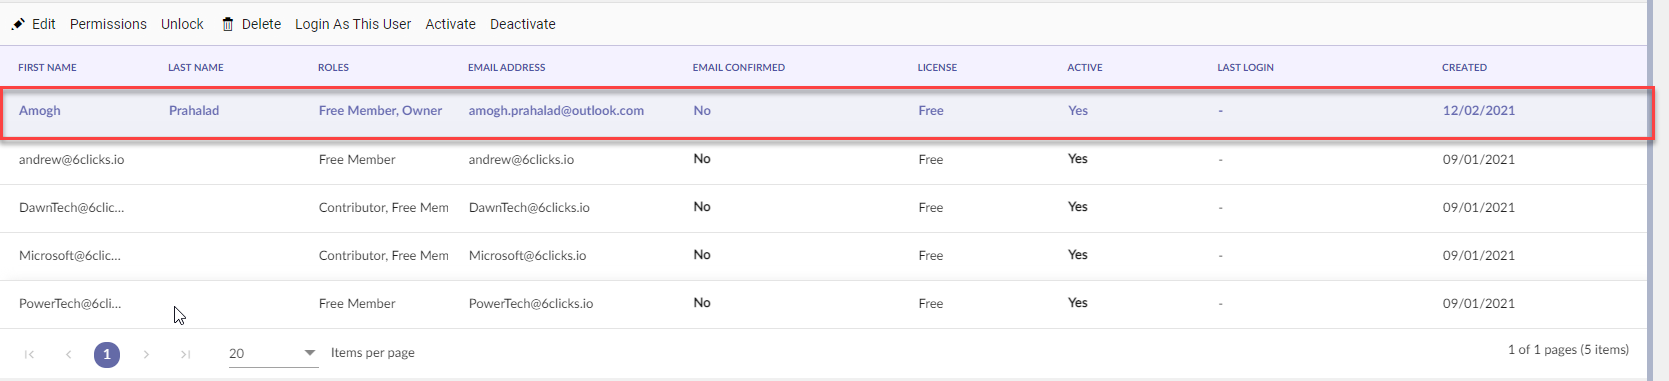
After clicking Save, the new user will appear in the Users List and the user will be sent an activation email.
Bulk Importing New Users
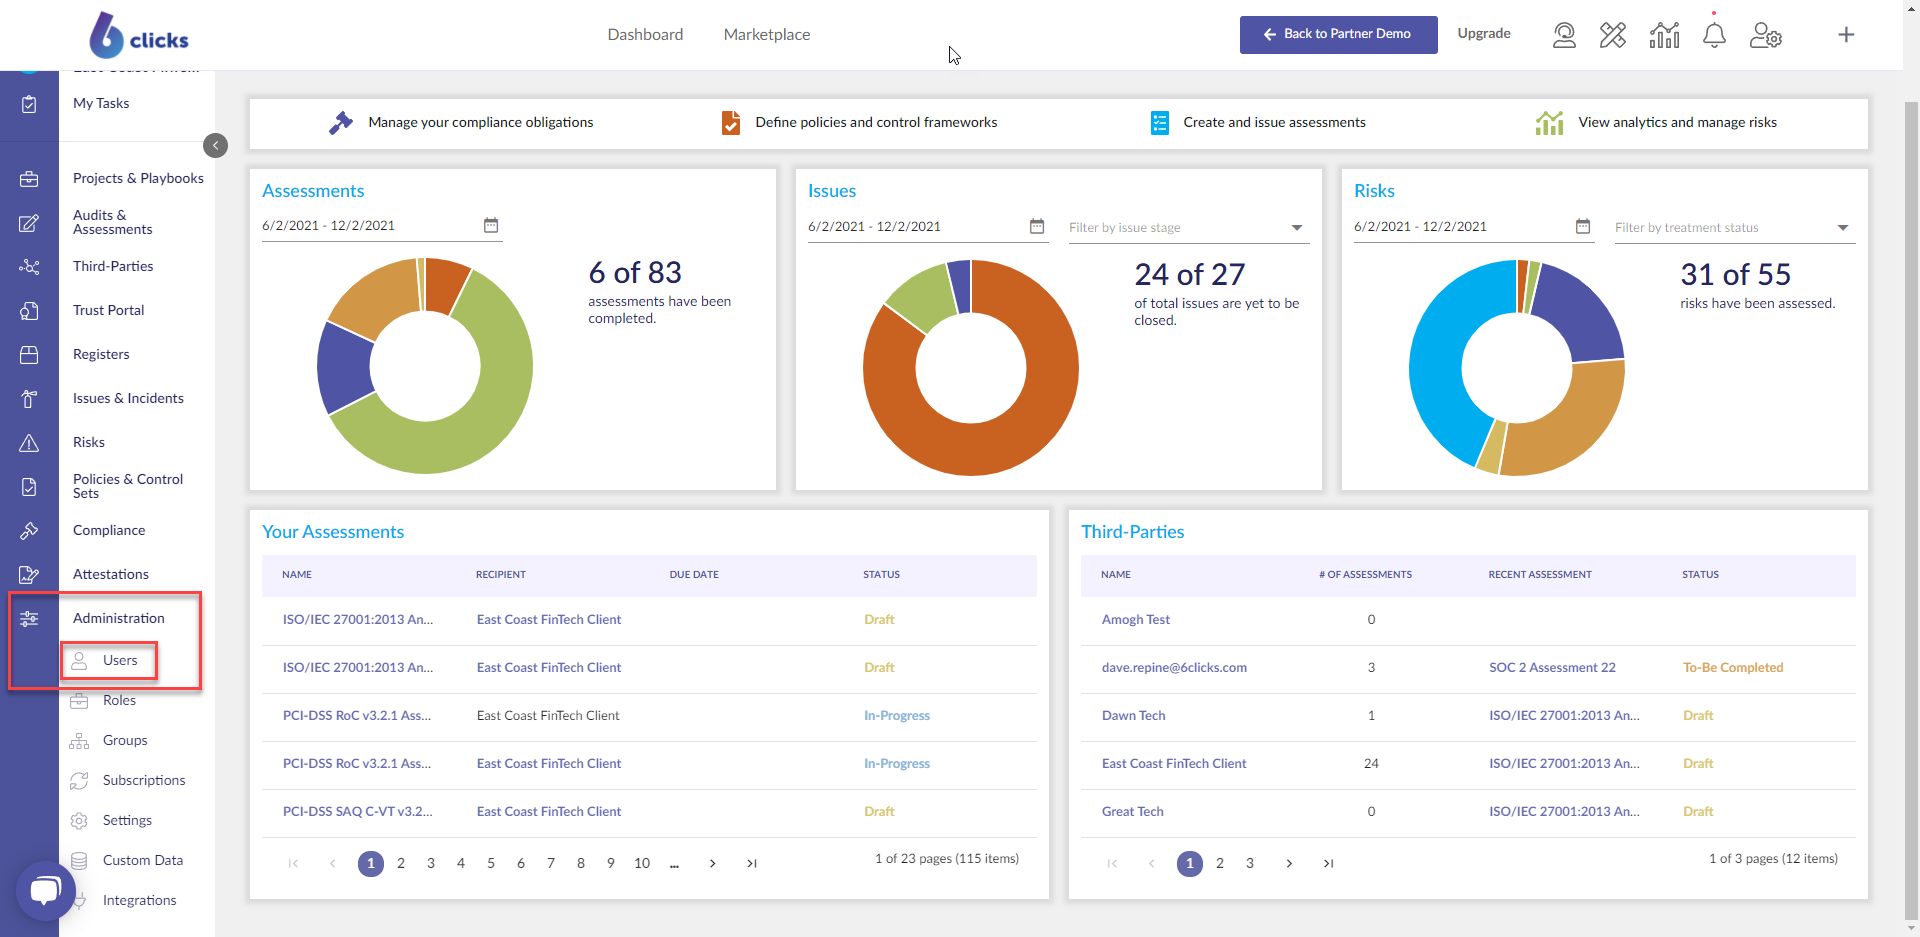
Select Administration in the left side panel, then click Users.
Click the More dropdown and then click Bulk import.
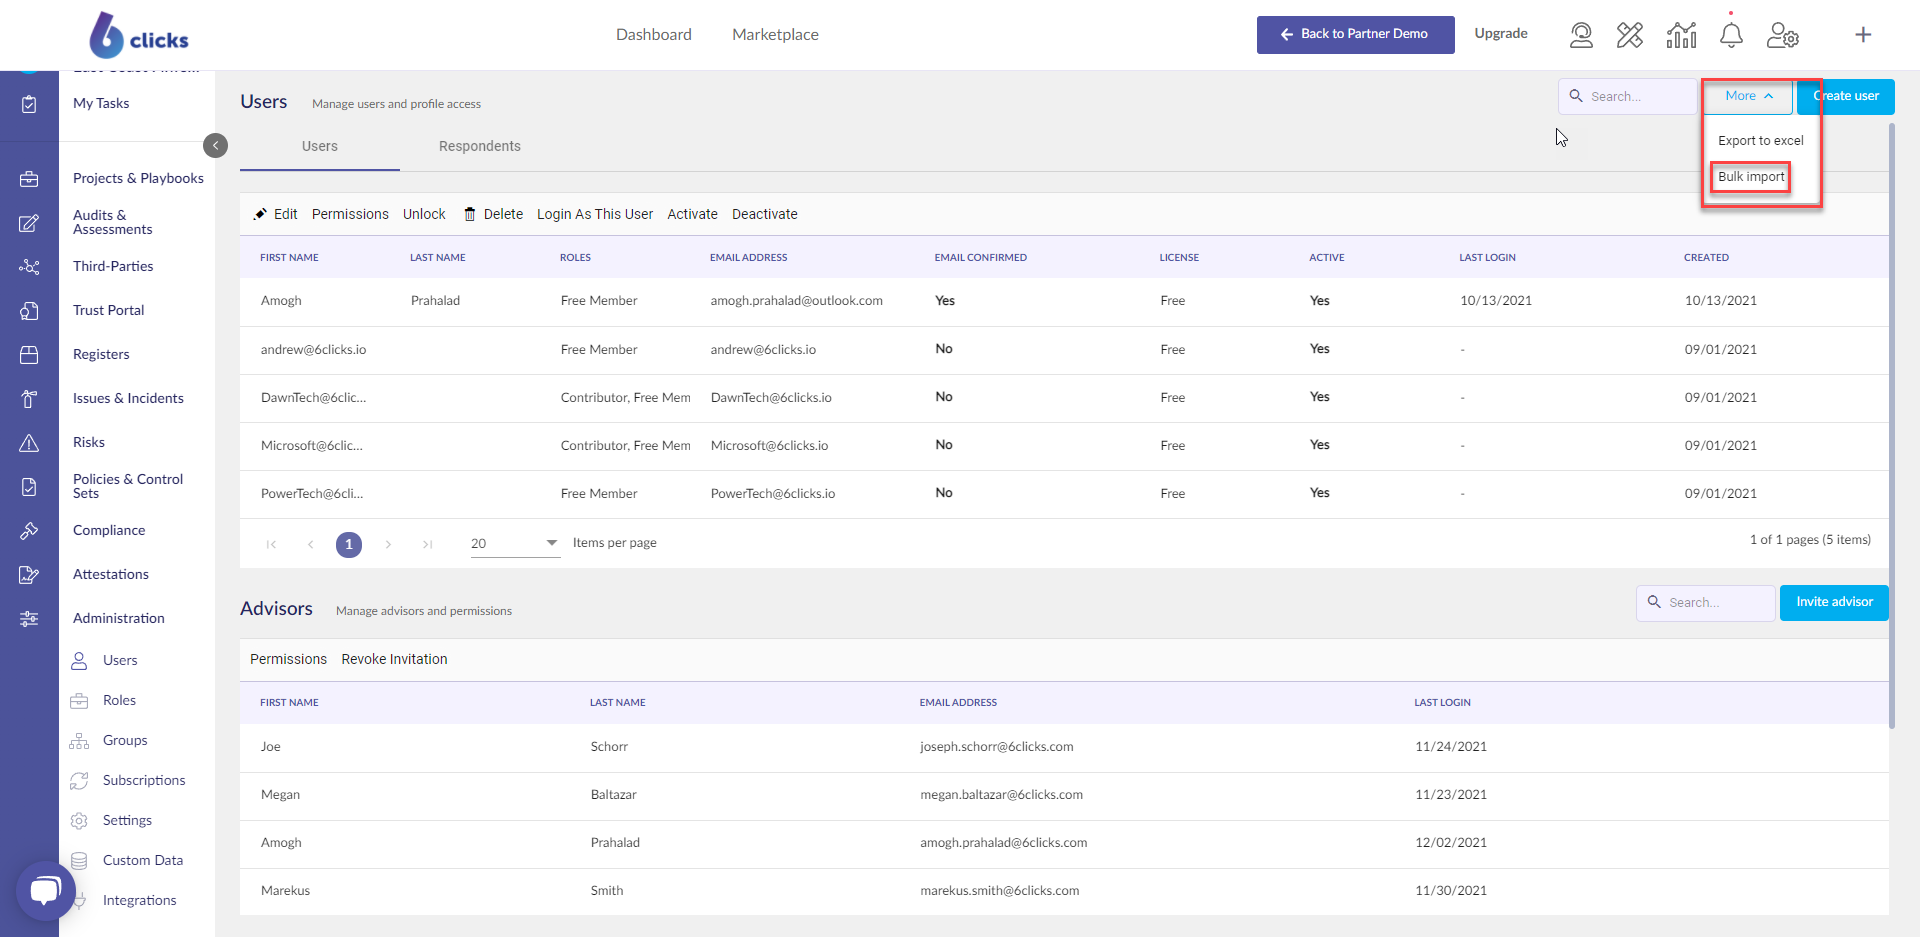
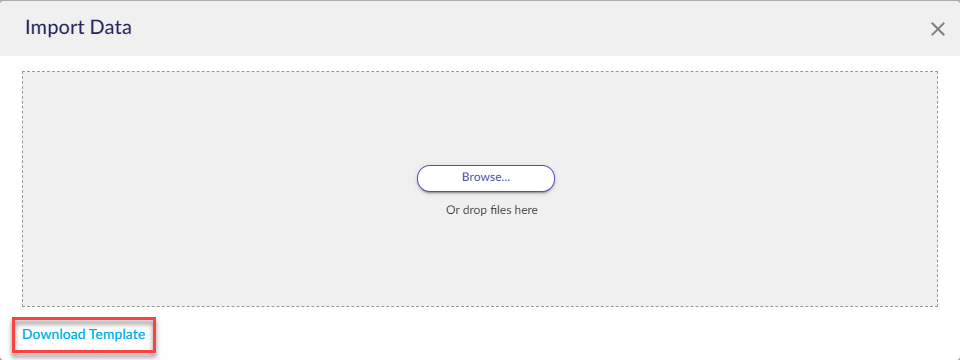
Click on Download Template.
The Import User Templates have column headings that correspond with field names.
Populate the respective information in each column.
Email Address- Add the user's email.
First Name- Add the user's first name
Last Name- Add the user's last name
Roles- add the user's role either contributor or owner.
Groups- add the group with which the user will be associated. The group must already exist in the tool. Groups can be added and edited through the Groups tab in the left side panel.
Active- specify whether the user will be active upon import. Active users will be sent an activation email and granted immediate access based on their role and group permissions.

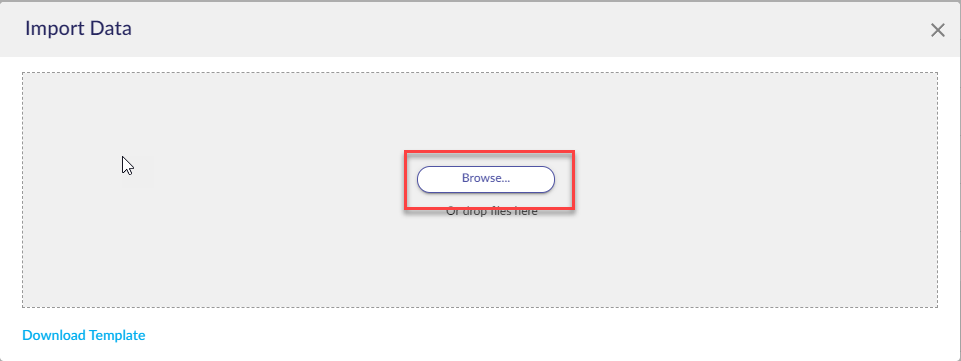
Select More > Bulk import (CSV) to import your controls, then select the Browse button. Select your file or drag and drop it into the space provided next to Browse.
Once the file is ready to be uploaded, it will show the file name below the Browse button with the text 'Ready to upload,' select Upload.
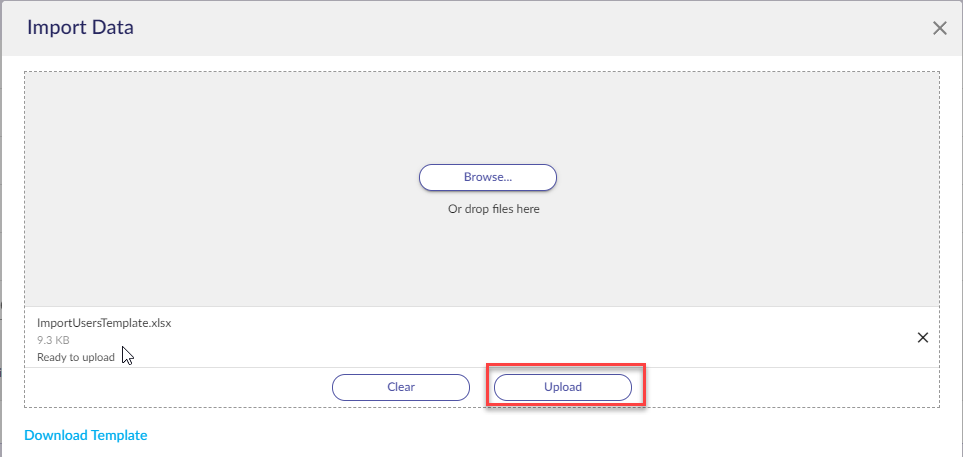
New User will appear in Users List as Active/Inactive based on the import.
Learn more about 6clicks Administration functions, or Team Management via these links.