Learn how to create risks on the 6clicks risk register
Create a Risk
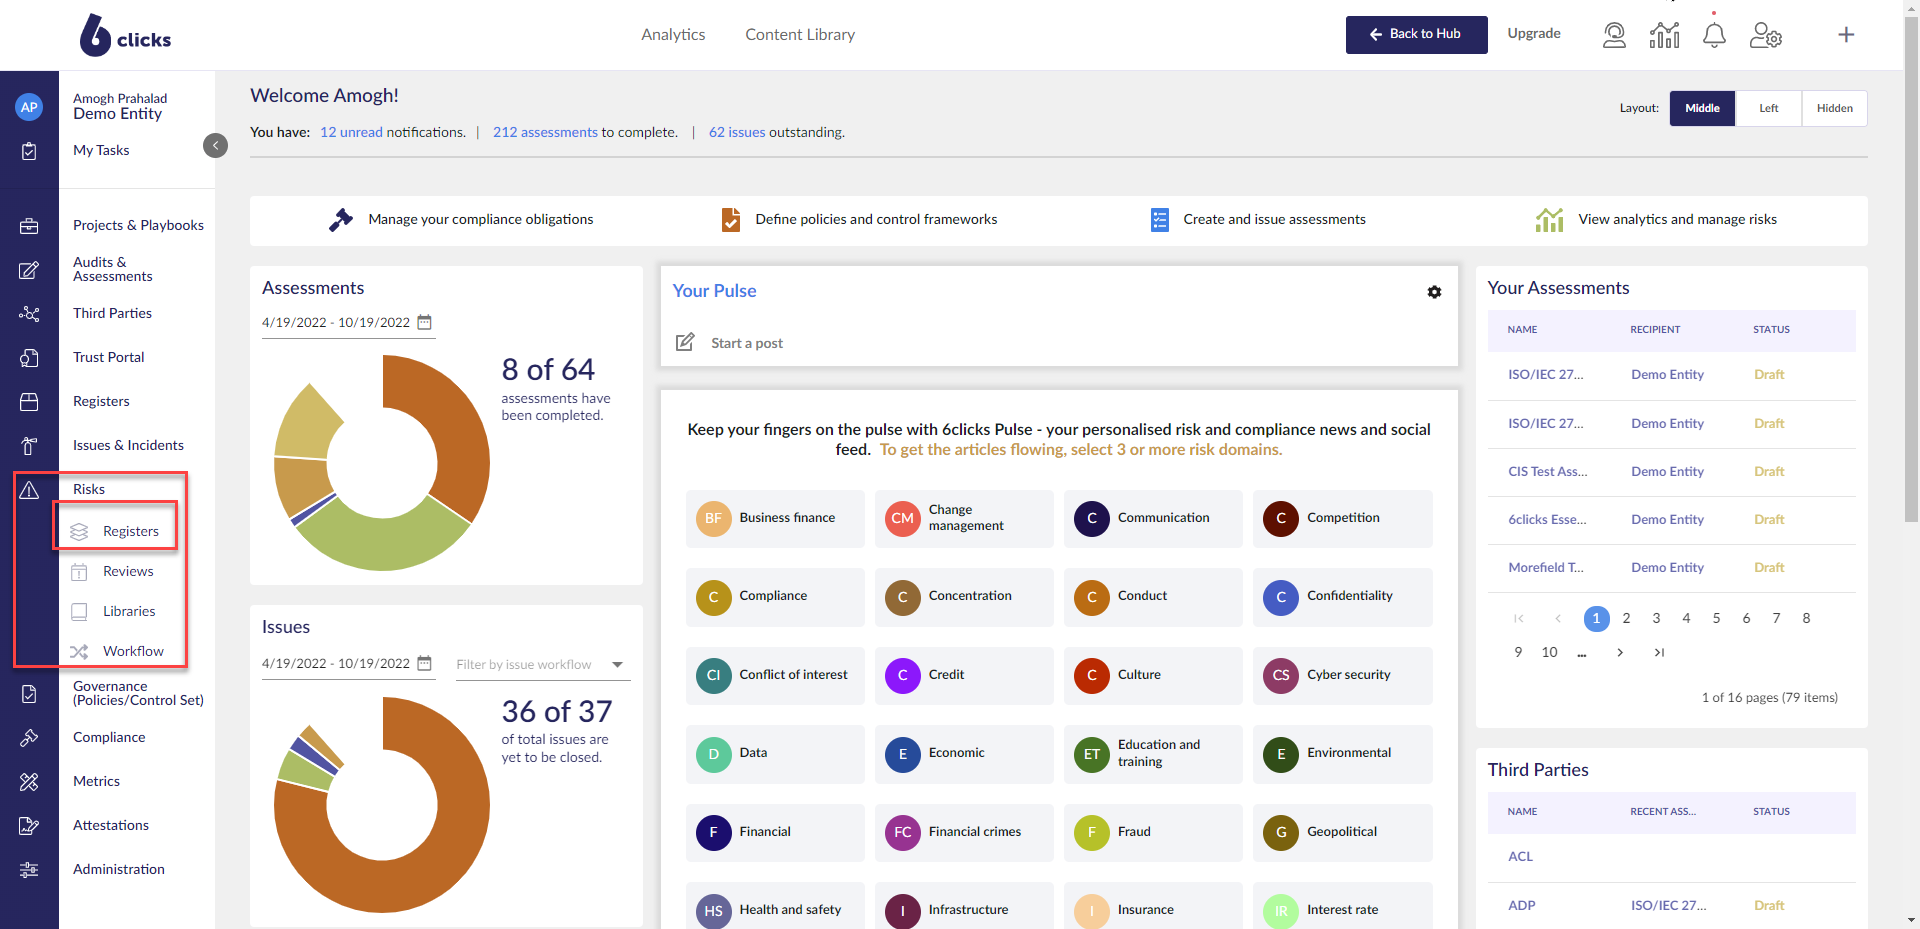
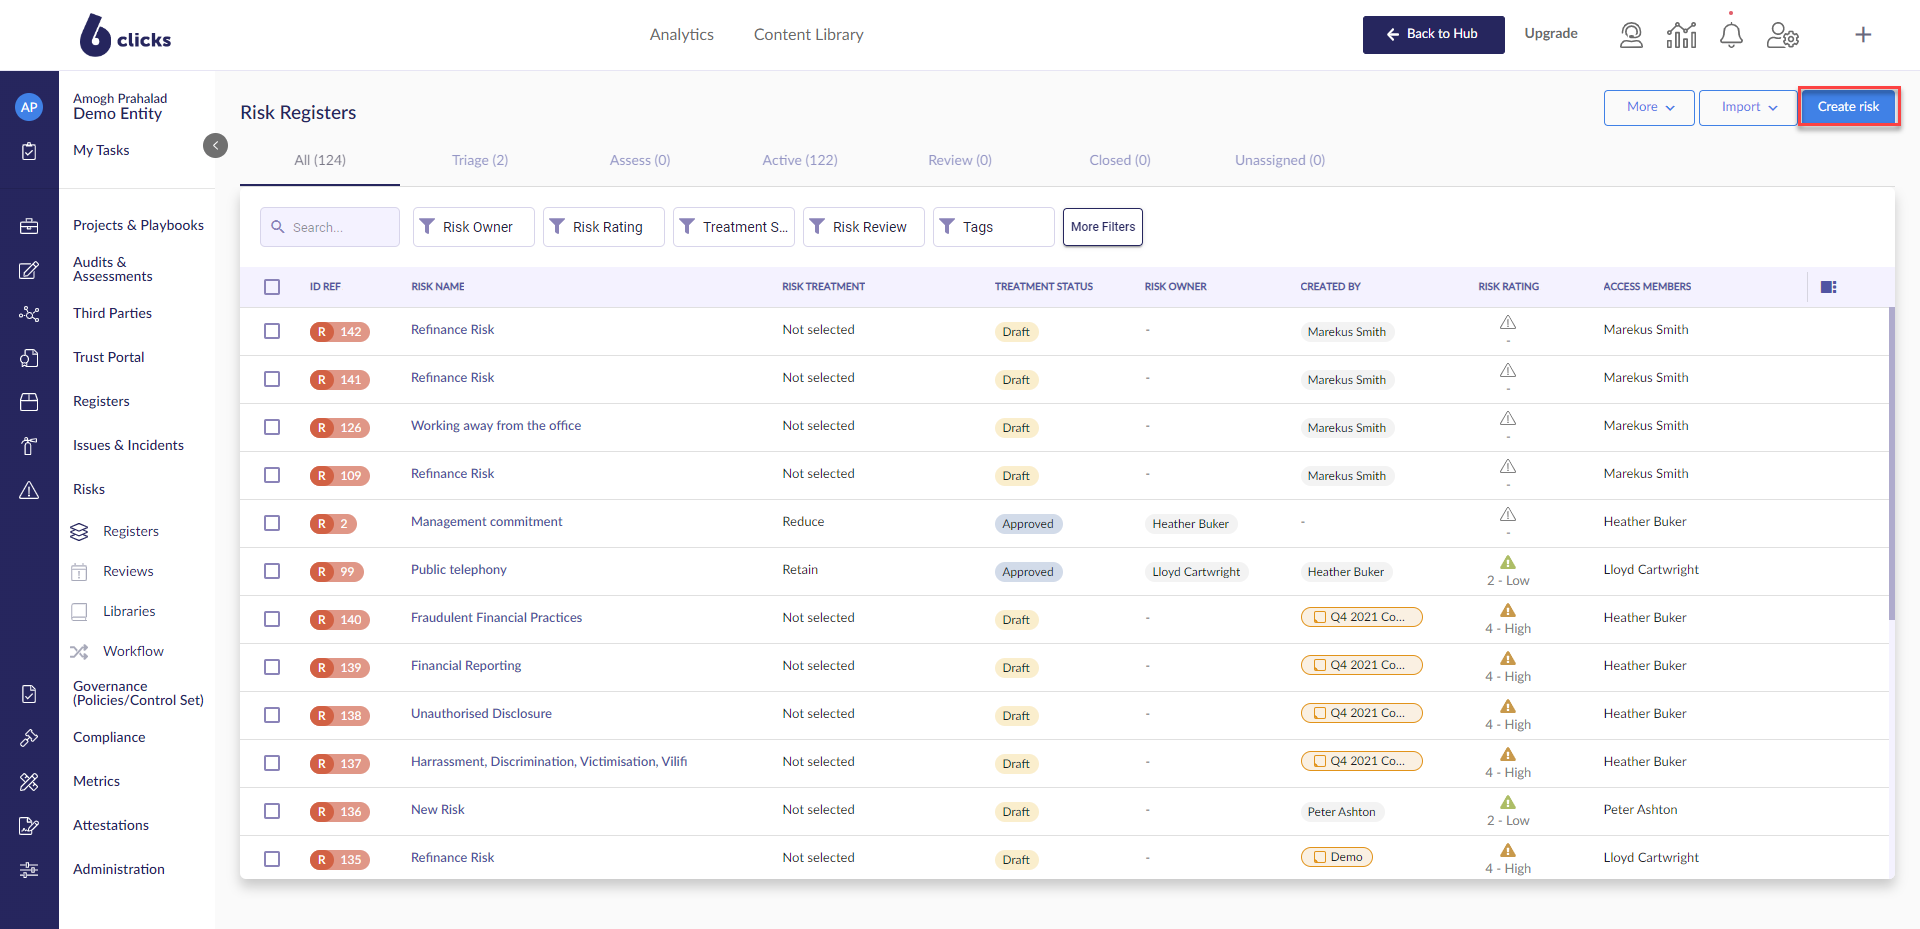
To create a Risk, you will need to head to the Risk Register. To do this select Risks, then Register from the left menu.
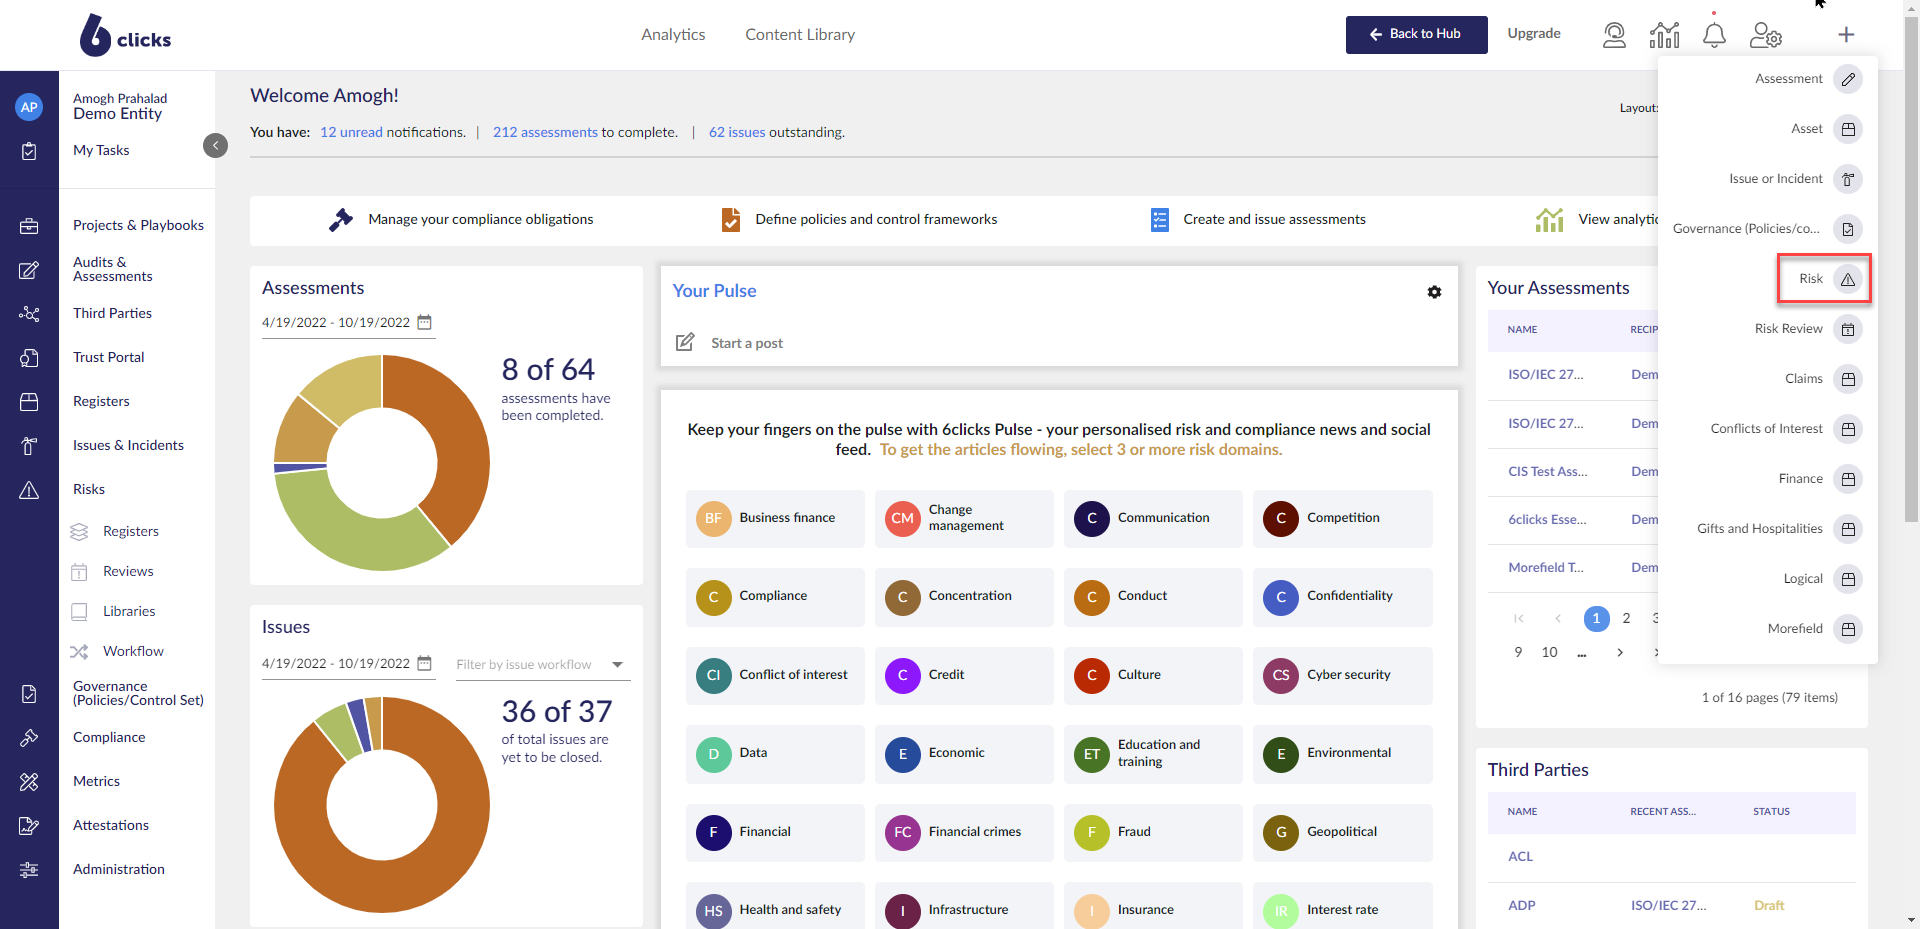
To create a new risk, you can either select Create Risk from the top right of the Risk Register screen or use the New dropdown.
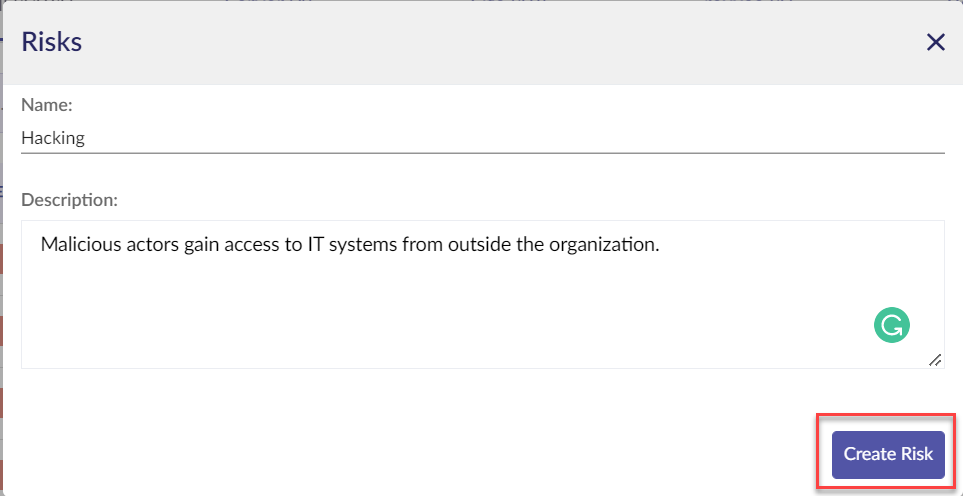
When creating a new risk the New Risk modal will appear. Enter in the name and description of the risk and then click Create Risk.
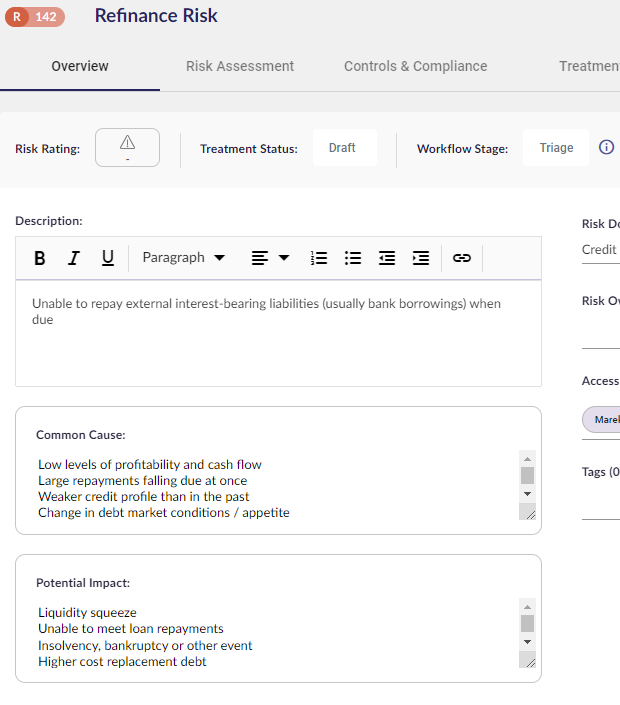
Upon creating the risk you will be navigated to the risk details page. The risk details page is broken into five sections:
- Overview
- Risk Assessment
- Controls & Compliance
- Treatment
- History
Overview
This section provides high-level details of the risk. This section has a number of different fields that can be used to categorize and manage the risk.
1. Name: the name of the risk can be updated by double-clicking the name.
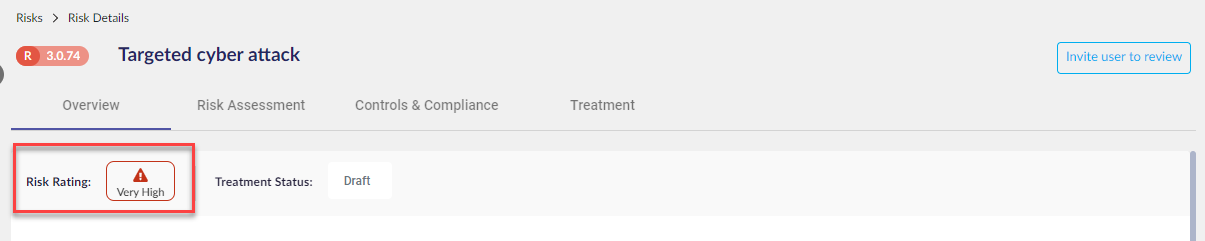
2. Risk Rating: the risk rating pulls through from the selected Risk Rating section (see Risk Rating section).
3. Treatment Status: the treatment status tracks the progress of the risk treatment plan and can be updated directly from the Overview section or from the Treatment section (see Risk Treatment section).
4. Workflow Stage: the current stage in which the risk is in using the Workflow module to manage the risk lifecycle.
5. Description: the description can be updated by clicking inside the text box.
6. Common Cause & Potential Impact: you can add any common causes and potential impacts in the respective text boxes to provide more contextual information on the risk.
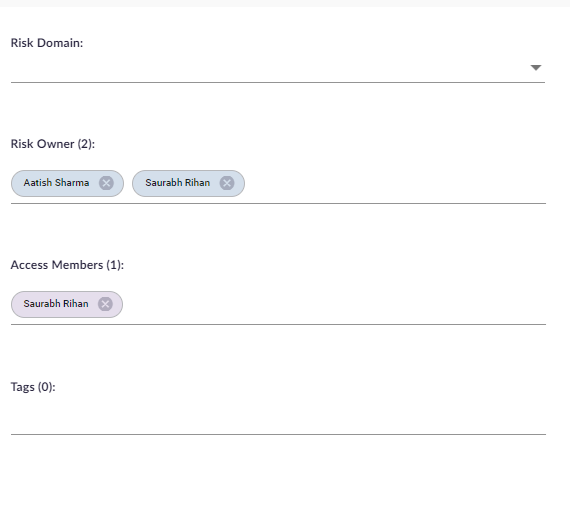
6. Risk Domain: the risk category the risk belongs to.
7. Risk Owner: the user responsible for the risk.
8. Access Members: by default, only administrators can view all risks on the risk register. The Access Members field allows you to select users you wish to grant access to this specific risk. You can select individual users or groups.
9. Risk Tags: risk registers and tags allow you to create groupings of risks, which can then be filtered by in the Risk Register and reported on.
Linked Data
In Linked Data in the right-side panel section, you can associate any object from across the 6clicks platform.
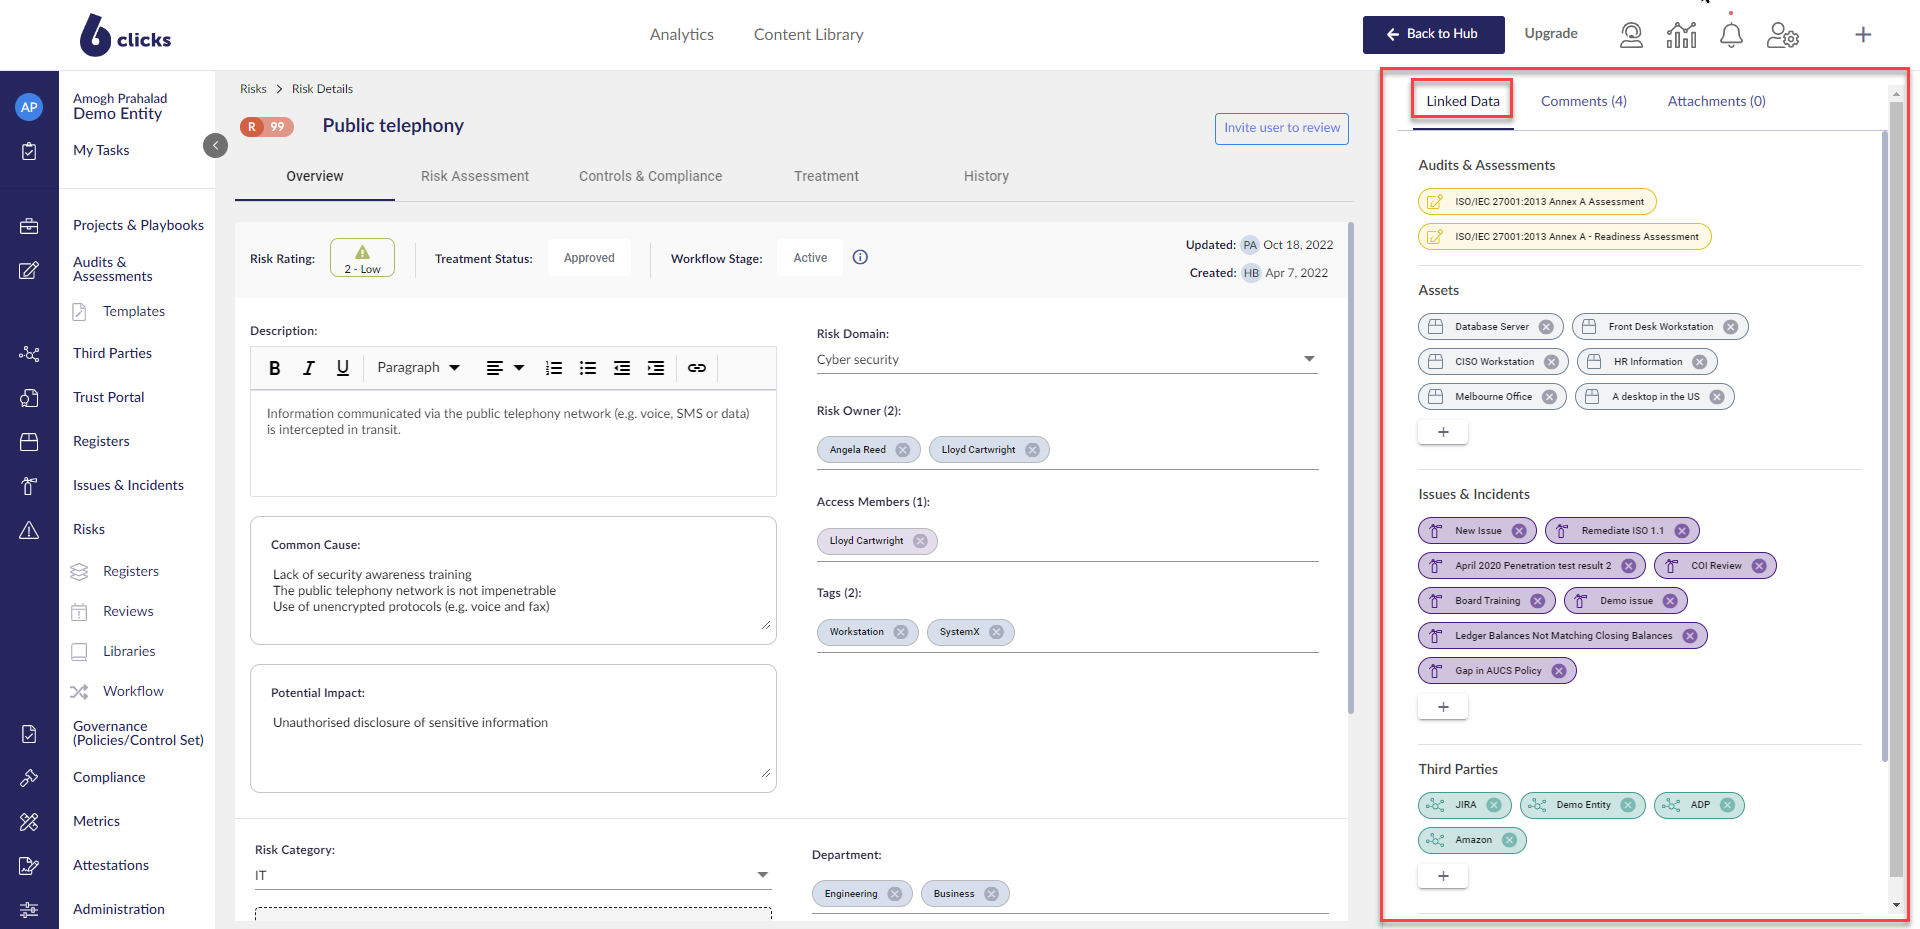 Click the + below the desired Linked Data header to associate a new object with the risk.
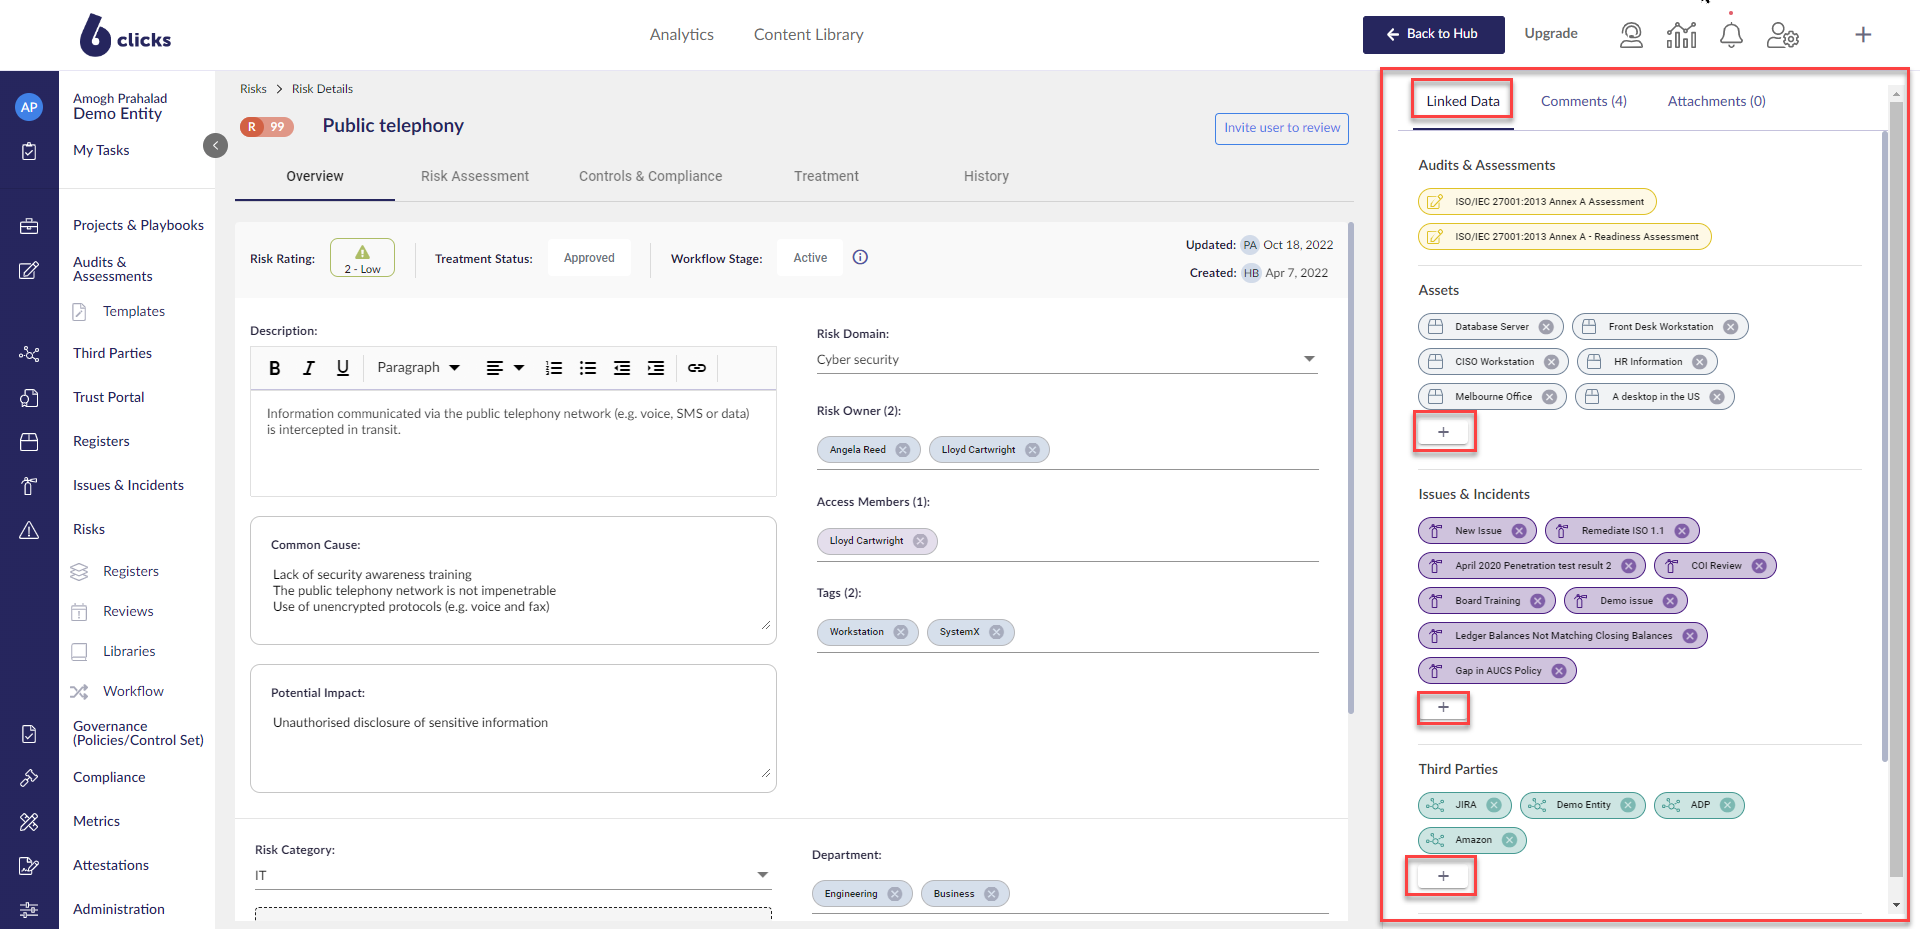
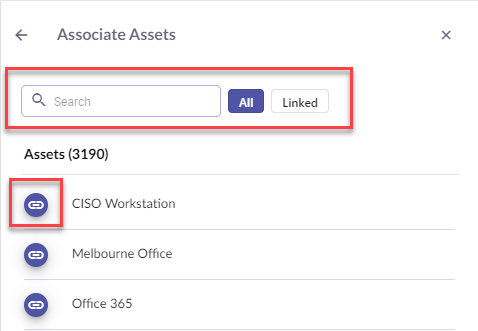
Click the Link button to link the object with the risk. Use the search to search for the object. Click the Linked button to see objects that are already linked. This functionality applies to all Linked Data modules.
Select the Add Linked Data button. To remove a register select the three dots and click remove.
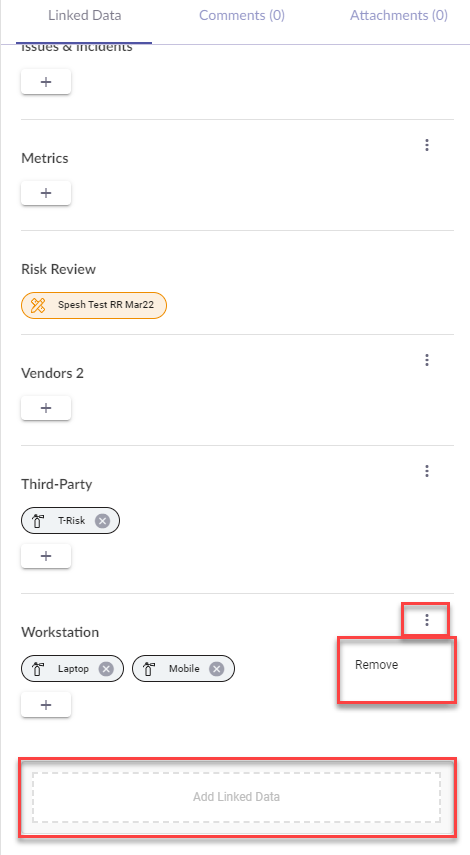
Select a register from the list.

Risk Assessment
The Risk Assessment section is where you run your risk assessments. To create a new risk assessment, click the Risk Assessment tab and the Risk Assessment table will appear. Next enter in the name of the risk assessment you want to create, and then hit enter.
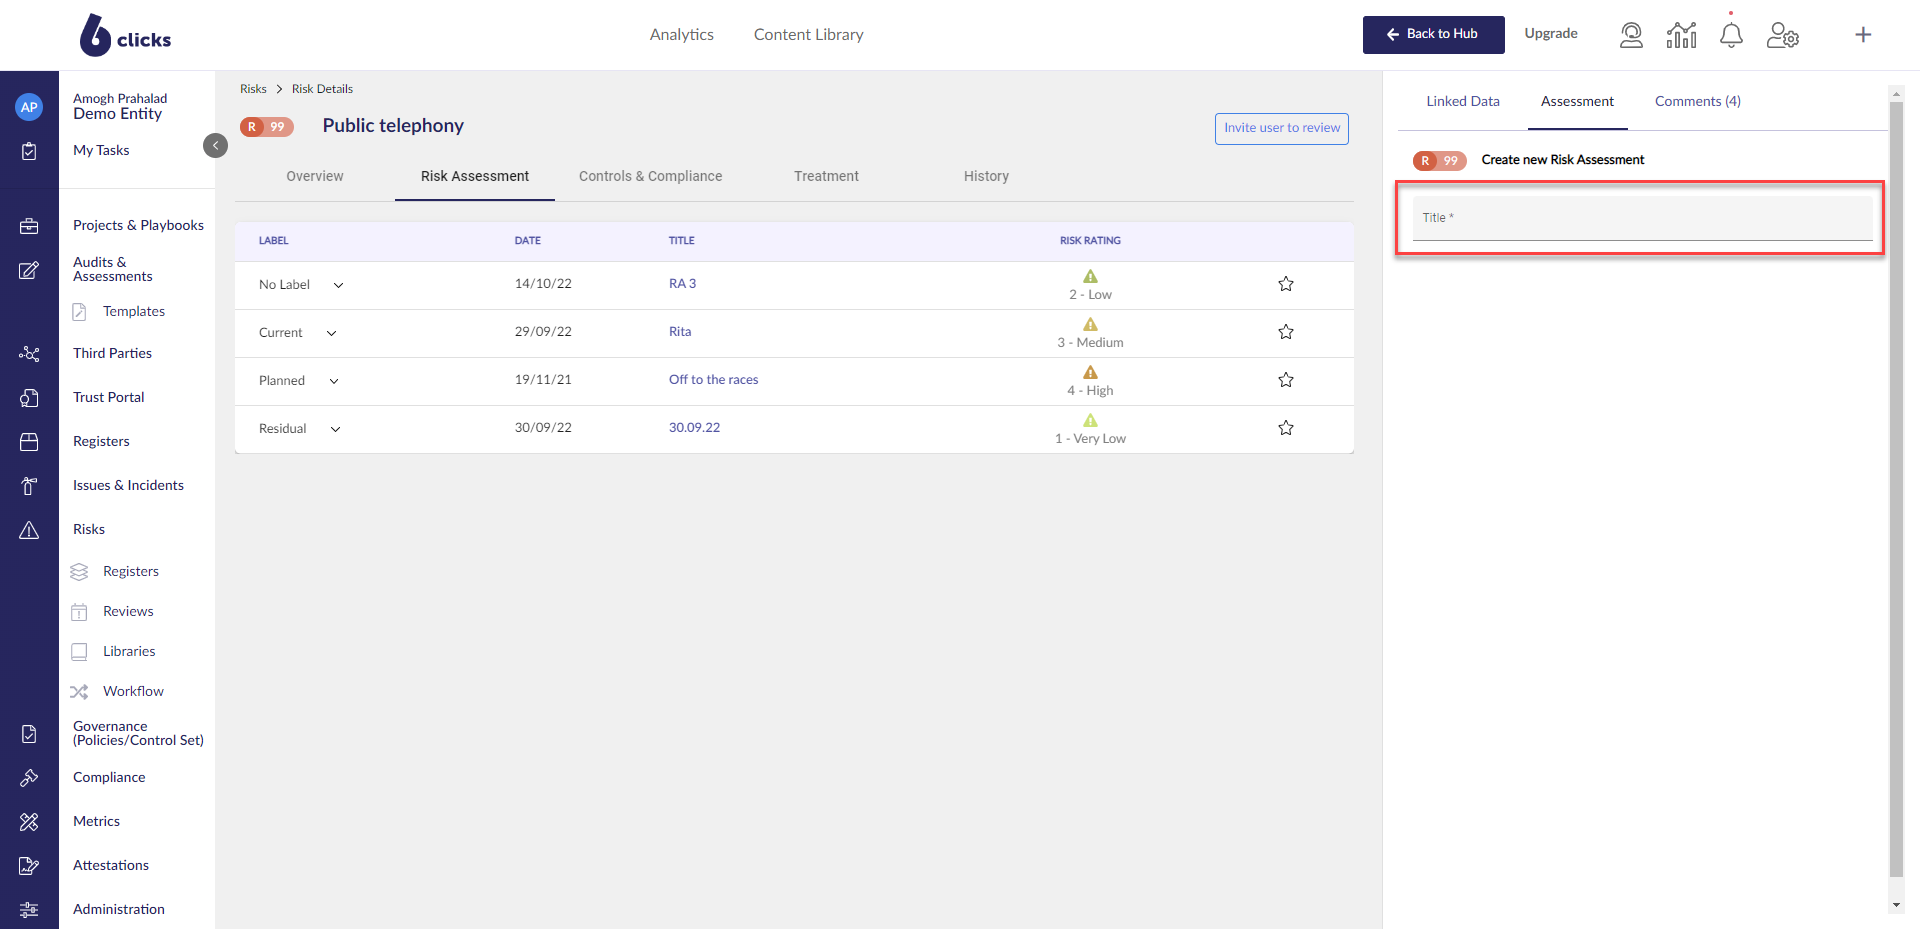
The risk assessment will appear in the table. The risk assessment details will appear in the right-hand panel.
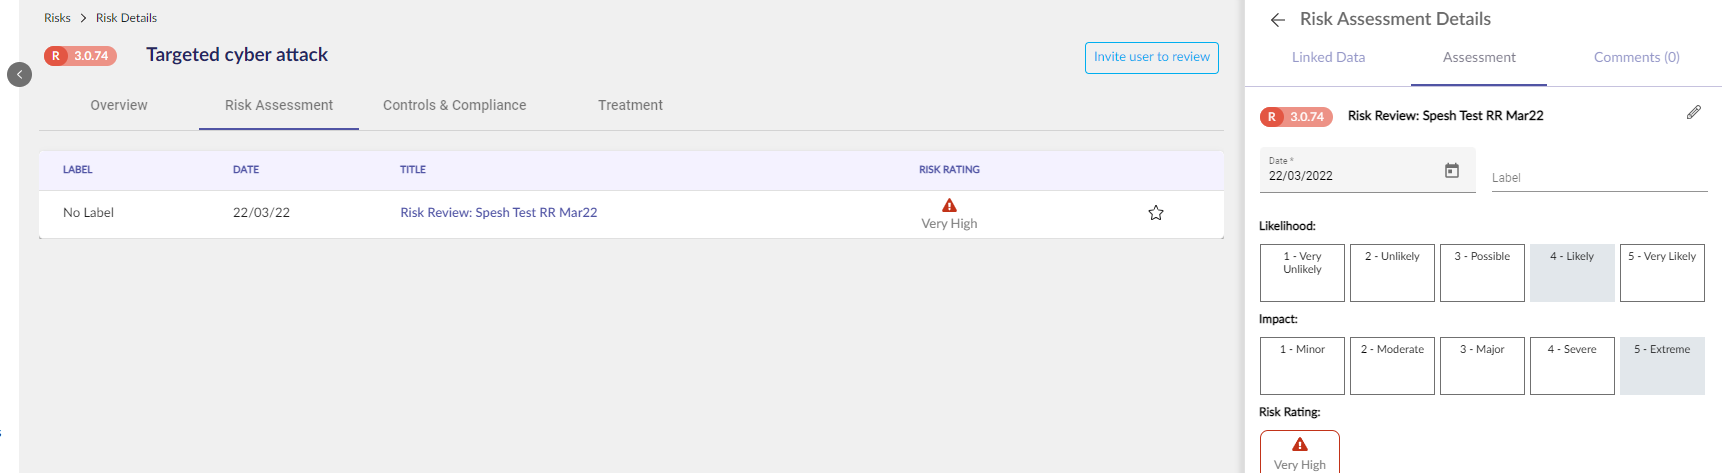
To add a risk rating, select the likelihood and impact, and the risk rating will dynamically display.
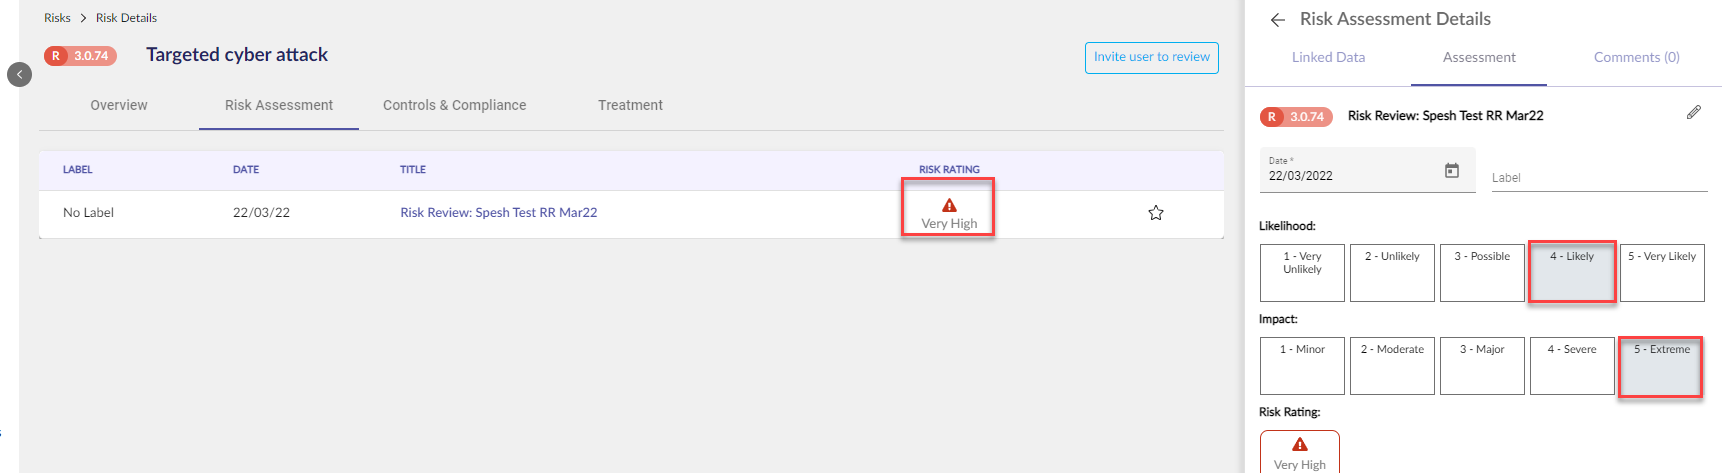
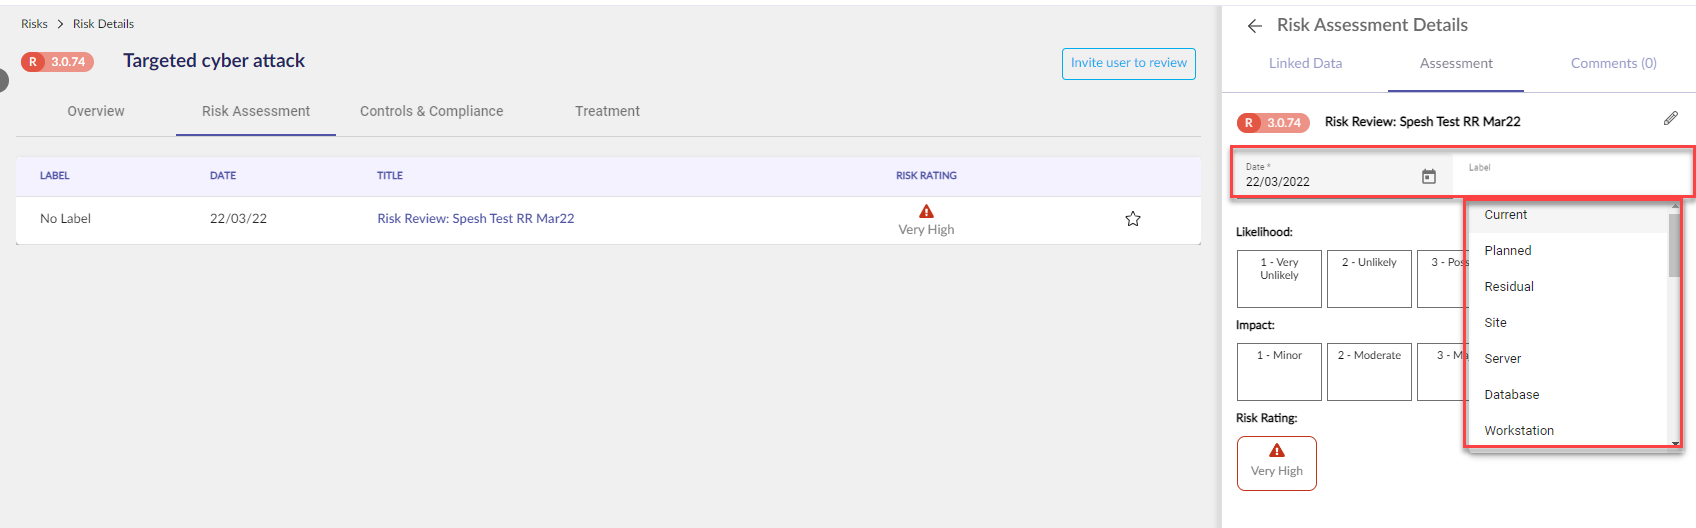
You can also add a date and a risk rating label to categorize the risk rating. This allows you to group and track risk ratings over time.
You can select your favorite risk rating by starring it.
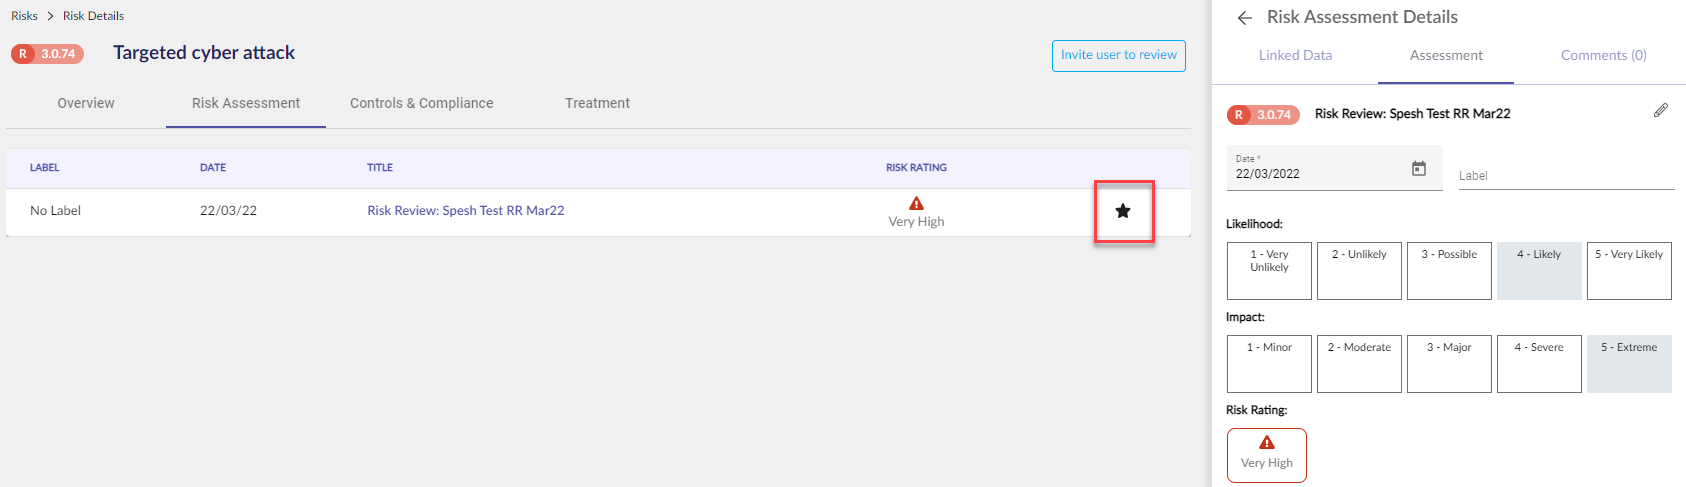
You can only select one favourite risk rating. Your favourite risk rating will be displayed in the Overview Section.
It will also be displayed in the risk register.

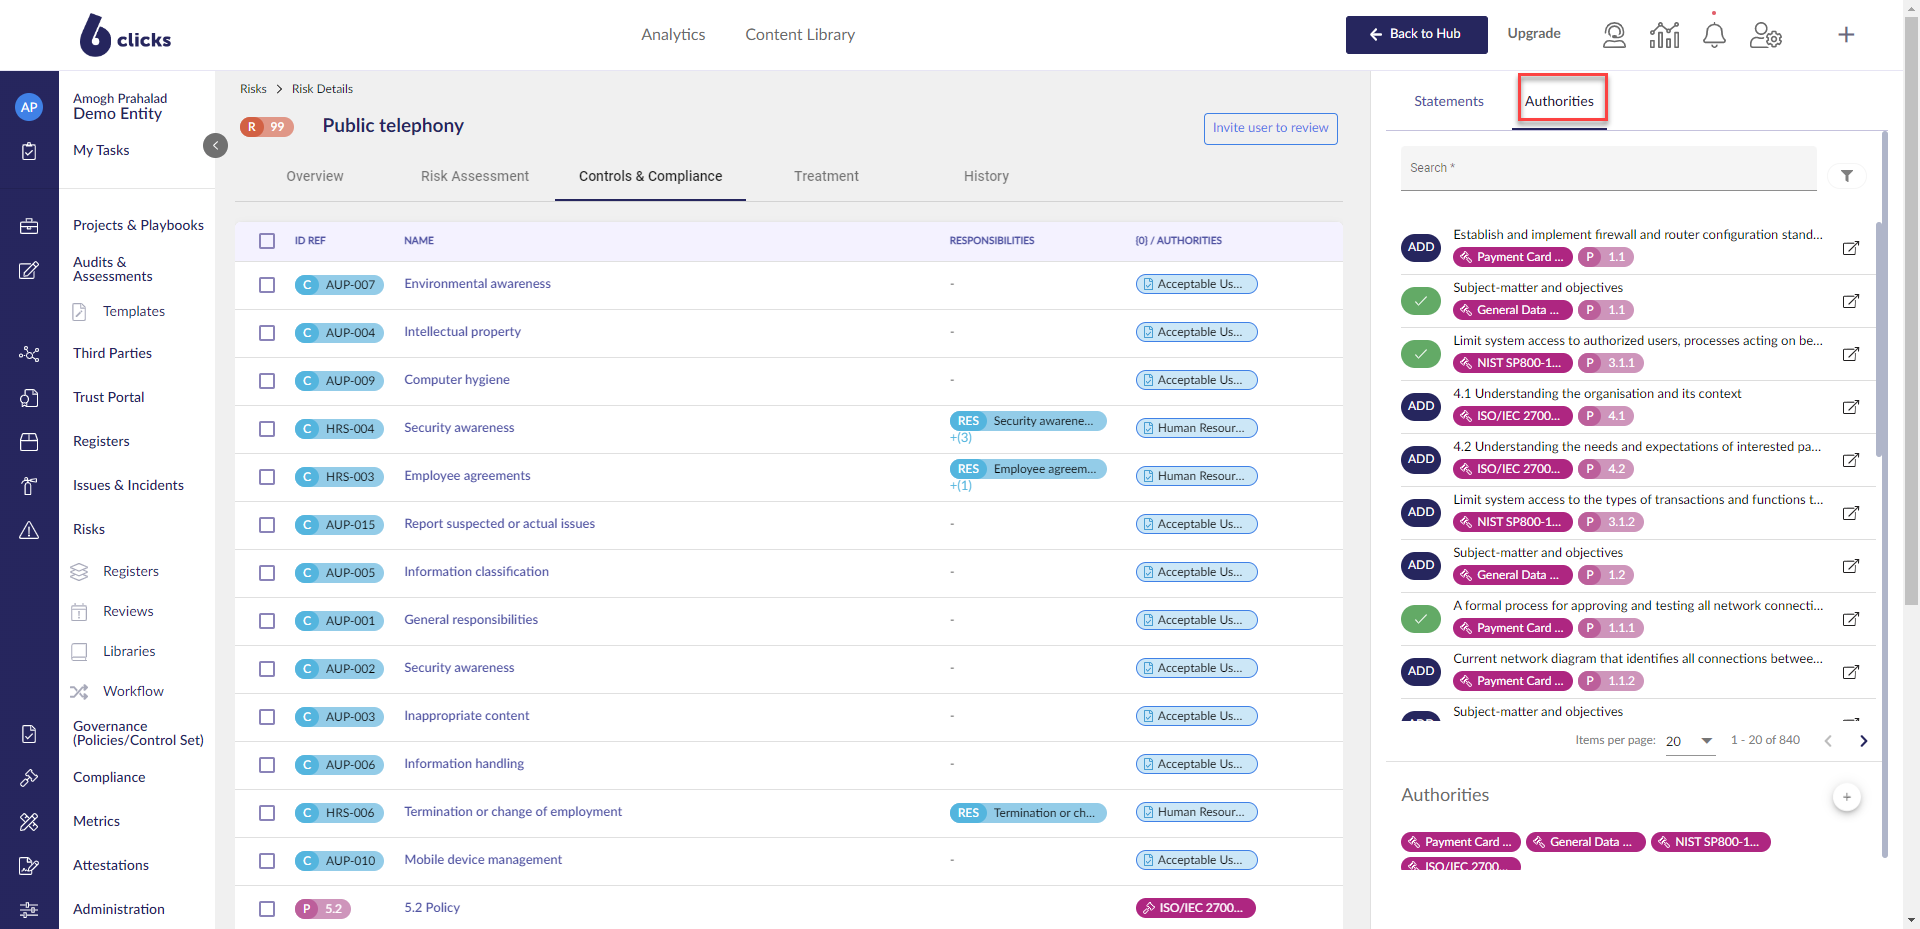
Controls & Compliance
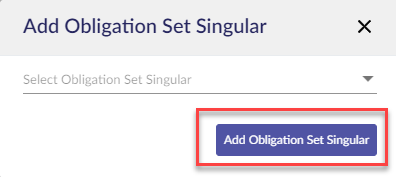
This section allows you to link controls from control sets and provisions from authorities to the risk. To link a control, you first need to add a control set. Click the plus button in the panel under the control tab.
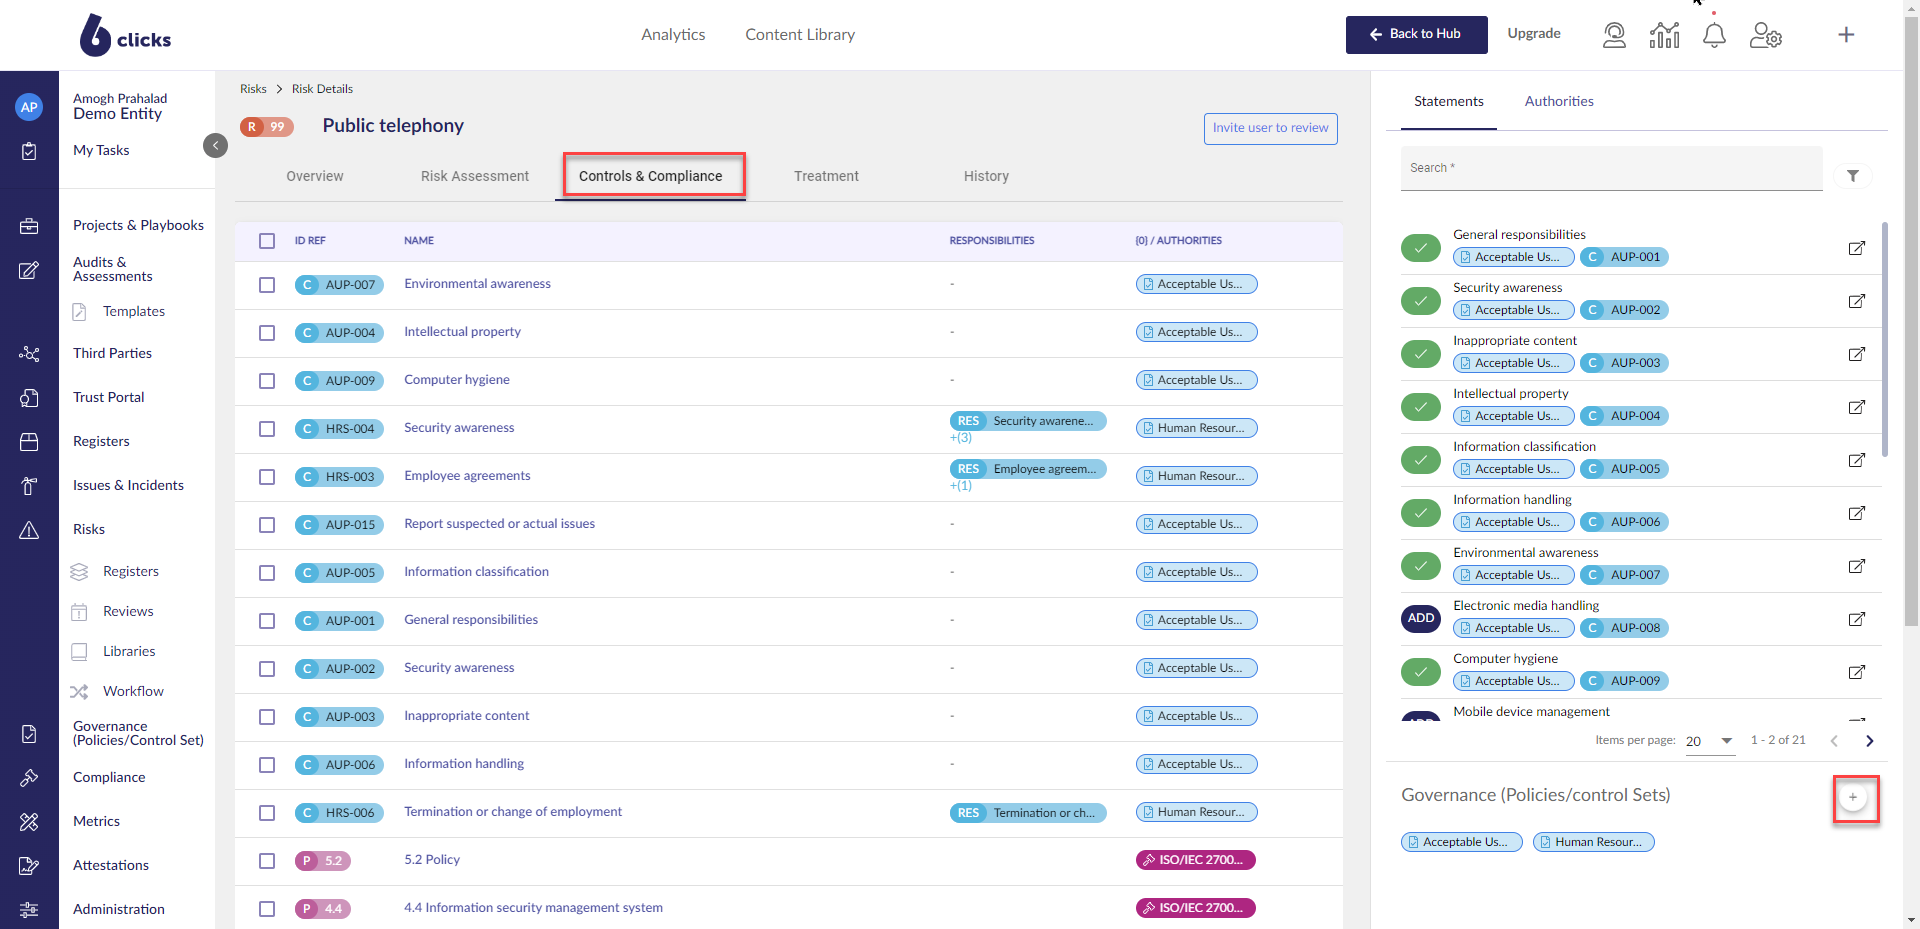
Then select a control set from the dropdown. Add button labels may vary.
After you have added a control set, all the controls will appear in the right-side panel. You can add a control to the risk by clicking the Add button (1). To view, the details of a control hit the pop-up button (2).
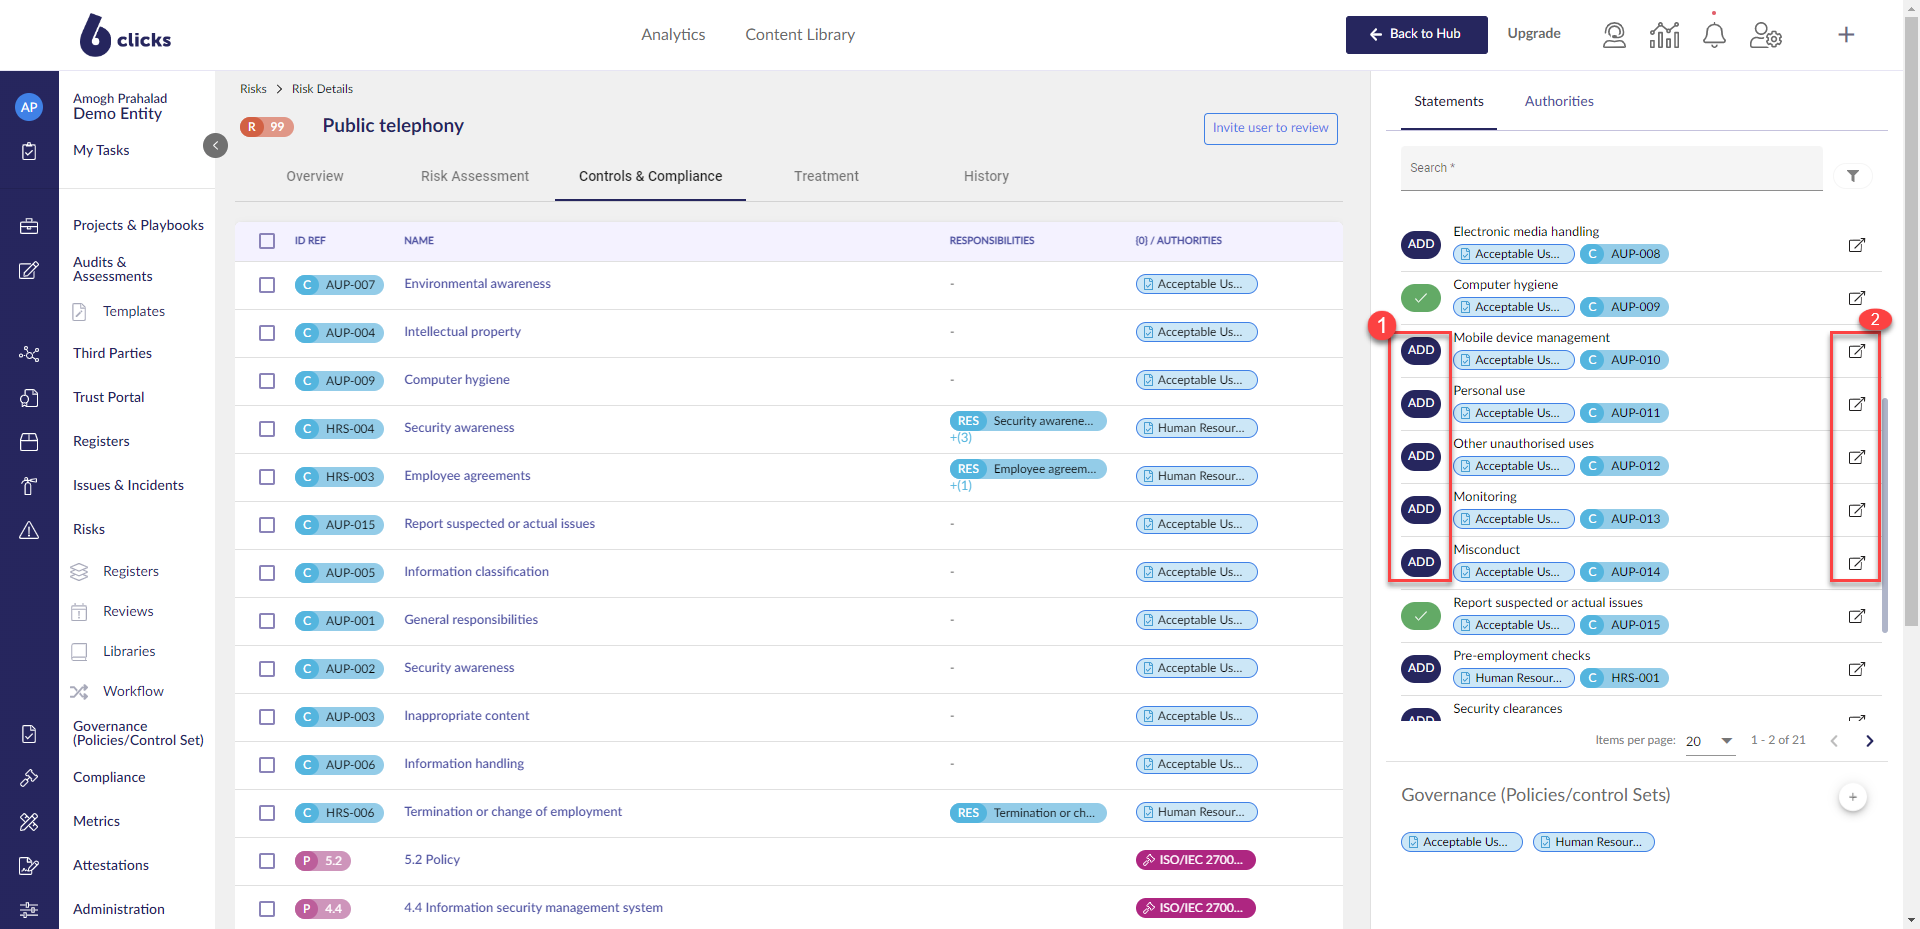
After adding controls, they will appear in the table.
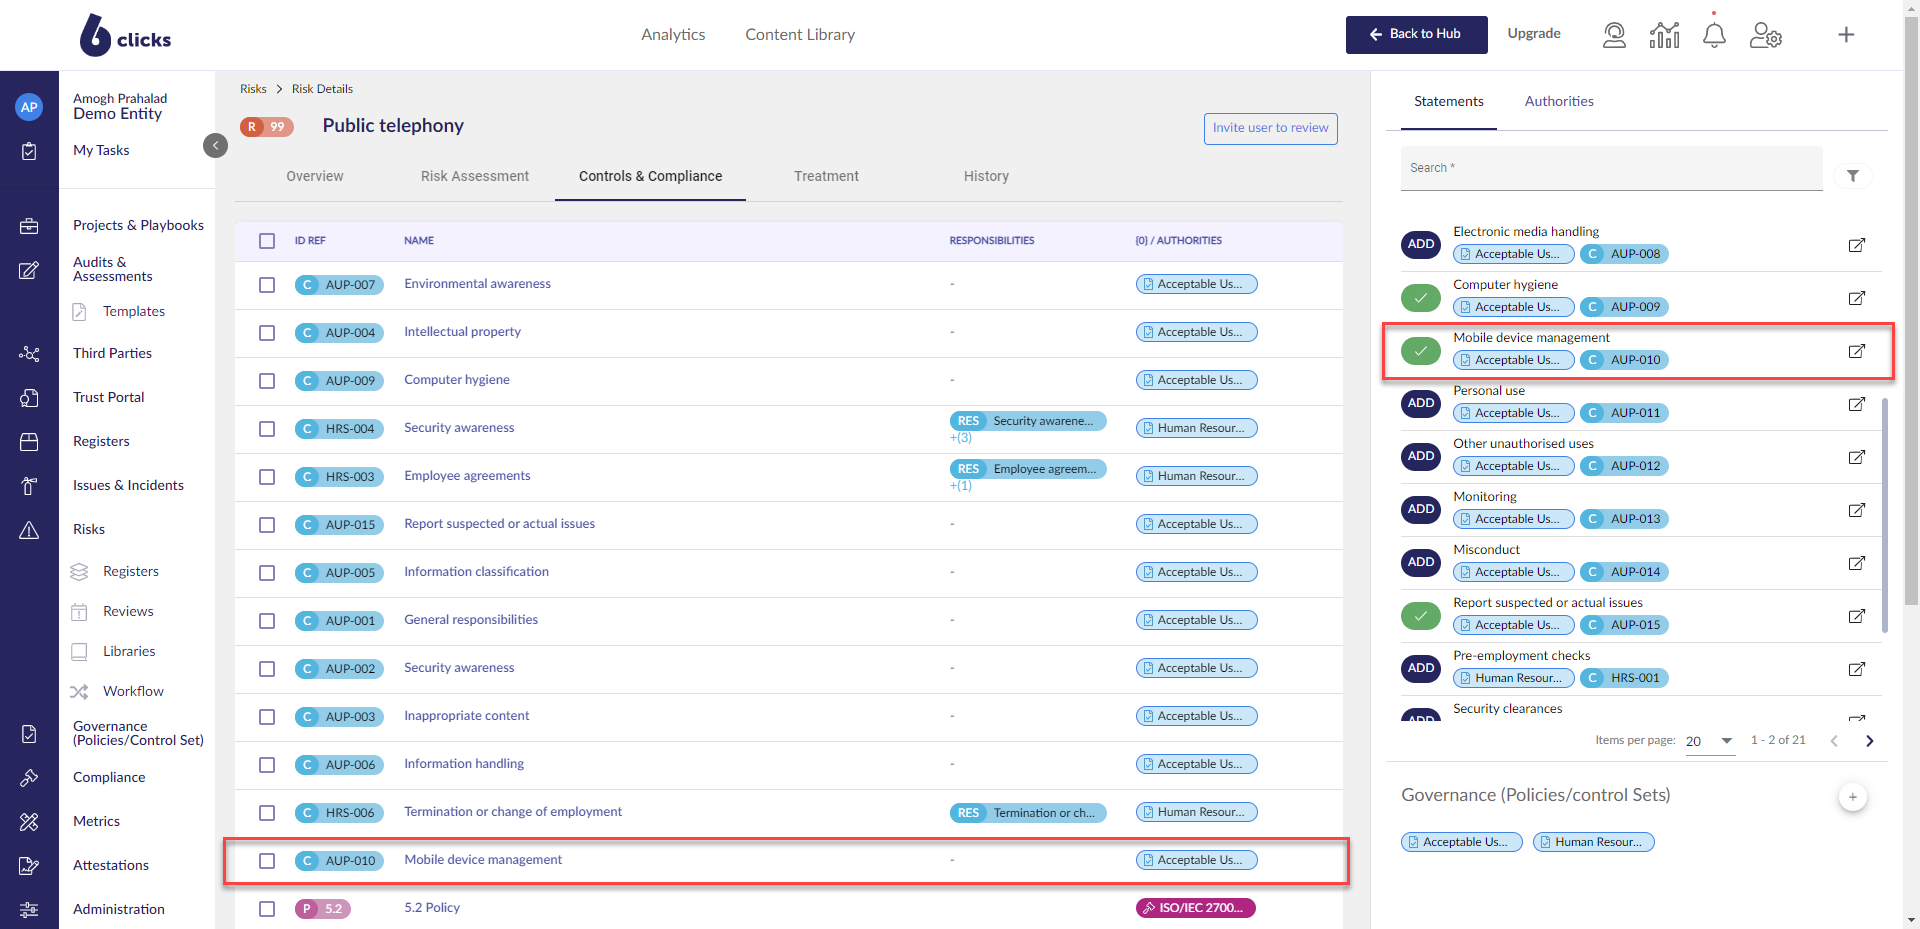
Similarly with provisions, under the authority tab, you can associate provisions to the risk.
Controls/provisions linked to an assessment question in a risk/issue are linked to the assessment question, automatically pulling through the control/provision when a risk/issue is added to the risk register from the assessment module (QBA/RBA).
- Once a new control or authority is added to a question in the Assessment module (RBA and QBA), the control or authority will automatically be added to the risk and linked automatically.
Treatment
The Treatment section is where you create, assign and manage your risk treatments. The overall risk treatment decision and treatment status are managed from the two top dropdowns.
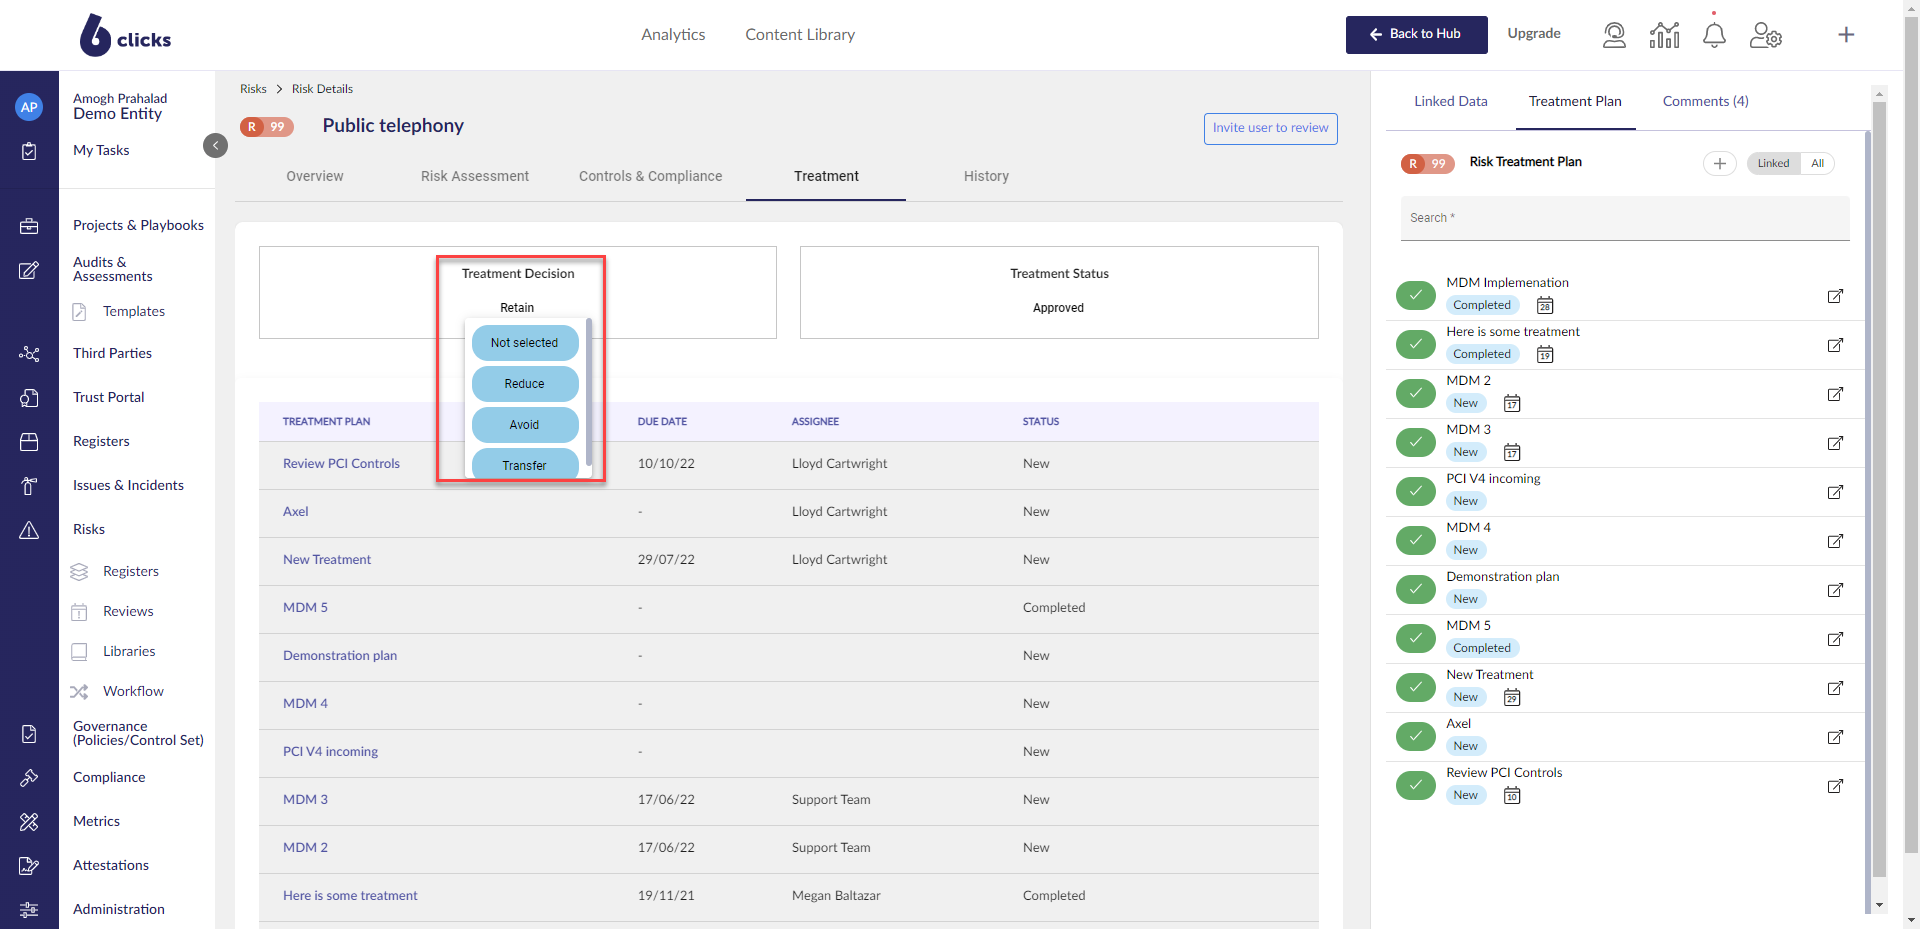
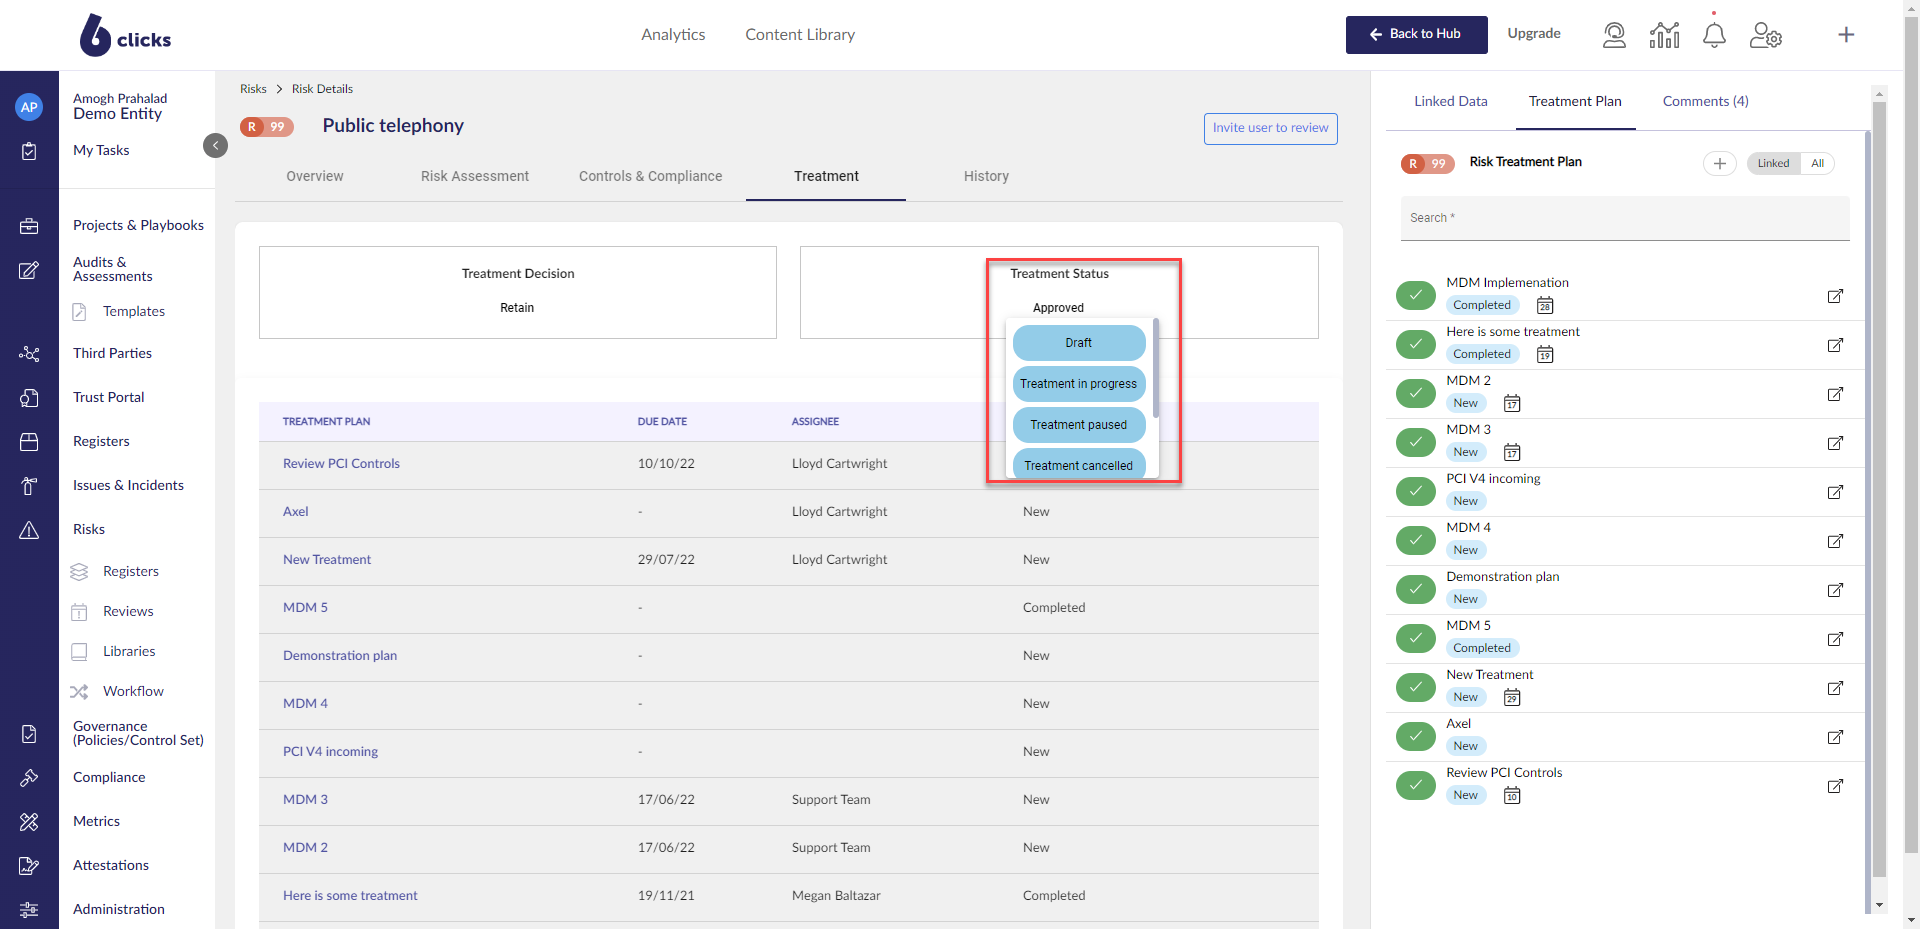
For an in-depth article on how to create a Treatment Plan for risks, head here.
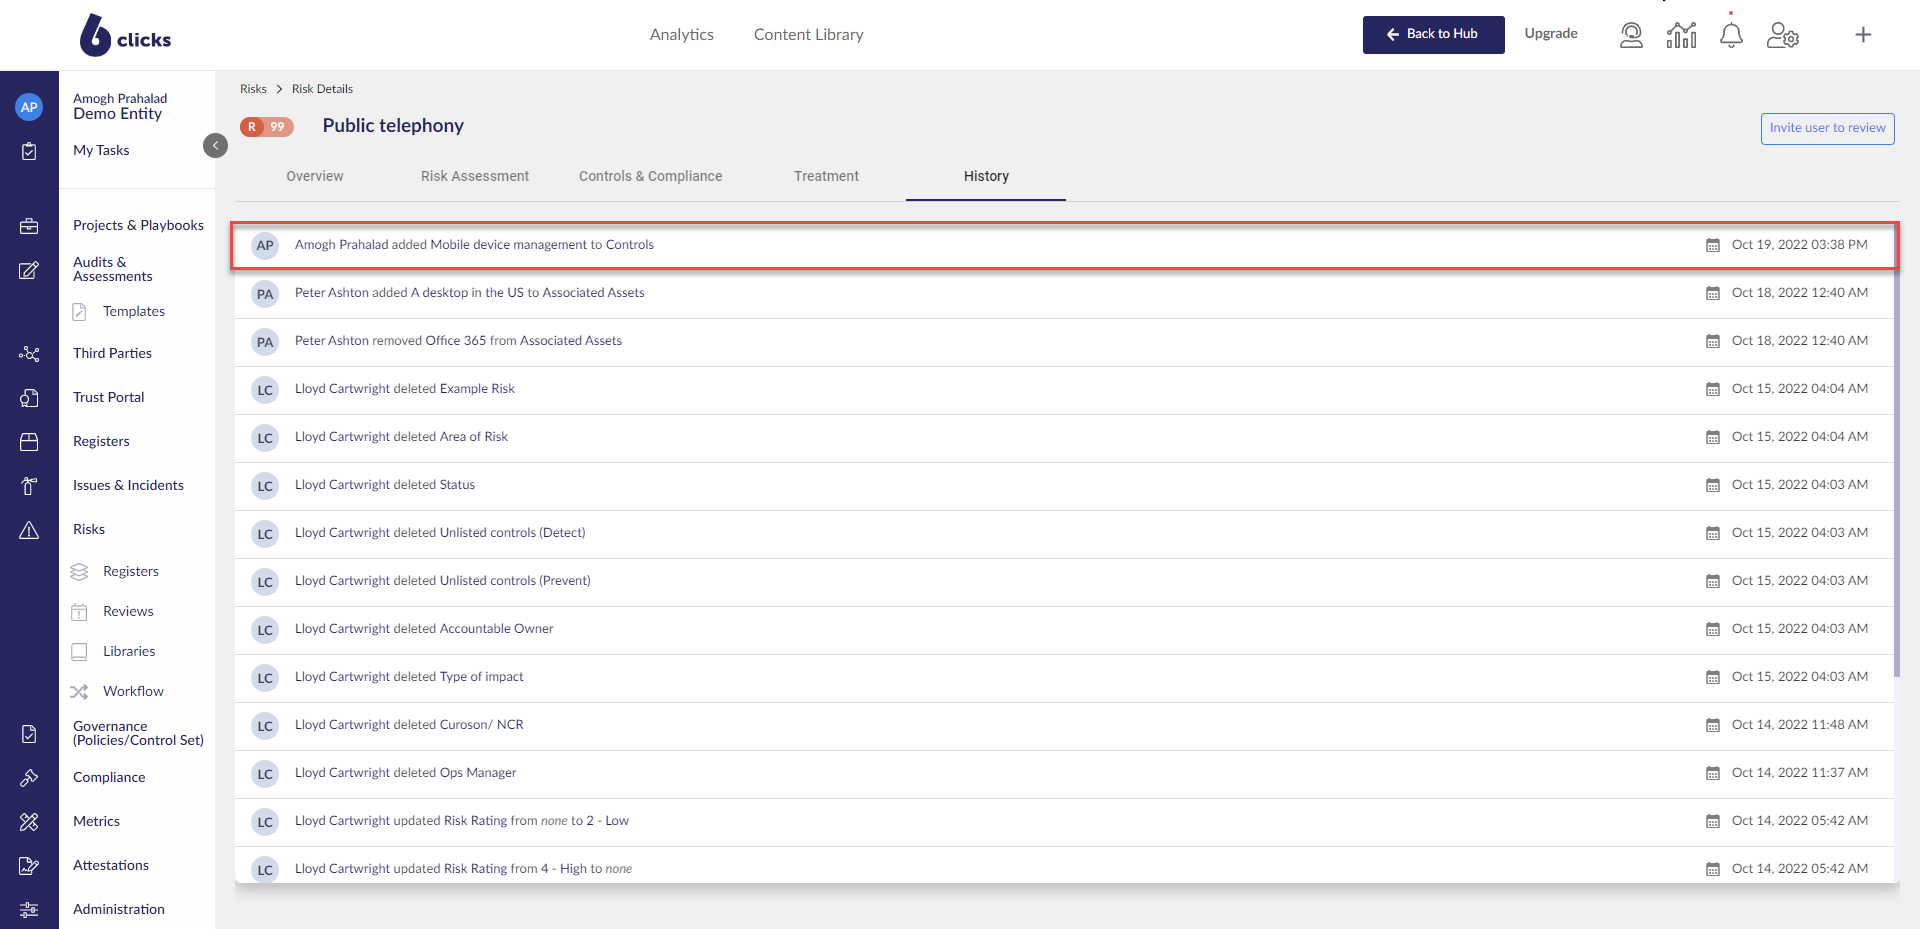
History
The history tab within the register shows all activity within the risk register including:
- The user's name
- The type of change that was made
- Date of change
- Time of change