Learn how to create and manage Risk Libraries in 6clicks for use in Risk Reviews and Audits & Assessments
This article details how to create and manage Risk Libraries within a Spoke. Hub and Spoke customers who wish to make a Library available to all Spokes should create and publish it within their Hub instance.
Table of Contents:
- Creating a Risk Library
- Adding a New Risk to a Library
- Importing Risks
- Adding an Existing Risk to a Library
- Adding Risk Treatment Plans
- Using Published Risk Libraries
Creating a Risk Library
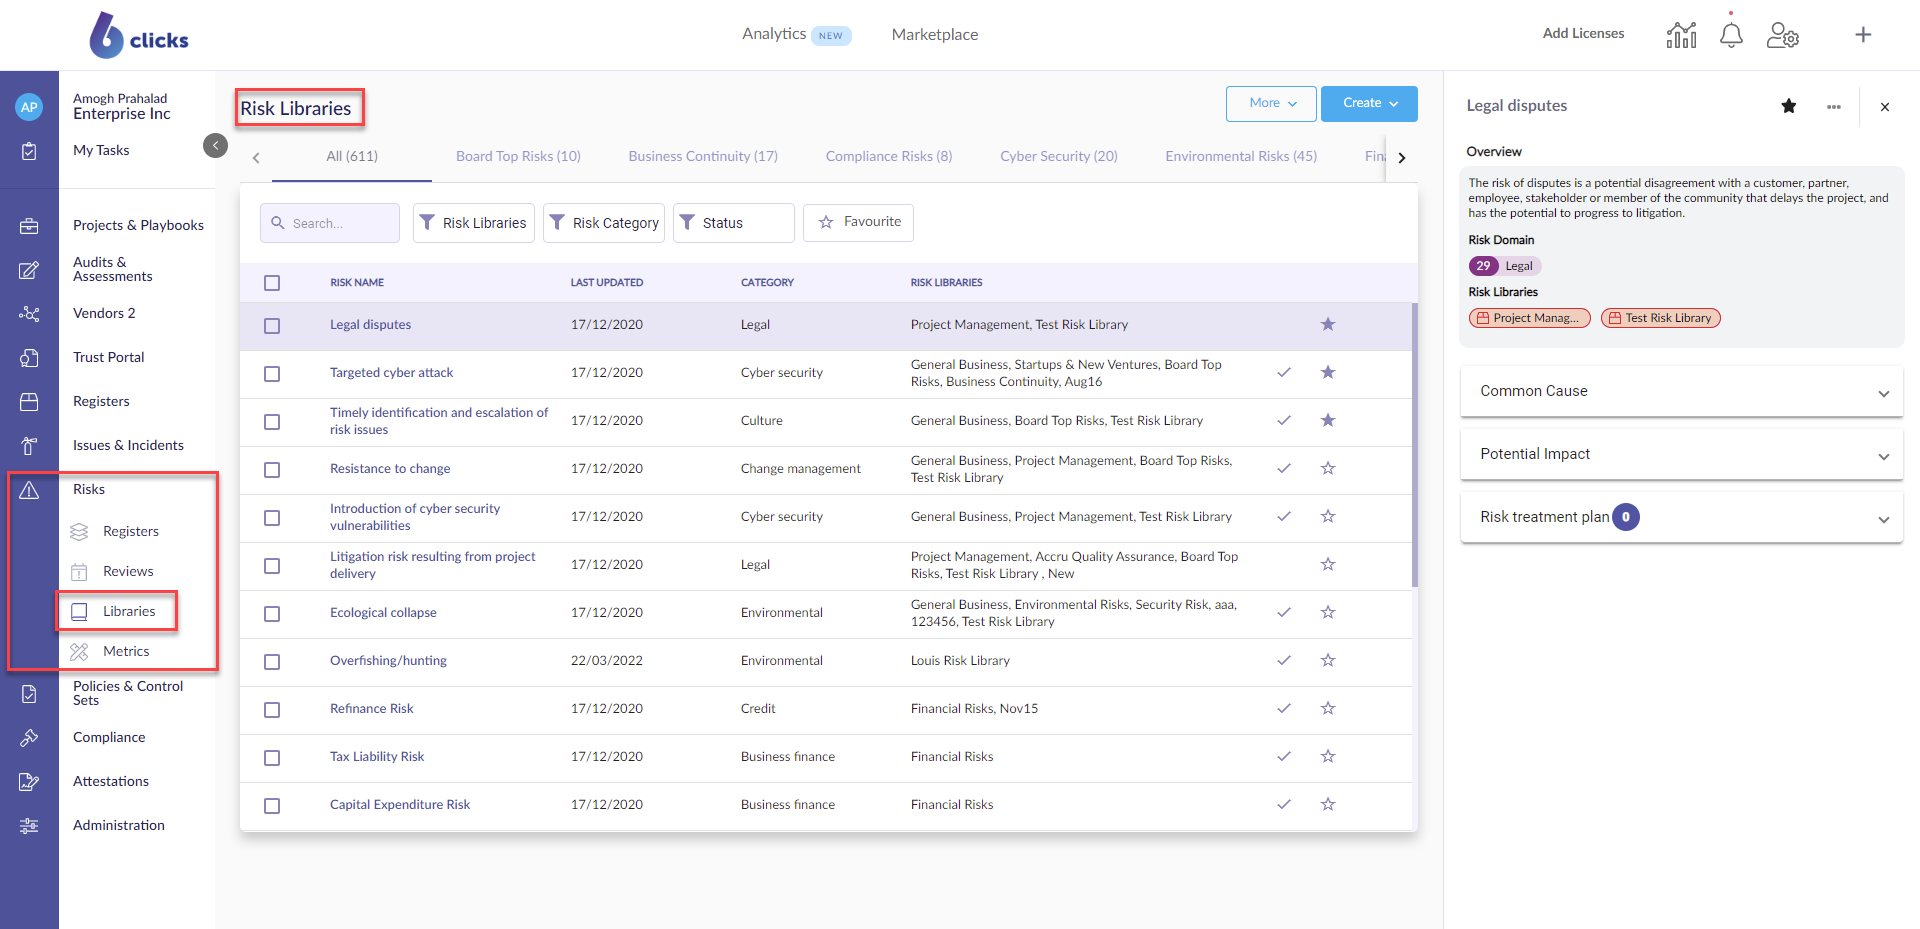
Navigate to your risk library via the left navigation panel, select Risks, then Libraries to open the Risk Libraries screen.
 To create a new Risk Library, click Create > Risk Library at the top of the screen.

The Saved successfully confirmation pop-up will appear at the bottom left of the screen and the Risk Library page will refresh.
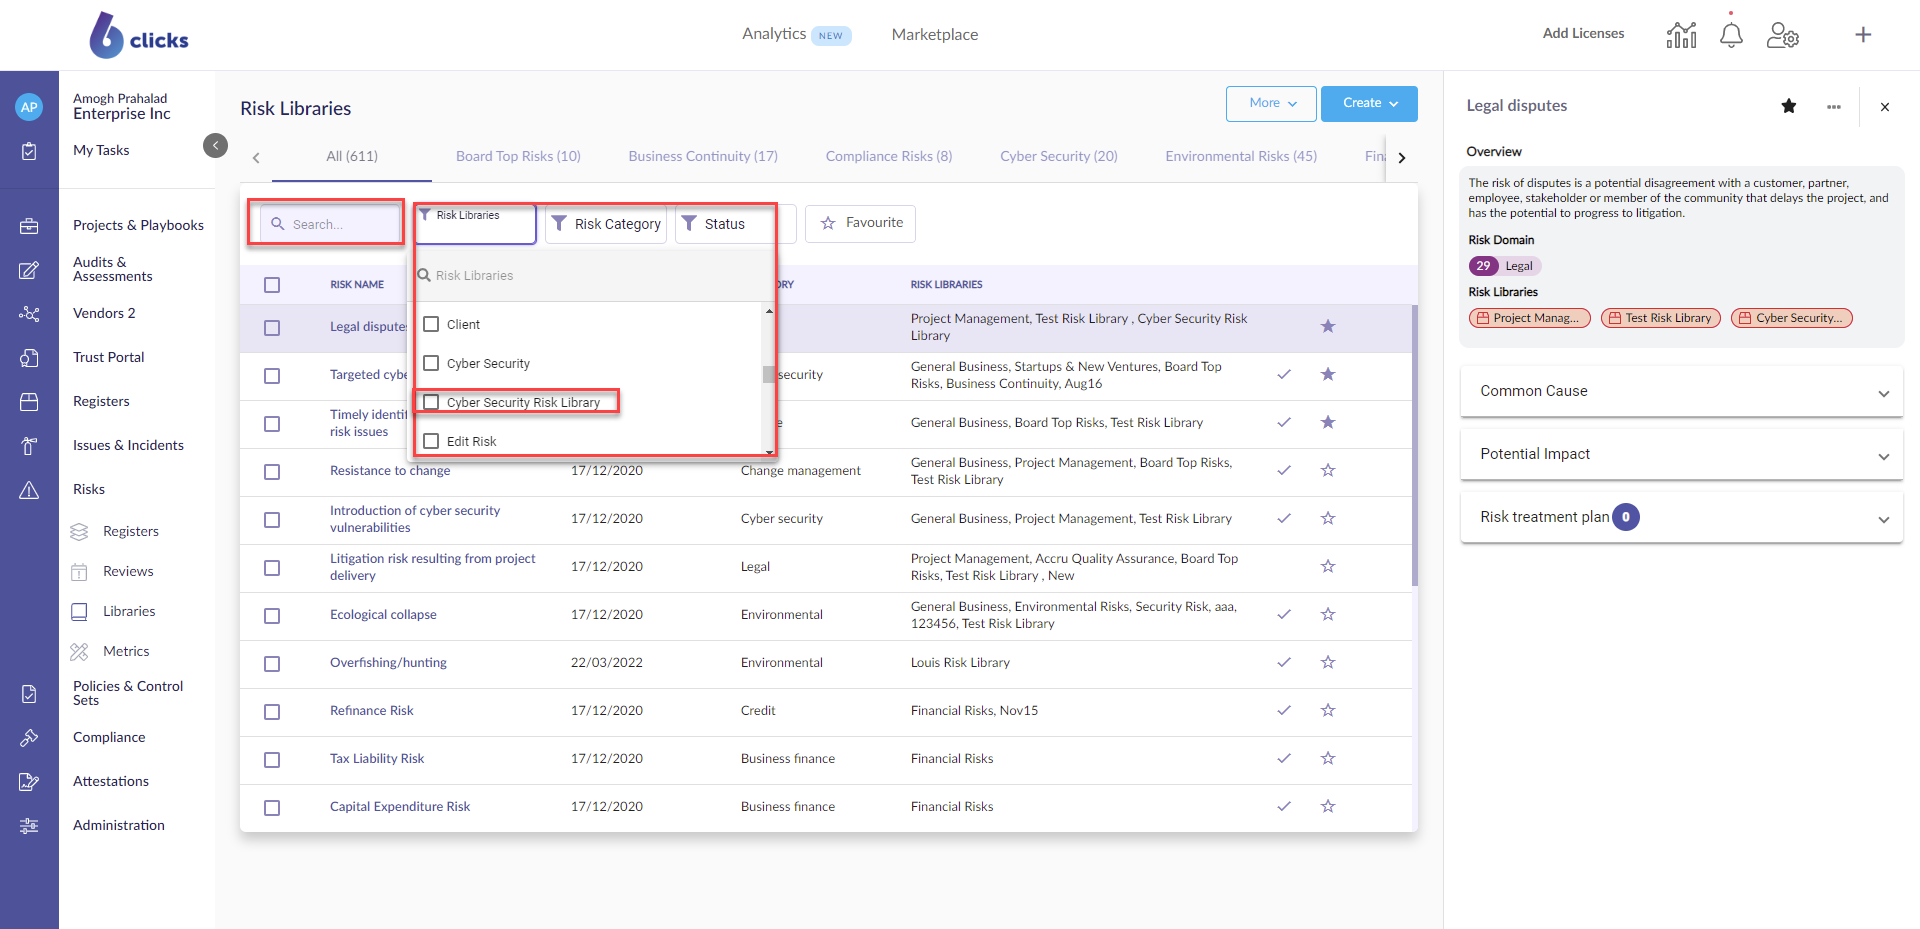
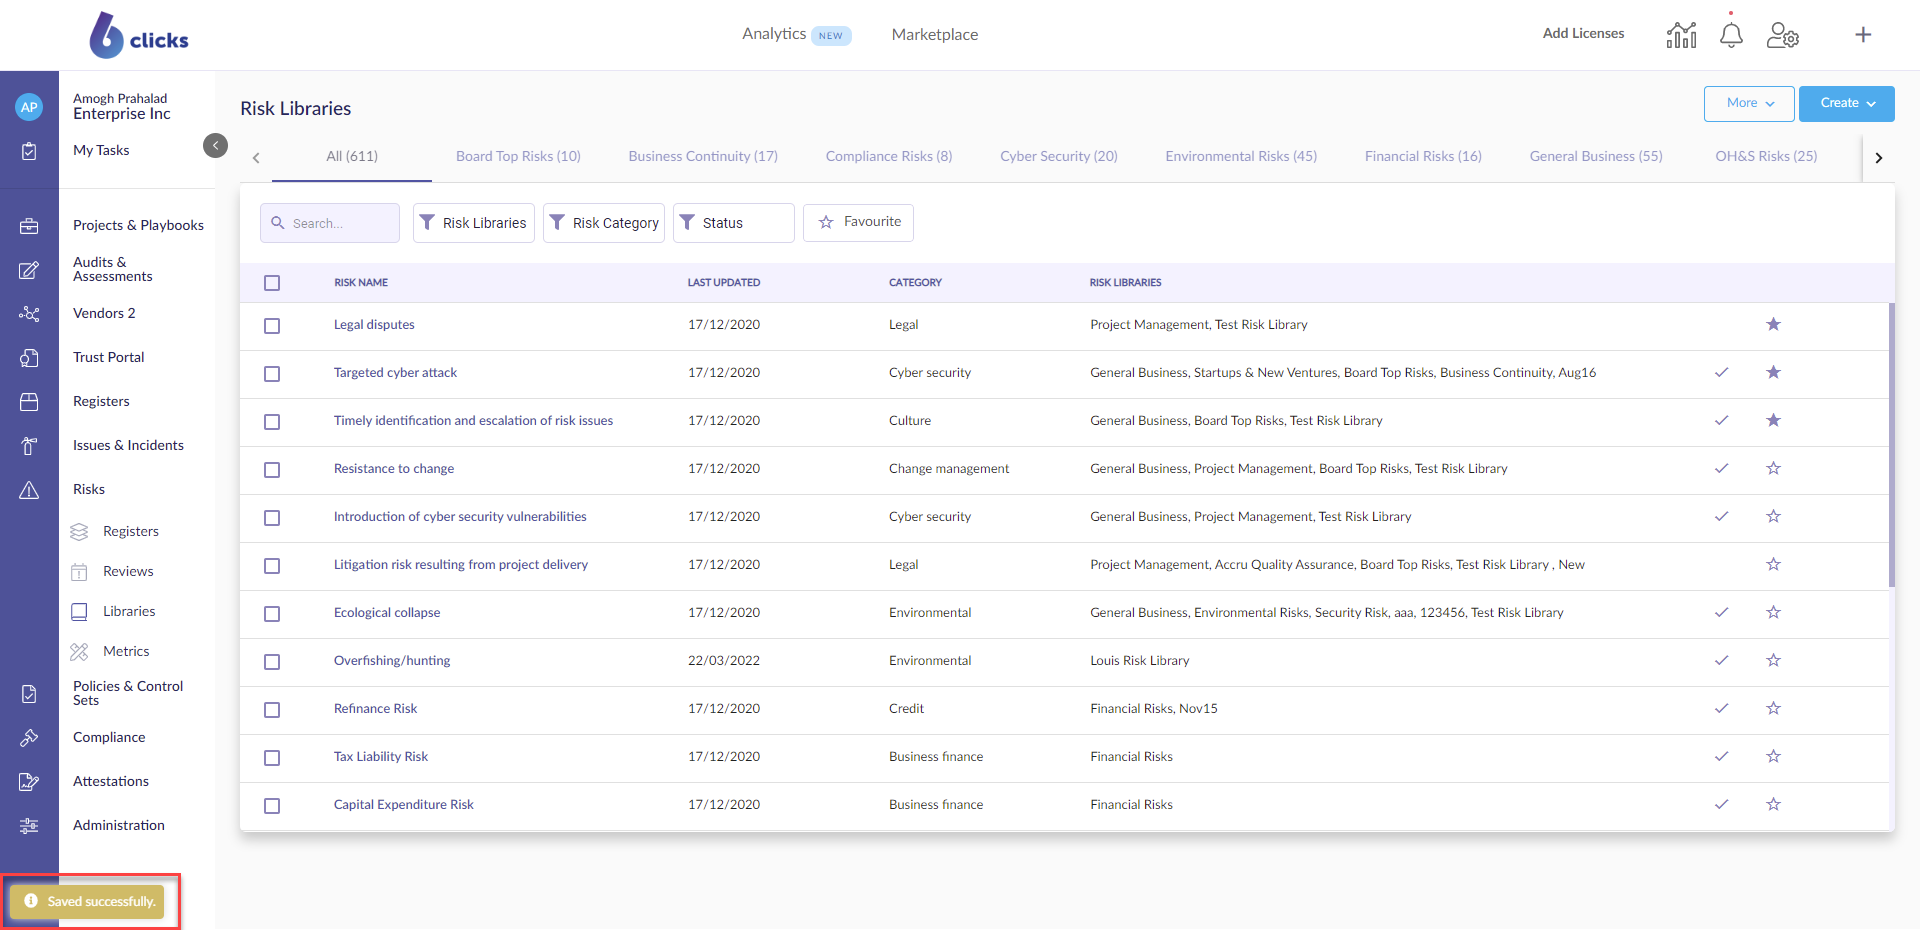 To navigate to the newly created Risk Library, enter the name in the search bar or click the Risk Library filter and select the Risk Library you just created.
 You can add more risks to your Risk Library by either creating new risks or importing risks.
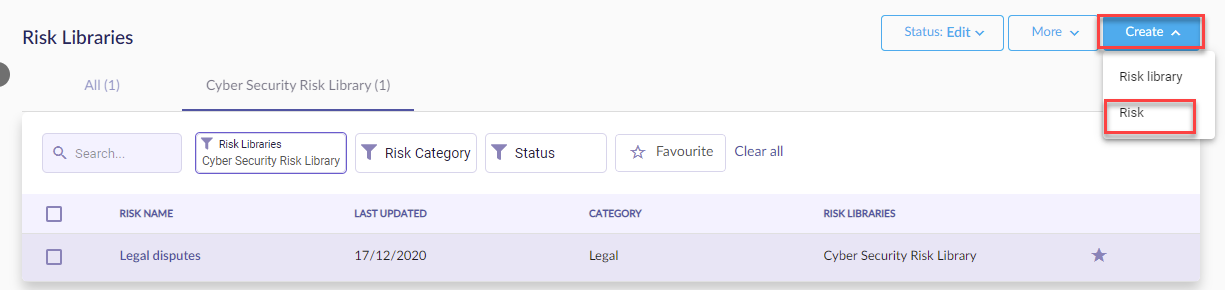
The below sections will cover how to add risks both manually and via import.
Once the library is ready, update the Status to published to make it available for use within 6clicks.
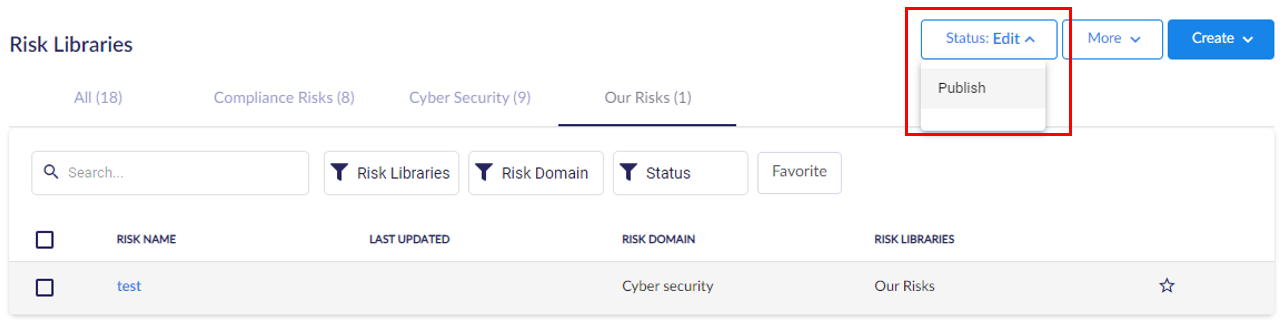
Risk Libraries in "Edit" status will not appear and be used within 6clicks.
Adding a New Risk to a Library
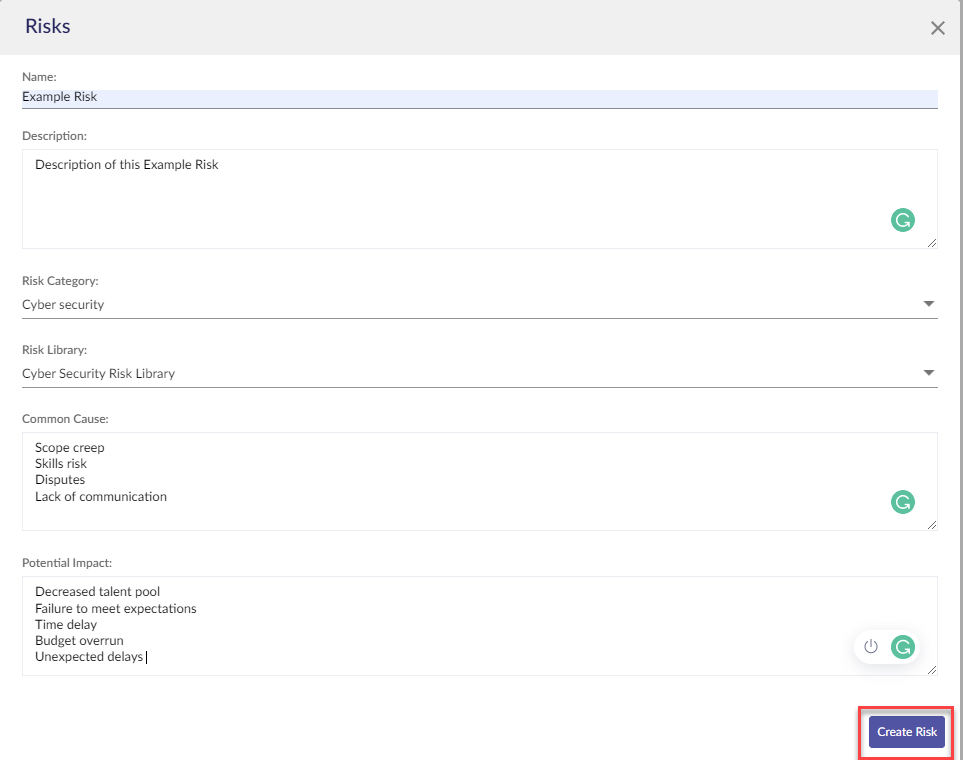
Clicking on the New Risk button will display the Risk modal. These Risks are used as part of risk identification in Risk Reviews.
- Name of Risk (mandatory)
- Description of Risk (mandatory)
- Risk Category (mandatory): categories are predefined and controlled by 6clicks
- Risk Library: choose the Risk Library you just created
- Common Cause (mandatory): here, you will enter in the common causes of your Risk.
Click the Create Risk button.
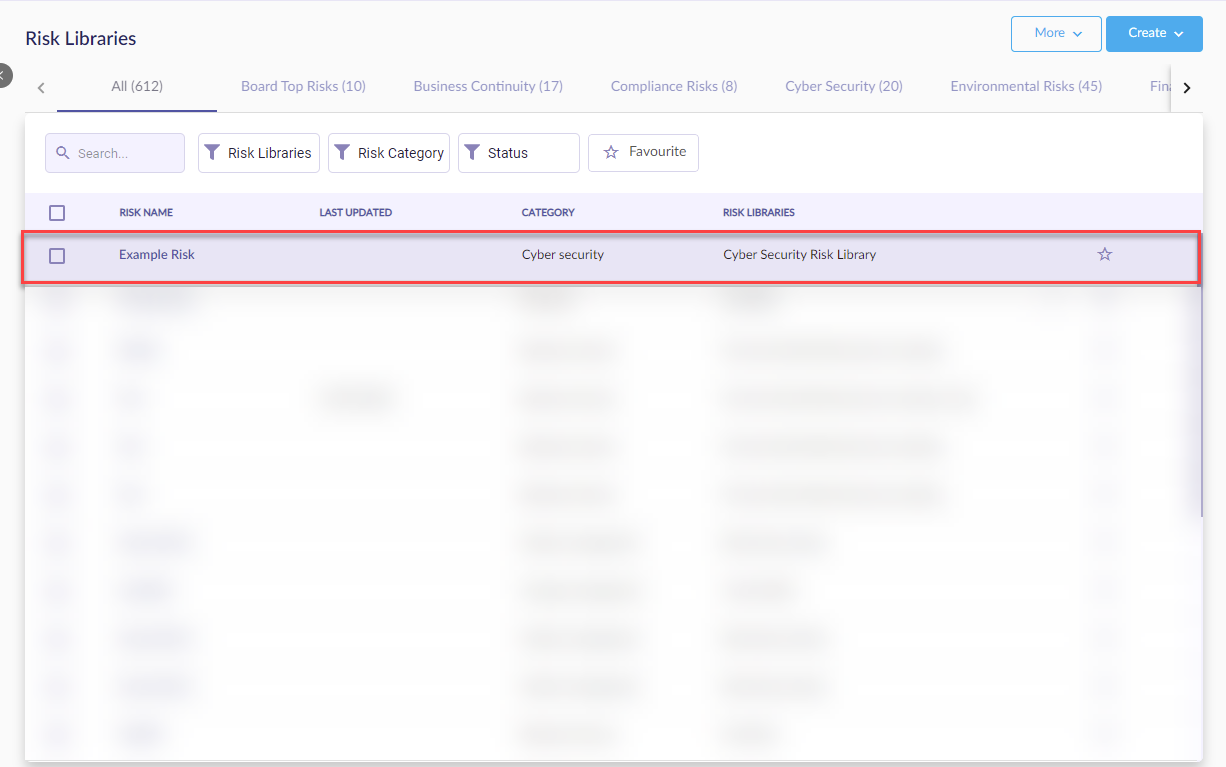
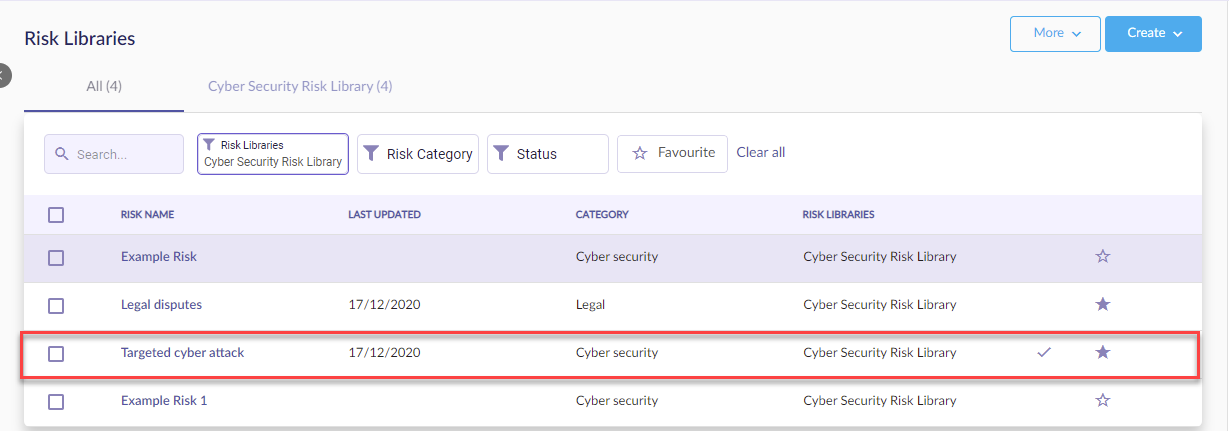
 Once you have created the Risk, it will appear at the top of the Risk Libraries list.
Importing Risks
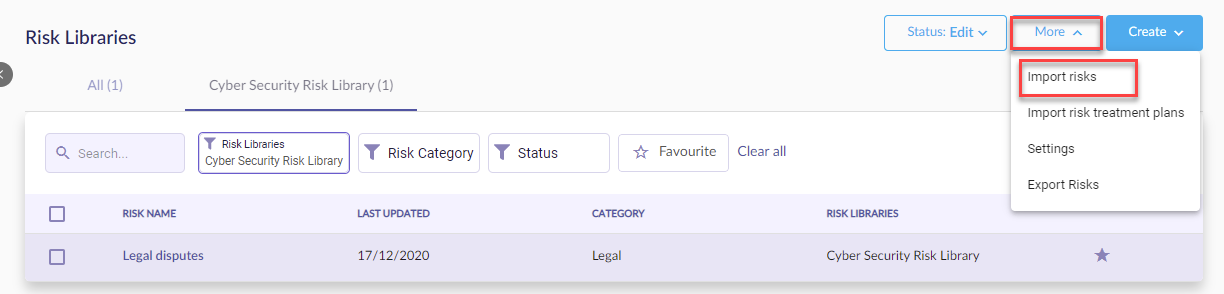
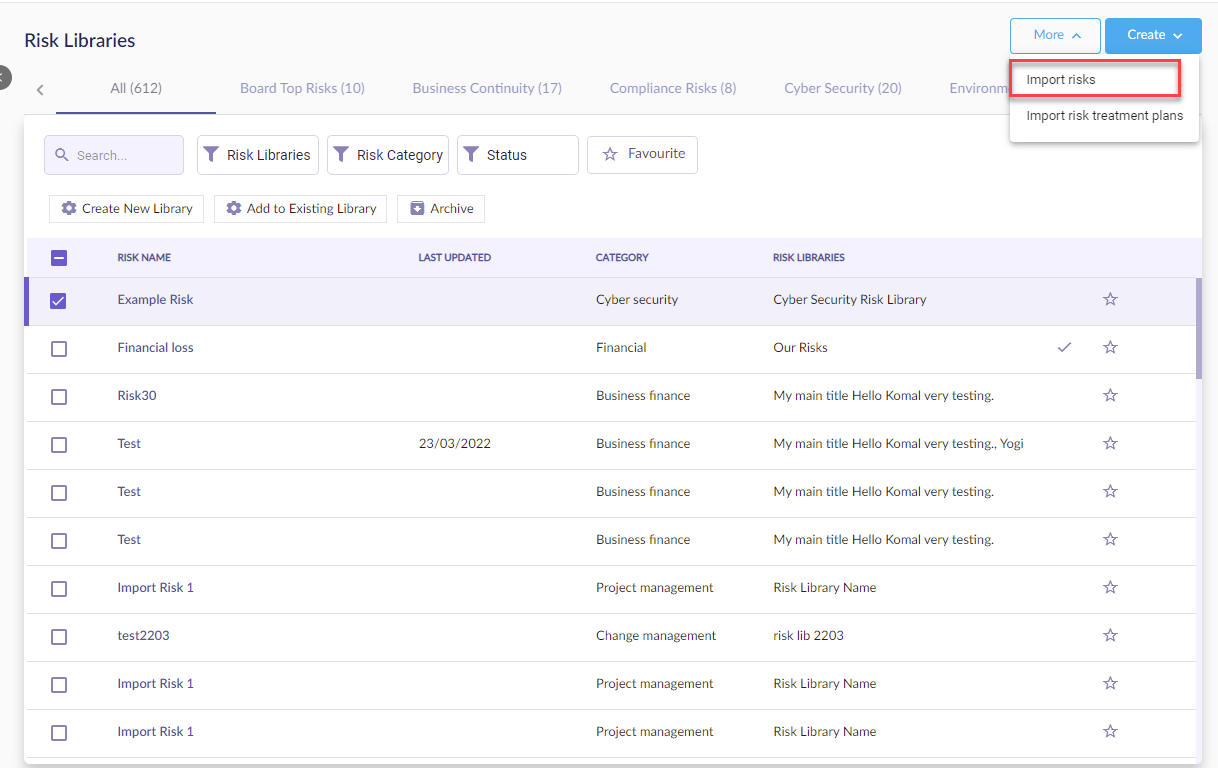
To bulk import risks click More, and next click Import Risks.
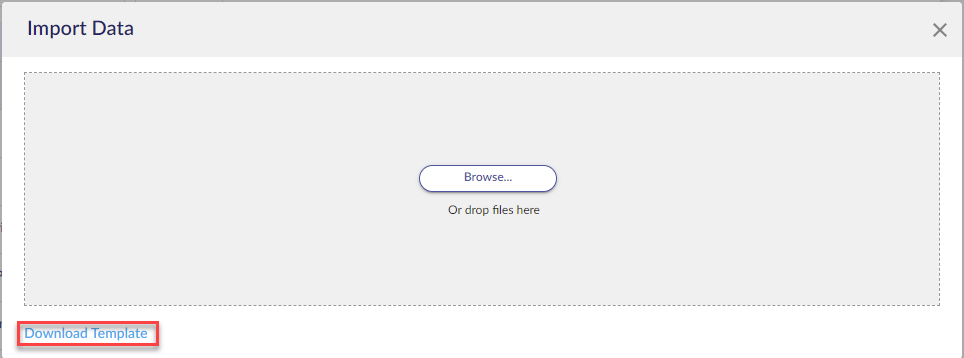
Click Download Template.
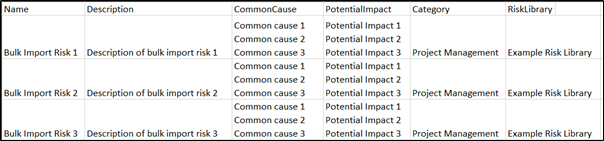
Using the template provided, enter the below details:
Name: The name of the risk.
Description: The description of the risk
CommonCause: Add the common causes of the risk. Each common cause for the risks needs to be on a new line within the cell.
Potential Impact: Add the potential impacts of the risk. Each potential impact for the risks needs to be on a new line within the cell.
Category: Select a category for the risk. See here for all categories.
RiskLibrary: Add the name of the risk library you want to add the risk to. If you enter in the name of a risk library that does not yet exist in your team, after importing the risk library will be created.
Please note:
- The category must align with a Risk Category that exists.
- ALL fields in the template must have data (i.e. no blank fields). If there are blank fields the risk library will not function correctly.
- You can also add the name of a risk library in the import file that does not yet exist. This will automatically create a new risk library with the name you have entered.
- You cannot add risks to the default 6clicks risk libraries.
As an example:
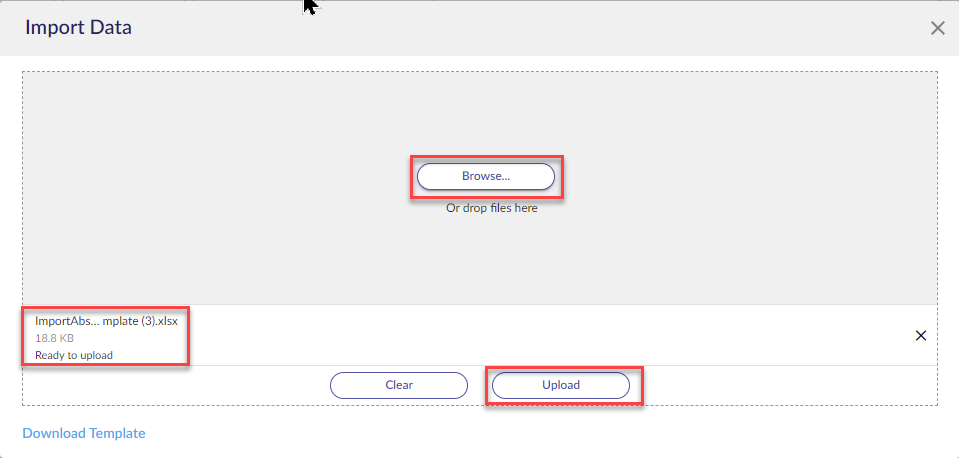
To import your template, select Browse and import the template. Click Upload.
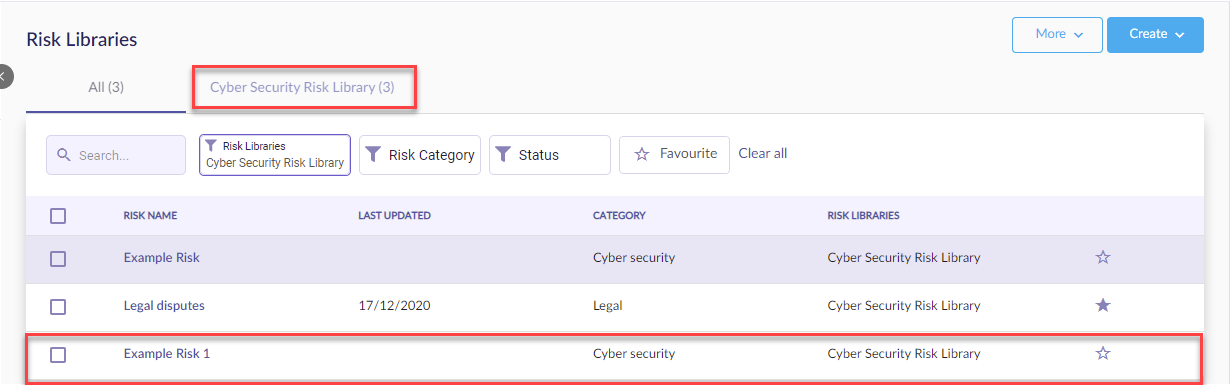
Select relevant Library to view the newly imported Risks.
Adding an Existing Risk to a Library
You can also add risks from other risk libraries to your new Risk Library.
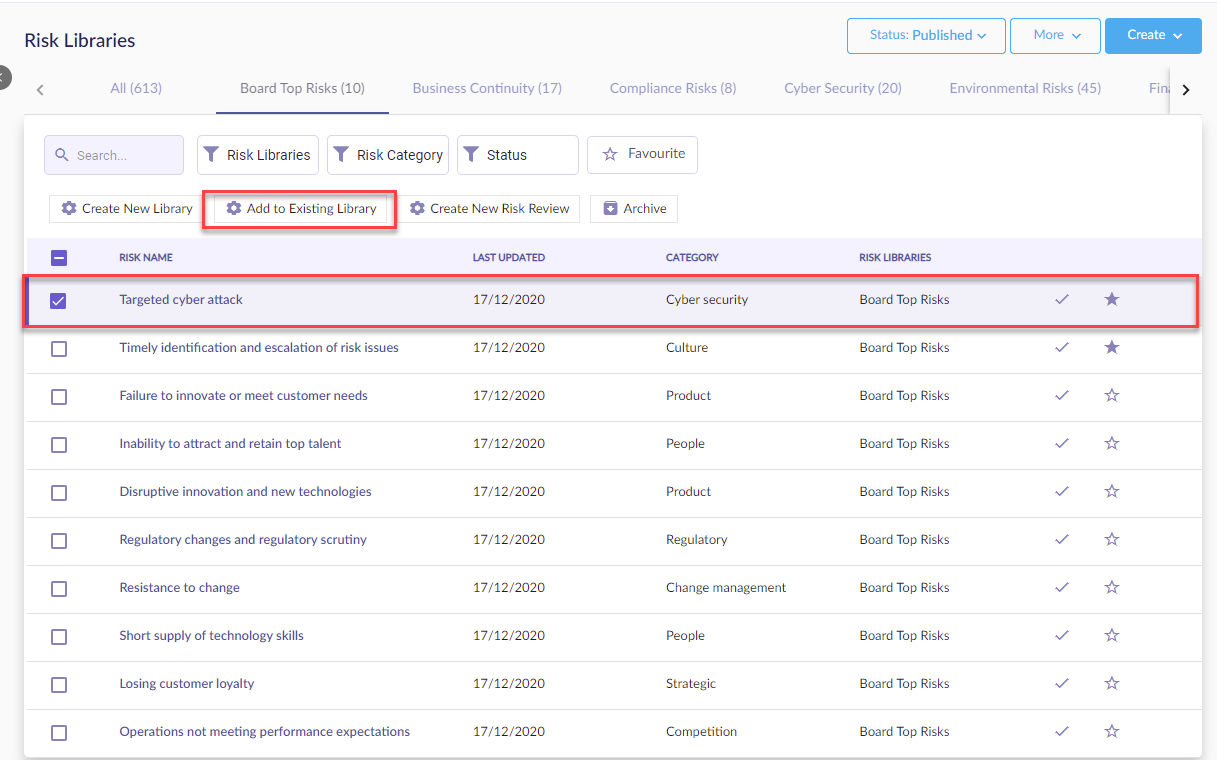
Select the Risks in the Risk Library table, then select Add to Existing Library to open the Add to Risk Library modal.
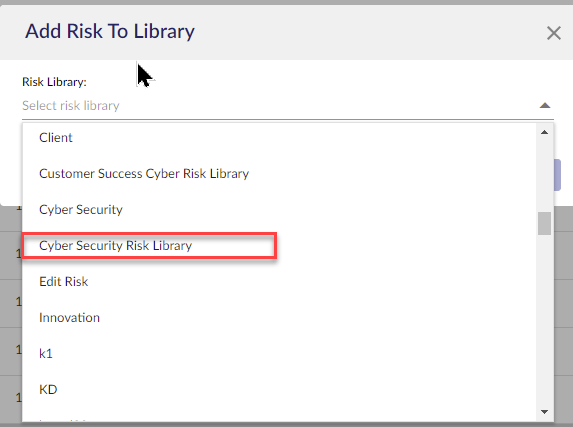
Select a Risk Library from the drop-down list then click the Add Risk button.
Navigate back to your newly created Risk Library to see the Risks have now been added.
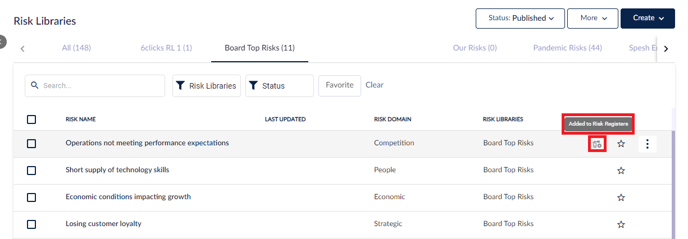
 There is also a quick link in each individual Risk to Add to Existing Library.
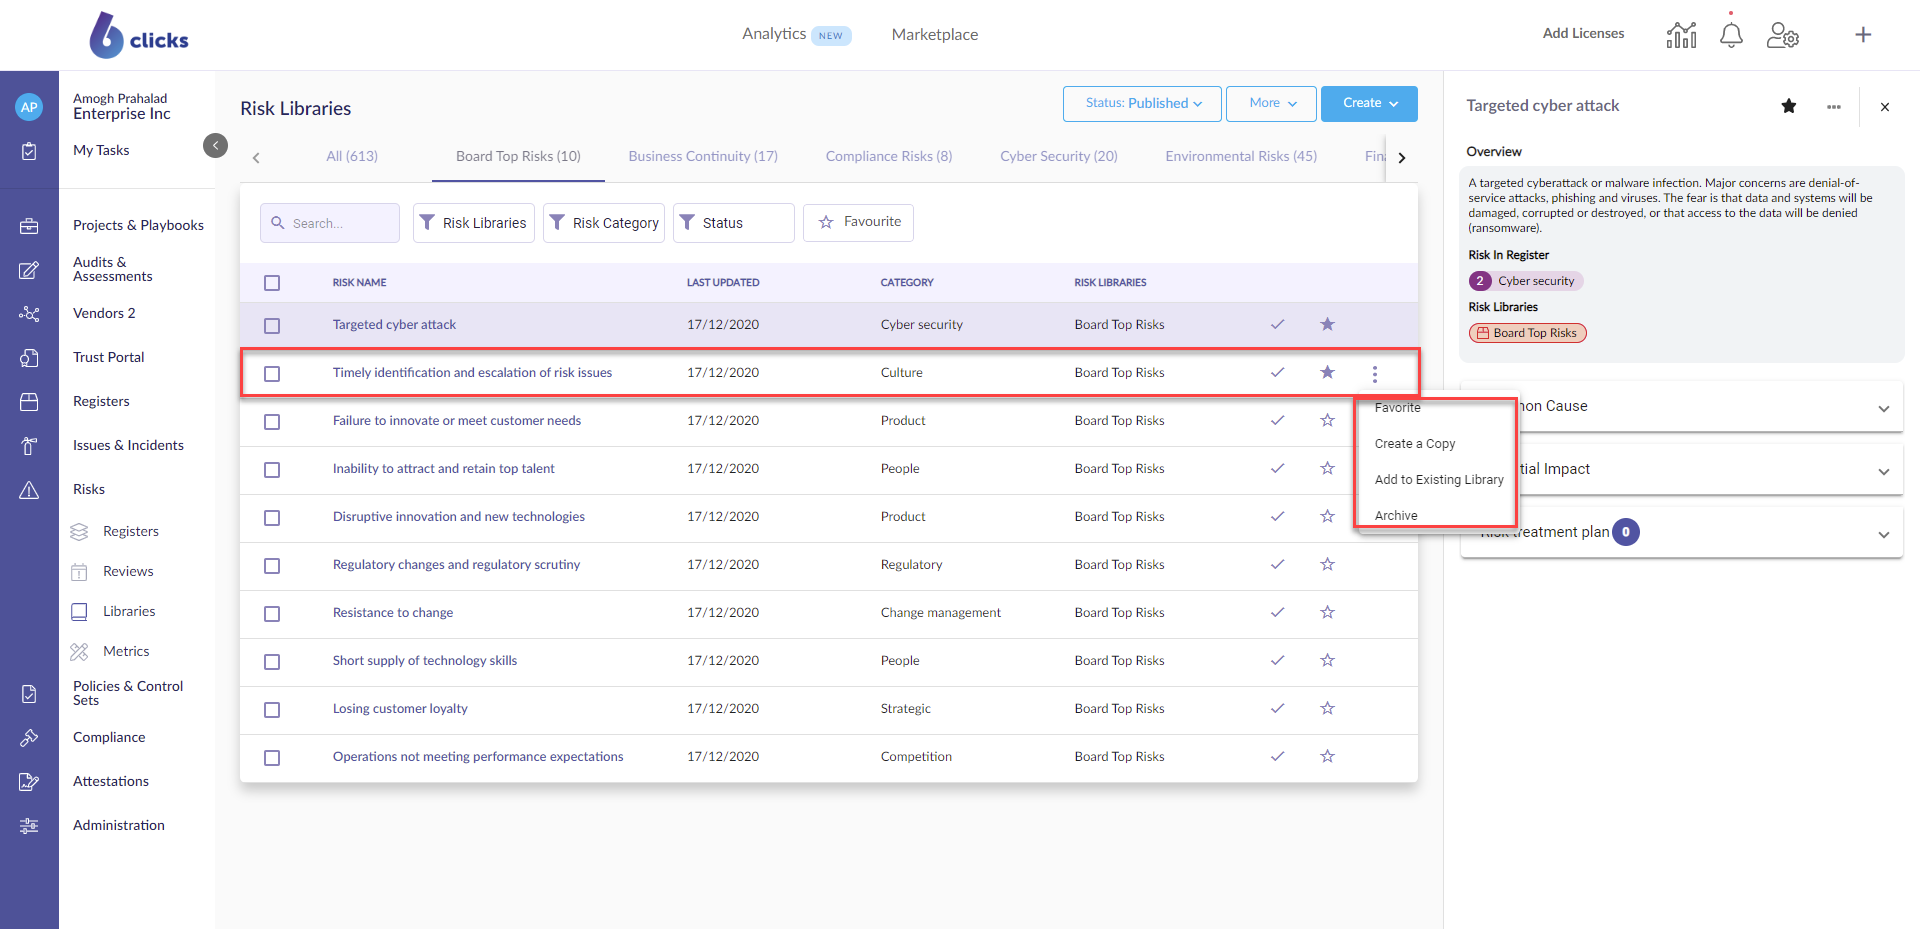
Click on the dots icon next to the Risk name.
 The dots icon also appears in the table view, providing options to mark as favorite which can be used for filtering and grouping Risks, create a copy of the Risk, and archive the risk.
Adding Risk Treatment Plans
Treatment Plans can be added to Risks within a Library manual or via Import. These Treatment Plans are abstract, meaning that they set out general treatment actions which will be assigned to users and due dates once active in the Risk Register.
To add a Risk Treatment Plan manually, go to a Risk Library in Edit mode and select the Risk.
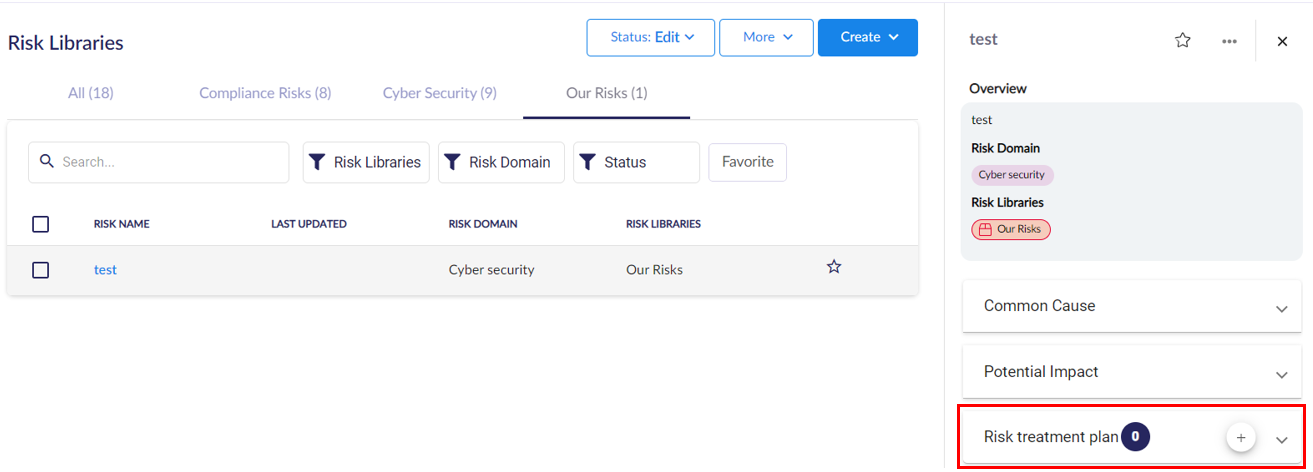
The right-hand modal includes a + button to add Treatment Plans. These can be created new or linked to existing Treatment Plans.
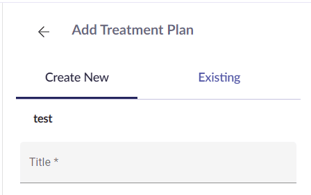
For new Treatment Plans, enter the Title and then hit Enter on your keyboard. This will create the Treatment Plan and give you the option to define an optional Description. Existing Treatment Plans from other Risks can be linked via the 'Existing' tab.
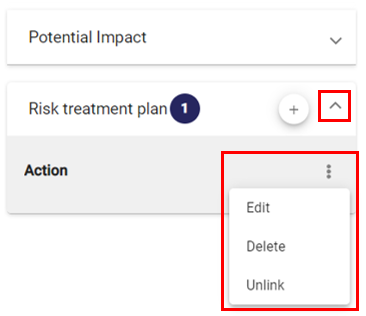
You can edit, unlink or delete linked Treatment Plans by expanding the Treatment Plan section and clicking on the vertical ellipses next to the Treatment Plan.
Using Published Risk Libraries
Once a Risk Library is published, it is now available to be used in several ways:
- Pushing Risks to the Register
- Populating the Risk Register via Automated Recommendations in Question Based Assessments
- Populating the Risk Register via Automated Recommendations in Requirement Based Assessments
Pushing Risks to the Register
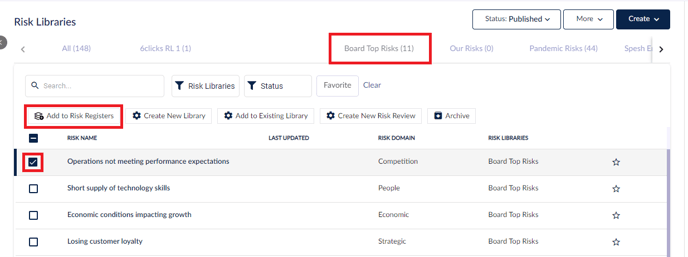
Select the risks you wish to push to the register, followed by the Add to Risk Registers button.
Please note you cannot add to risk registers from the "All" tab. You must select a risk from a specific library to proceed with the import. Also, the Add to Risk Registers button will only appear when the Status is Published.
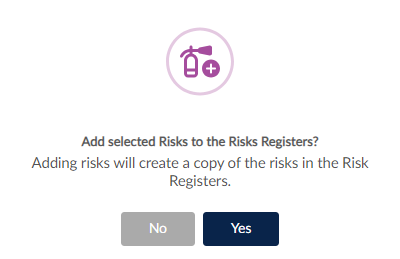
Click yes to proceed.
You'll receive a notification in the bottom-left corner of the screen when successful.
![]()
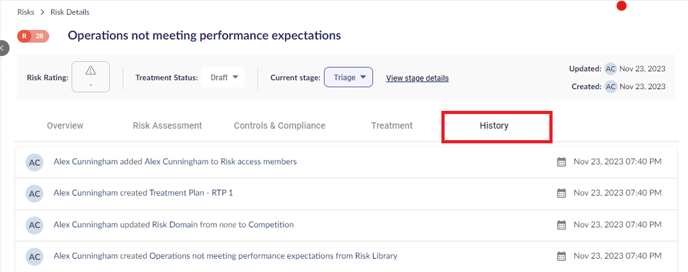
Navigate to the Risk Register to see your imported Risks and associated Risk Treatment Plans (if included).

The history tab will highlight which user has added the risk, along with the associated library.
An icon will now appear alongside all Risks which have been imported from a library.