Create risks and risk treatment while responding to a requirements based assessment
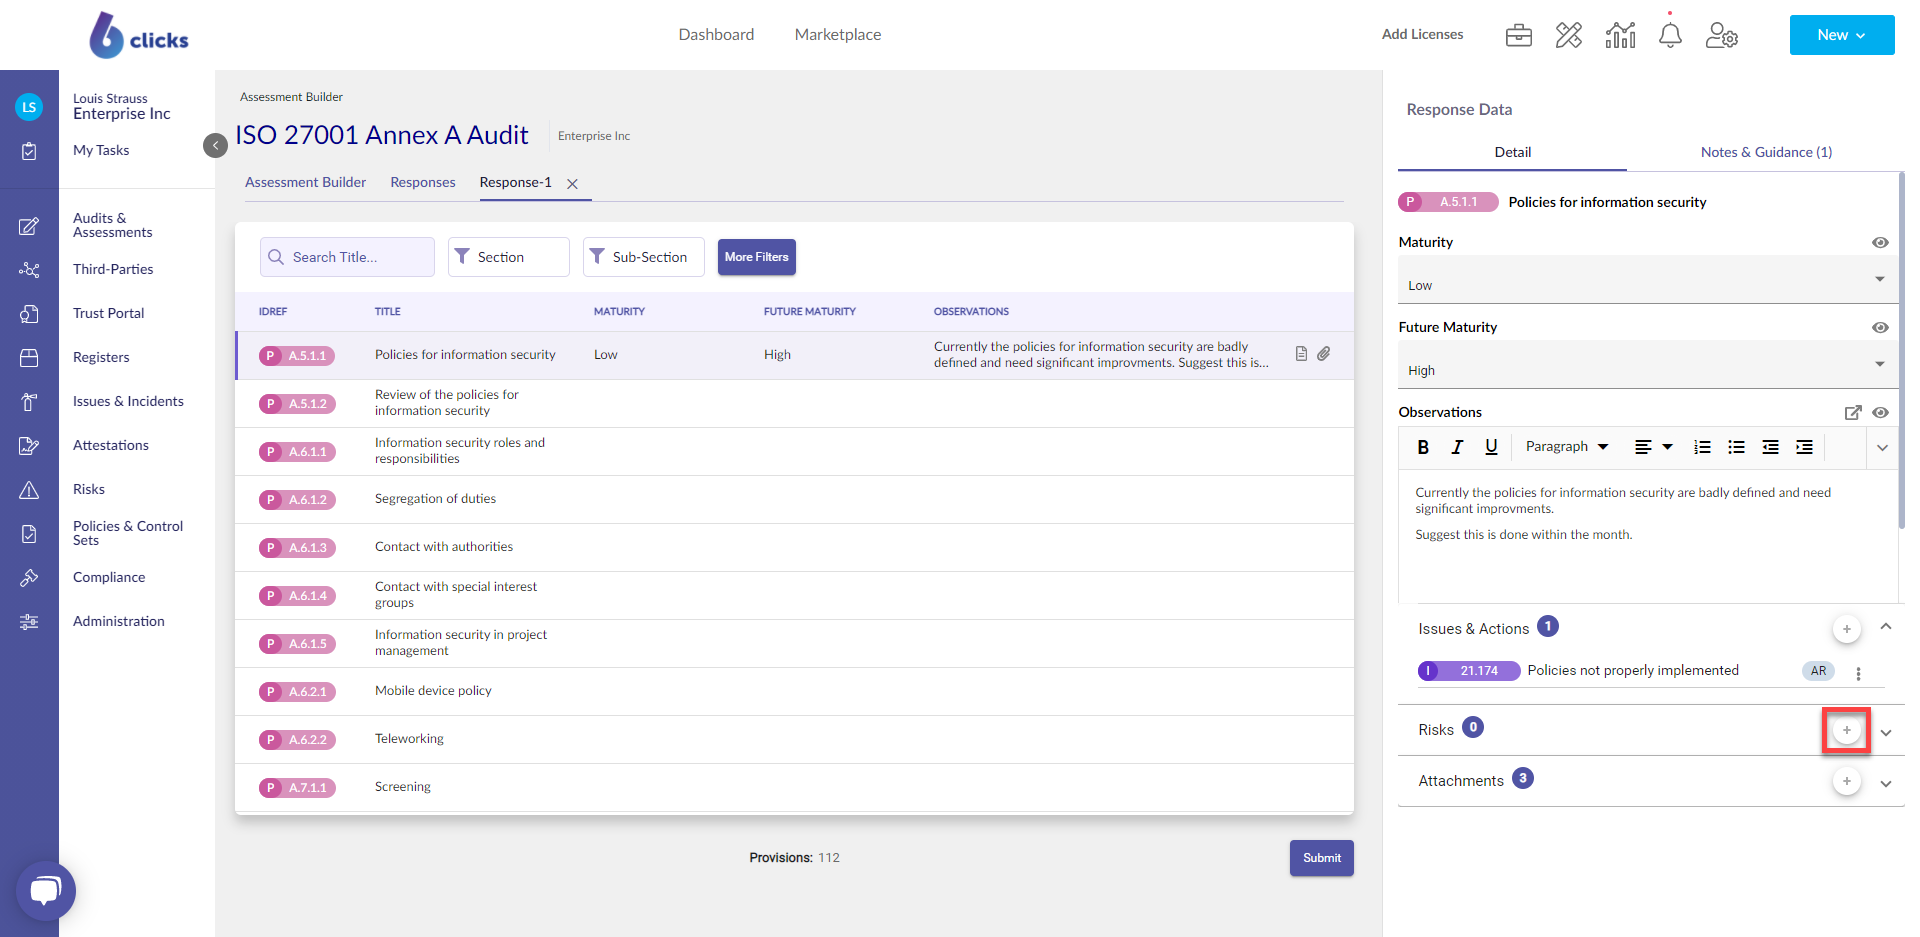
When responding to an assessment, you can create risks and risk treatment plans as you progress. To do this, firstly click on the requirement you want to add a risk or risk treatment plan to, then click the plus button in the Risks component in the side panel.
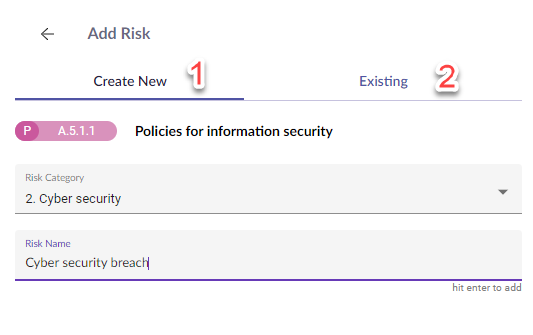
Next, you can either create a new issue in the Create New tab (1), or select an existing risk under the Existing tab (2).
Creating New Risk
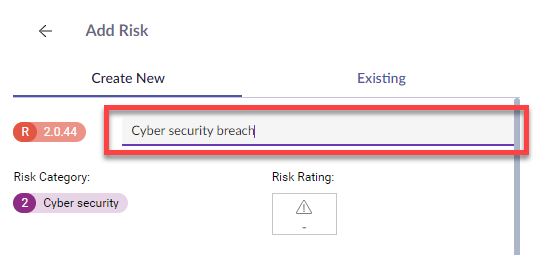
To create a new risk, select the Risk Category of the risk you are creating, then enter in the name of the risk and hit enter on the keyboard.
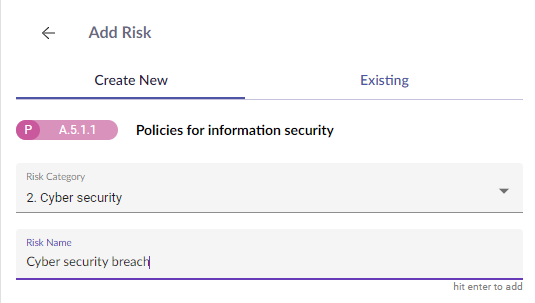
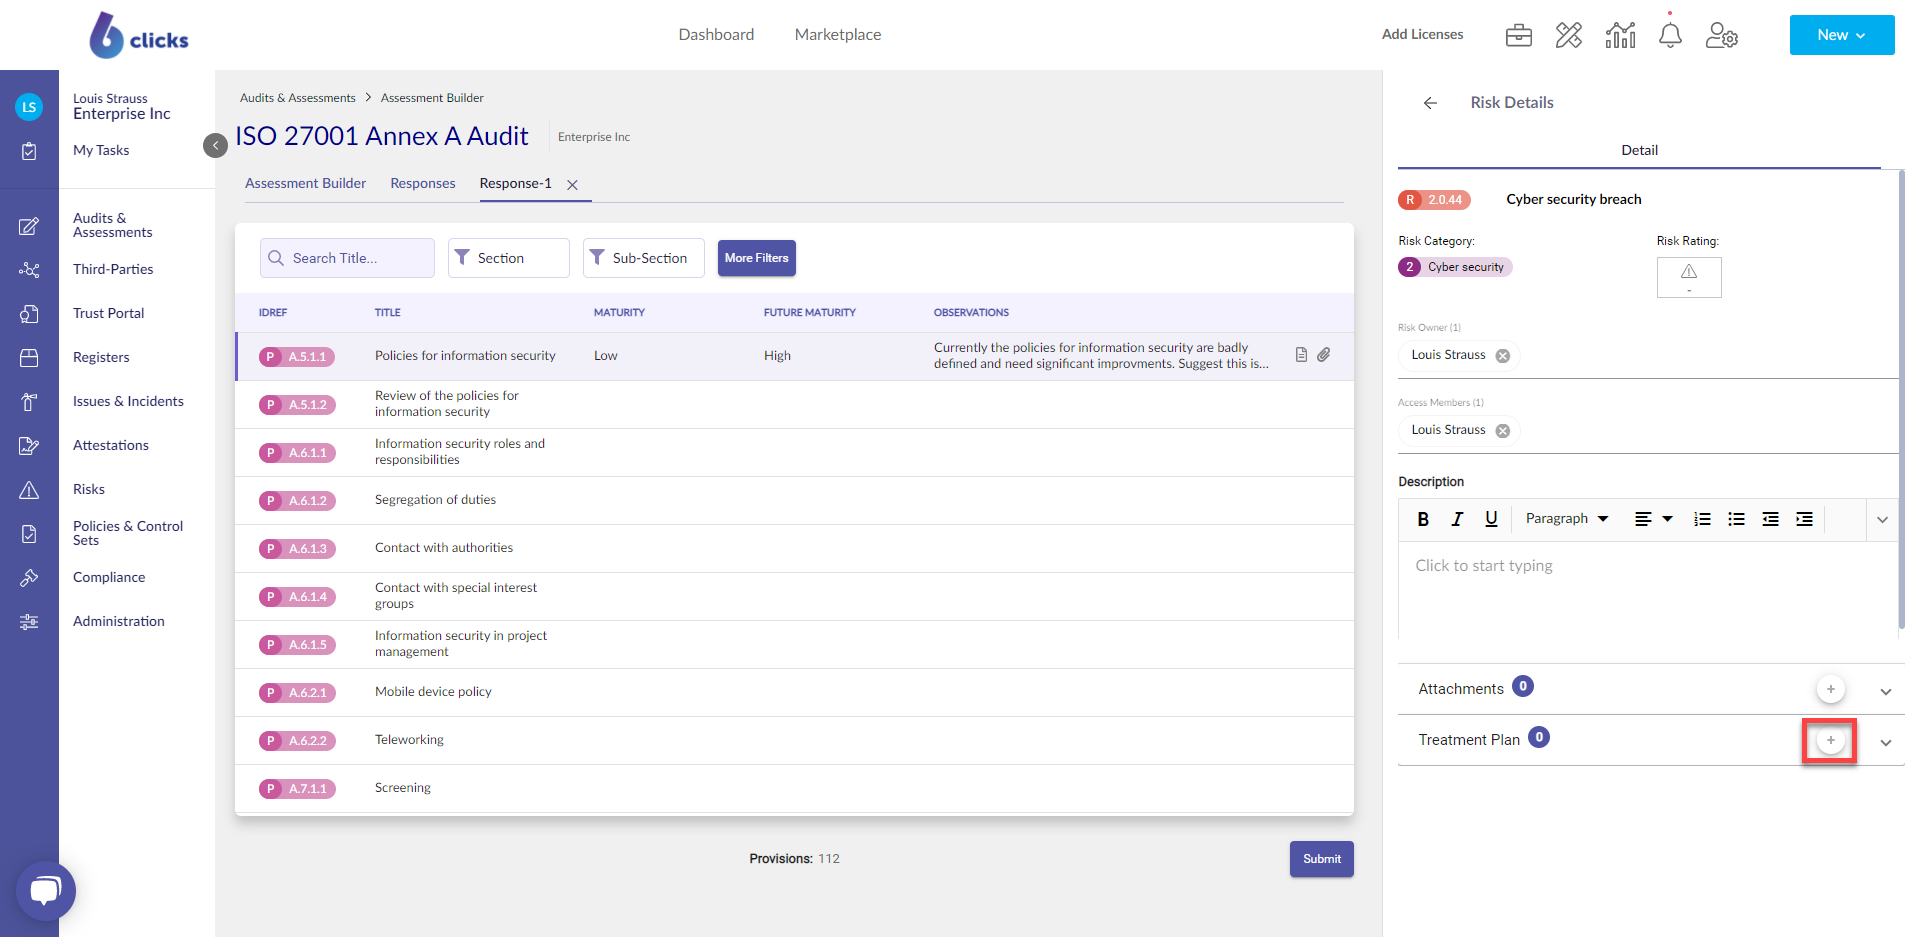
After hitting Enter, the risk will be created and added to the risk register. In the risk details screen on the side panel you can:
- Update the risk category
- View the risk rating (note you can only update the risk rating via the risk register)
- Set the risk owner
- Set who can view the risk via the access member list
- Add a description

You can also update the name of the risk by double-clicking on the risk's name.
Linking Existing Risks
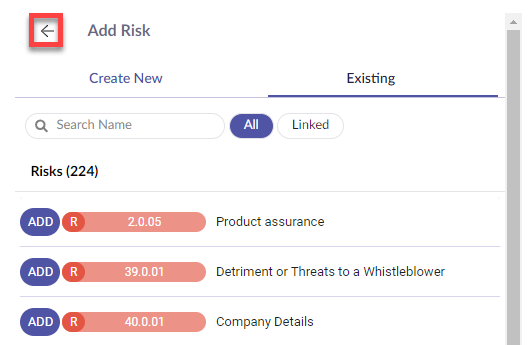
To link an existing risk that has already been created in 6clicks, select the Existing tab.
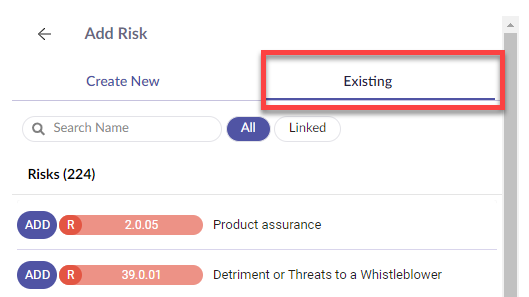
From here you can browse for risks. To link a risk to the requirement, click the Add button.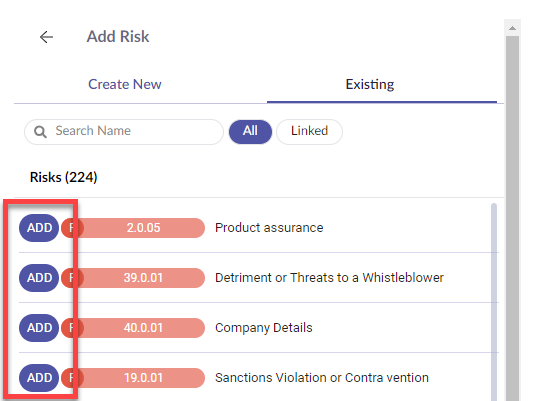
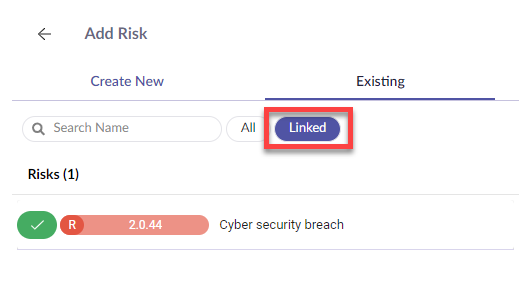
You can also view risks that have already been linked to the risk by selecting the Linked filter.
Viewing Linked Risks
To view the risks that have been linked to the requirement, click the back button next to Add Risks.
The list of risks is displayed in the Risks component of the side panel.
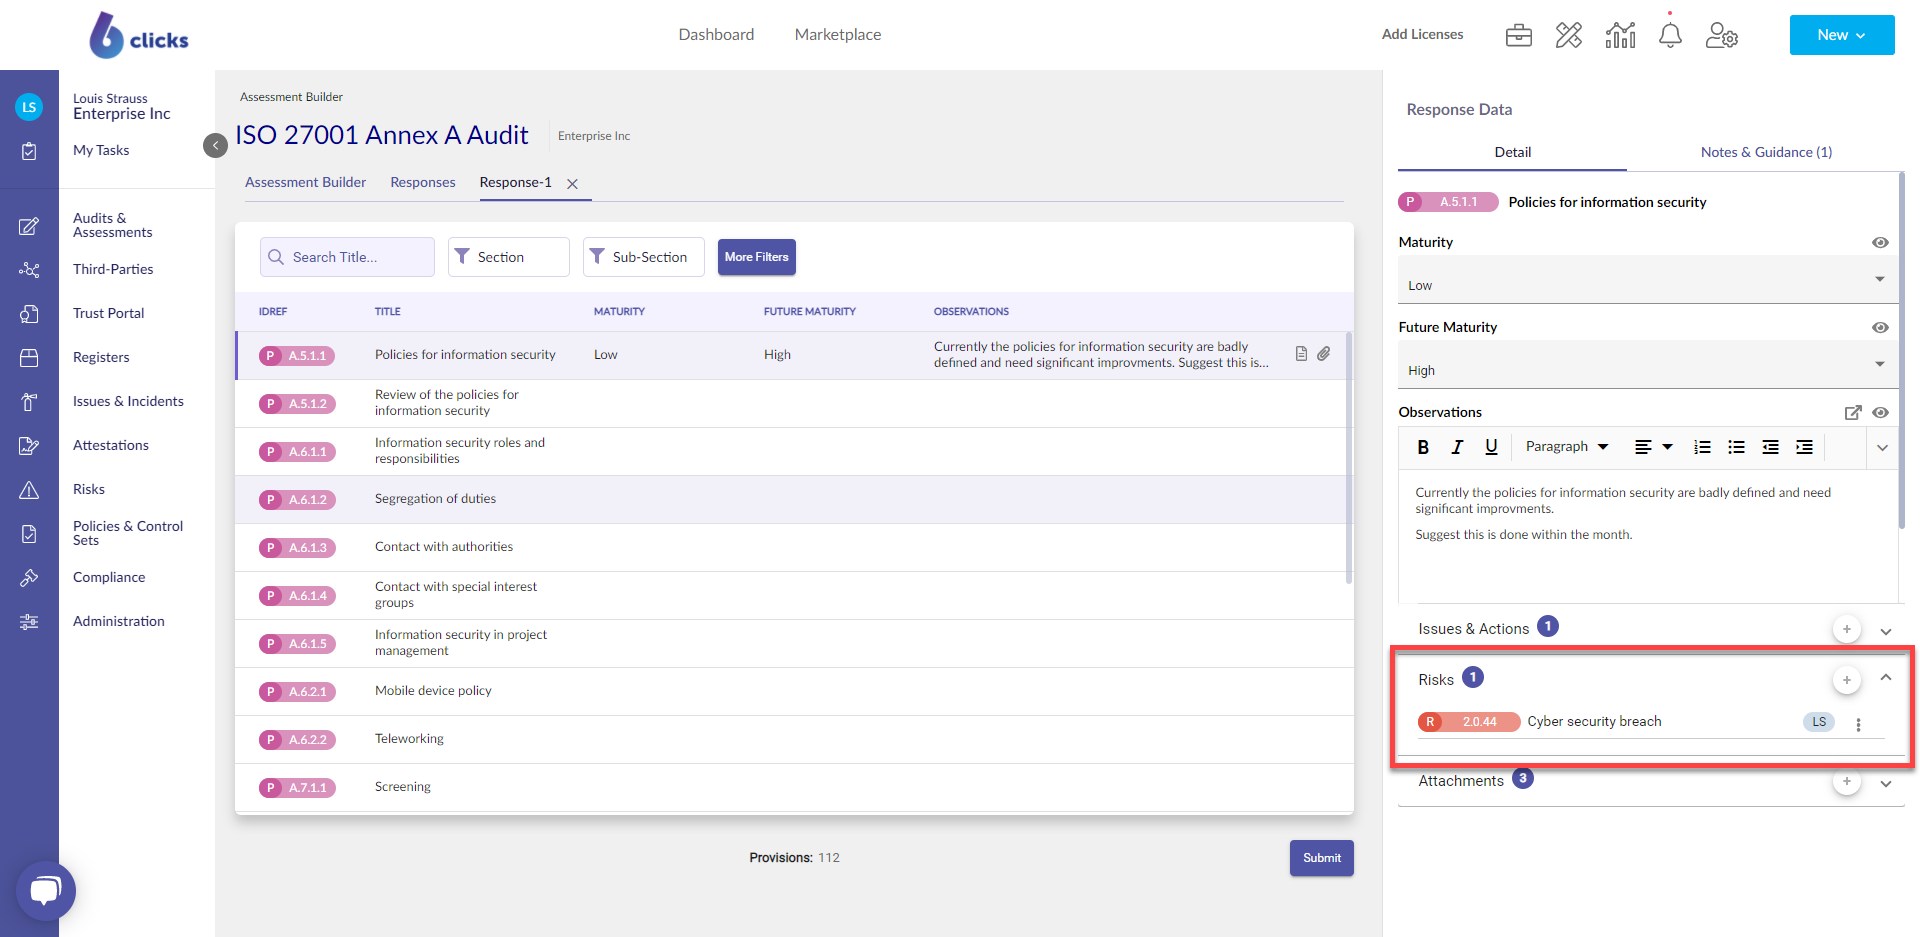
To view the details of a risk, or to unlink, click the Action button next to the risk name.

Creating Risk Treatment Plans
In the risk you want to create an action for, click the plus button next to Treatment Plan.
In the side panel, you can select whether you want to create a new risk treatment plan (1) or select an existing one (2).
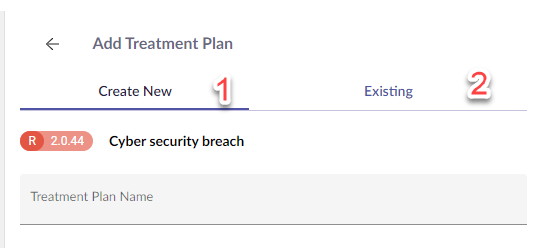
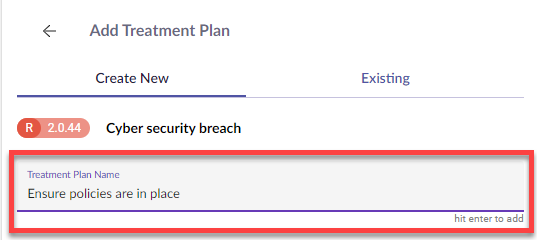
Creating New Risk Treatment Plan
To create a new risk treatment plan, add the name and then hit Enter on your keyboard.
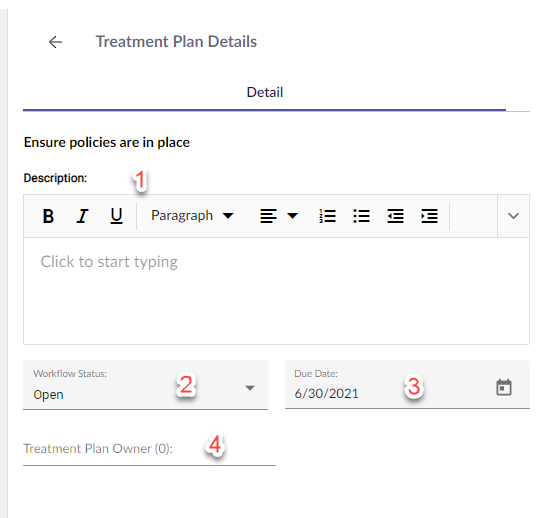
Once you have created the risk treatment plan, you can:
- Add a description
- Update the status
- Set the due date
- Assign an owner
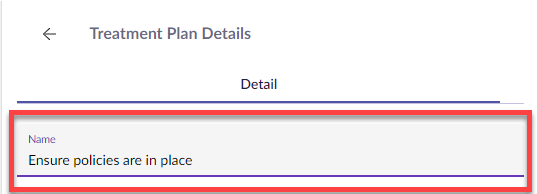
You can also update the name of the risk treatment plan by double-clicking on the risk treatment plan's name.
Linking Existing Risk Treatment Plans
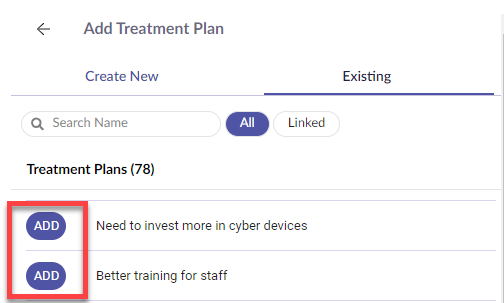
To link an existing risk treatment plan that has already been created in 6clicks, select the Existing tab.
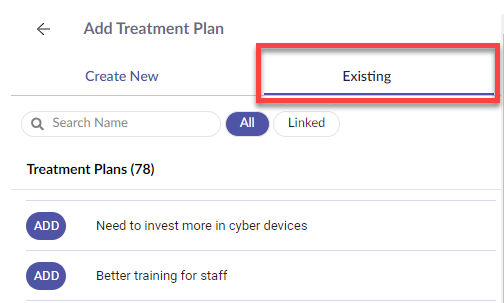
From here you can browse for risk treatment plans. To link a risk treatment plan to the requirement, click the Add button.
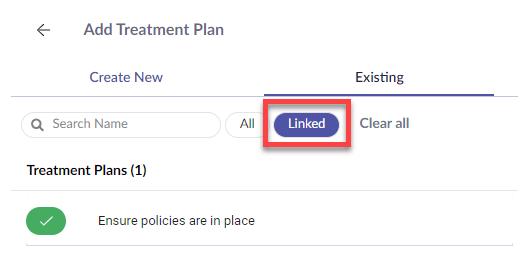
You can also view risks that have already been linked to the risk by selecting the Linked filter.
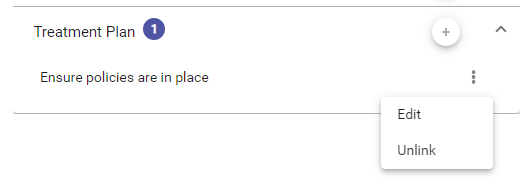
Viewing Linked Risk Treatment Plans
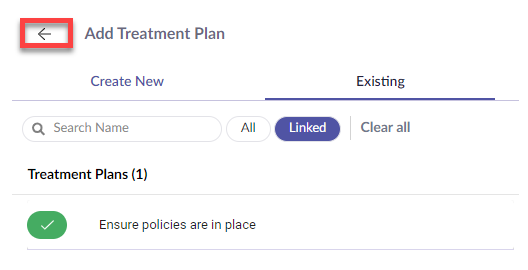
To view the risk treatment plans that have been linked to the requirement, click the back button next to Add Risk Treatment Plan.
The list of risk treatment plans is displayed in the Risk Treatment plan component of the side panel.
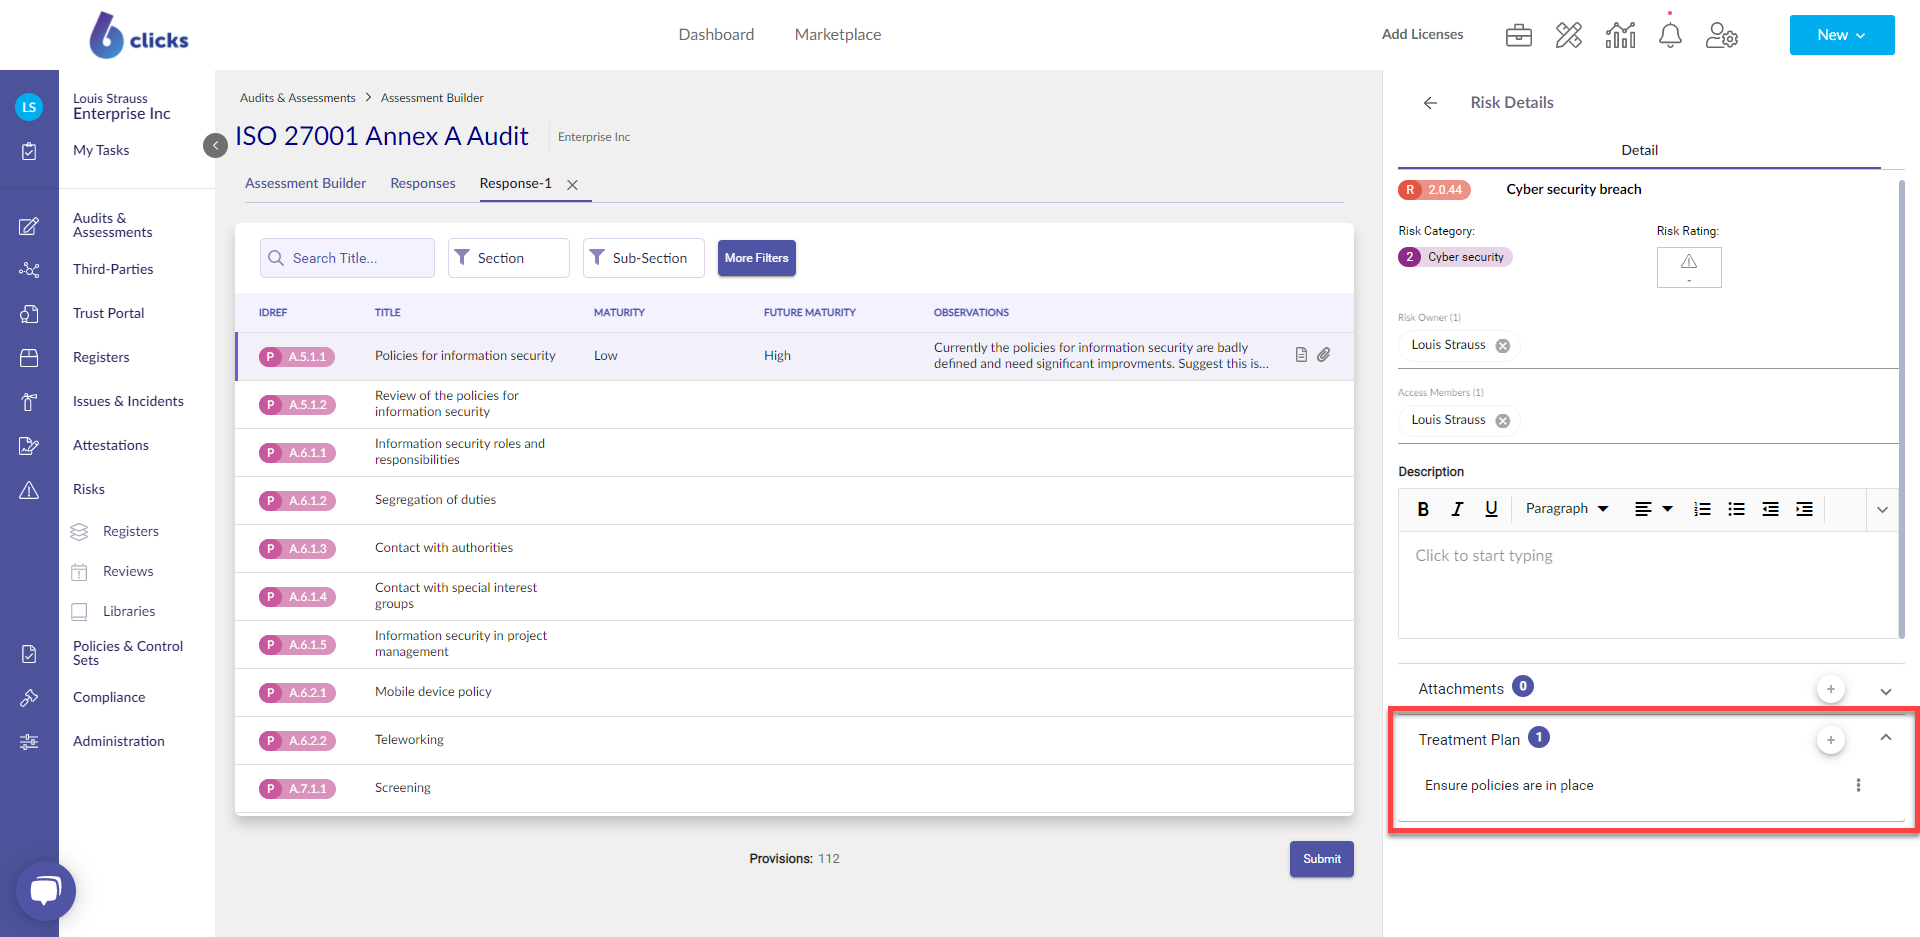
To view the details of a risk treatment plan, or to unlink, click the Action button next to the risk treatment plan name.