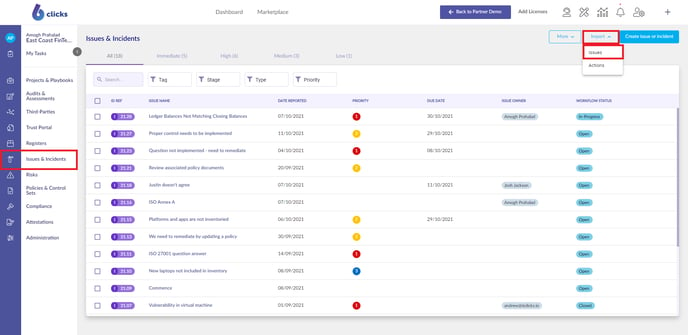
Select Issues & Incidents from the left navigation panel.
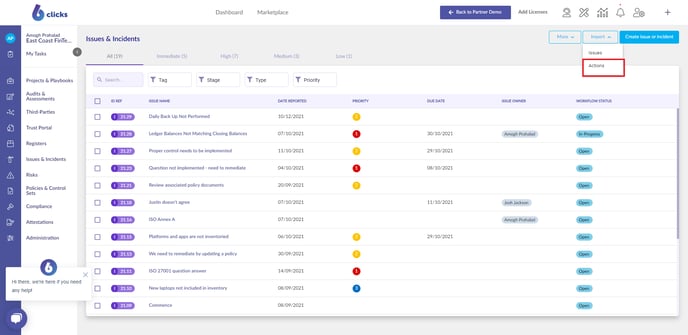
Select Import from the top right of the Issues & Incidents screen, then select Issues.
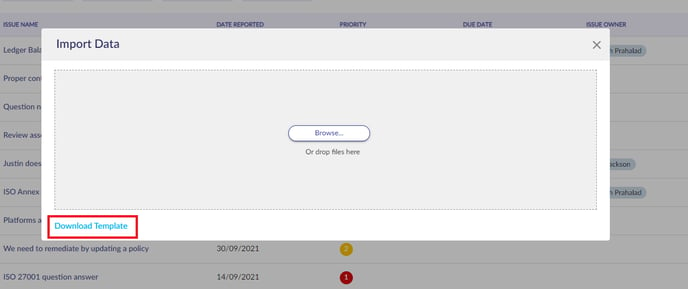
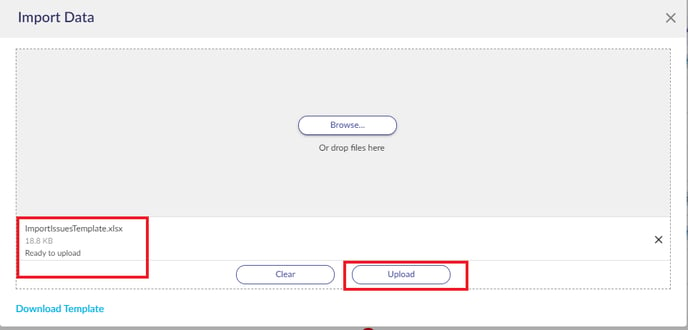
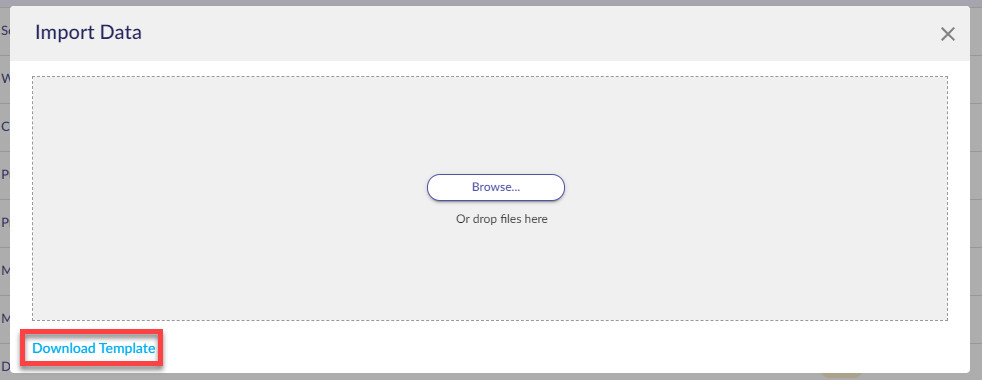
Select the Download Template link within the Import Data pop-up window.
 The Import Issues Template has column headings that correspond with field names in a

The issue import file has the following headers:
Name: Add the name of the issue.
Description: Add the description of the risk
Stage: Add the stage in which the issue is in. These should have no spaces in the label (i.e. In Progress should be "InProgress".
Identified By: Add the name of the person who identified the issue.
Issue Owner: Add the email of a user that already exists in your team. If the email of the user does not exist in your team, they will be added.
Associated Tag(s): Add relevant tags - you can add as many as you like using a comma as a separator. Tags are used as categorizing risk registers.
Date Reported: Add the date the issue was reported.
Priority: Add the priority level.
Type: Add in either Issue or Incident.
Custom Attributes
You can also import custom attributes using the import functionality. Once you have set up the custom attributes for an Issue, you will need to add them to the import file. To do this, you will need to add the code for the type of custom attribute, followed by a dash and then the name of the custom attribute.
For example, if a custom attribute is called Contact name, and it is free text, then the column name in the import file should be FT - Contact name. If the custom attribute is a drop-down with the name Priority, then the column name in the import file should be DD - Priority. Below is how they should be added to the excel import file:

Below are the following codes for the attribute types:
- Free Text - FT
- Drop-Down - DD
- Multi-Select - MD
- Rich Text Editor - RT
- Date - DT
- Number - NUM
Once the column names have been defined, you can enter your data in each cell:
- For free text, you can add any text you like.
- For drop-down, you must enter the name of a selectable option in the defined dropdown list. The text must match identically and is case-sensitive.
- For multi-select, you must enter the names of a selectable option in the defined dropdown list separated by a comma (,). The text must match identically and is case-sensitive.
- For free text, you can add any text you like.
- For Date, use DD/MM/YYYY. Make sure the cell format is text.
- For Number, use any number including decimals. Ensure the cell format is number.
Ensure that you do not change the formatting of the template or move around the column names.
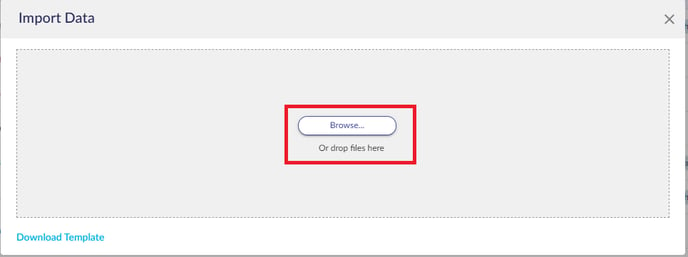
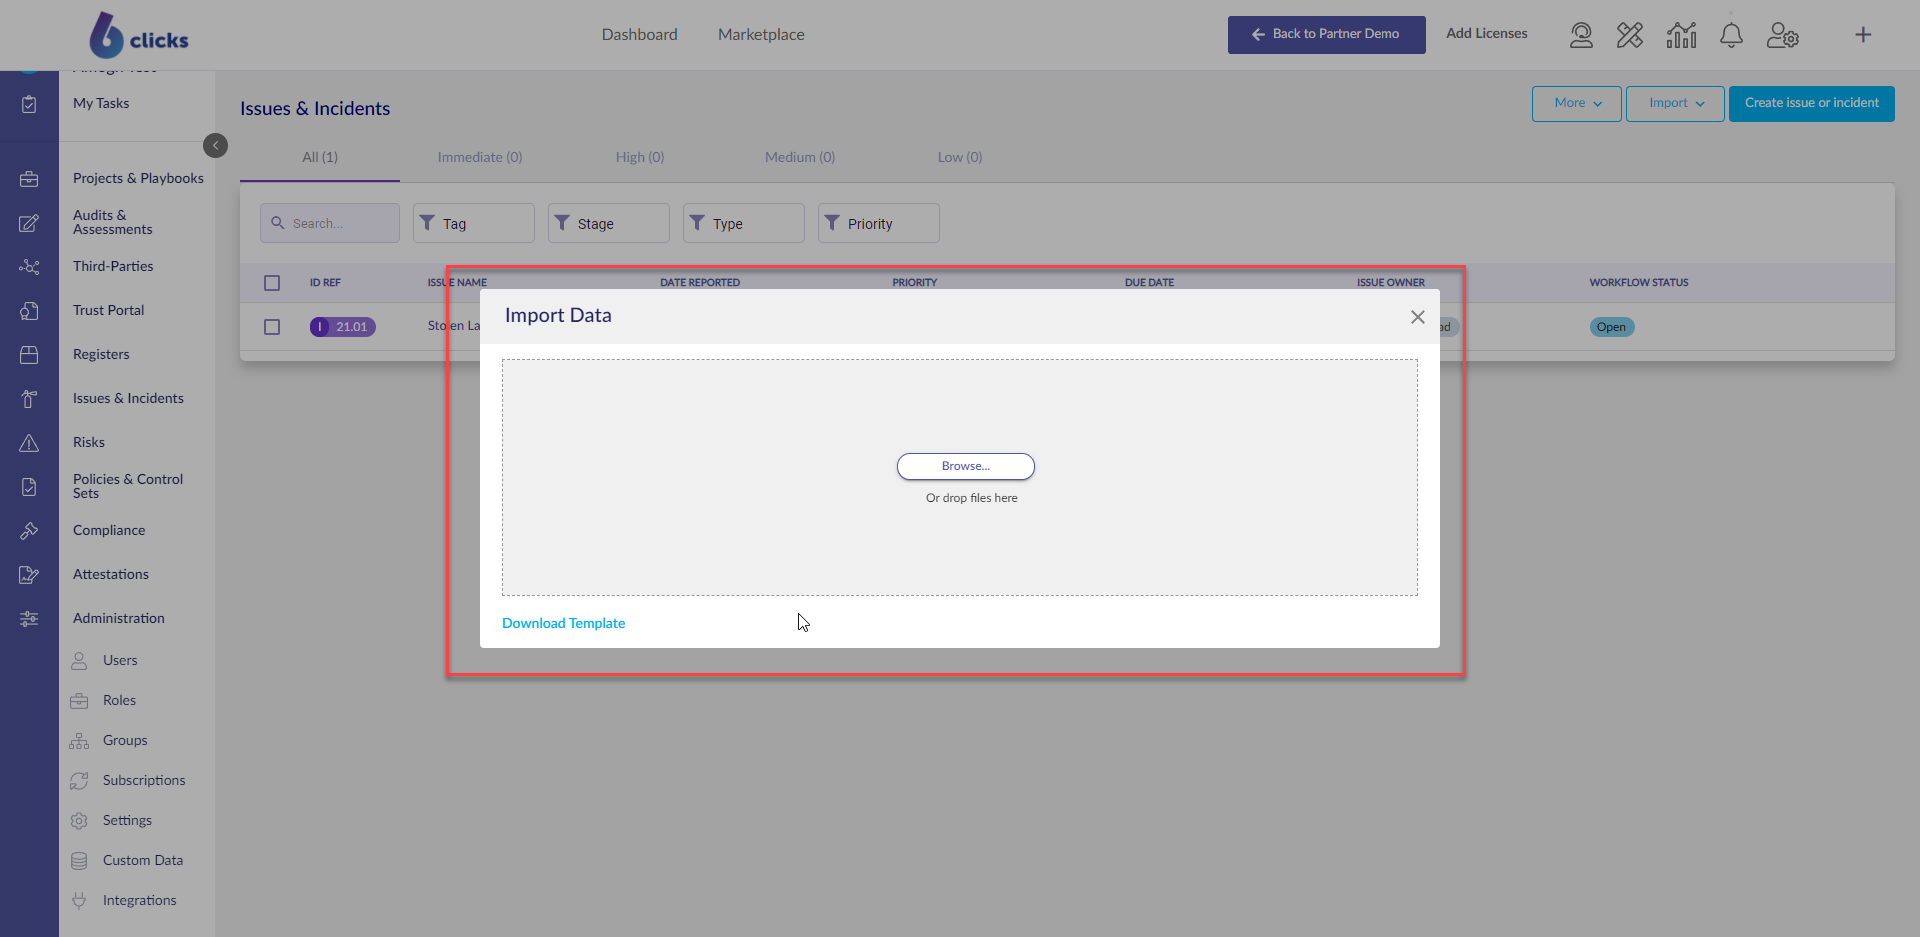
To import your issues, select Import > Issues, then select the Browse button. Select your file or drag and drop it into the space provided next to Browse.
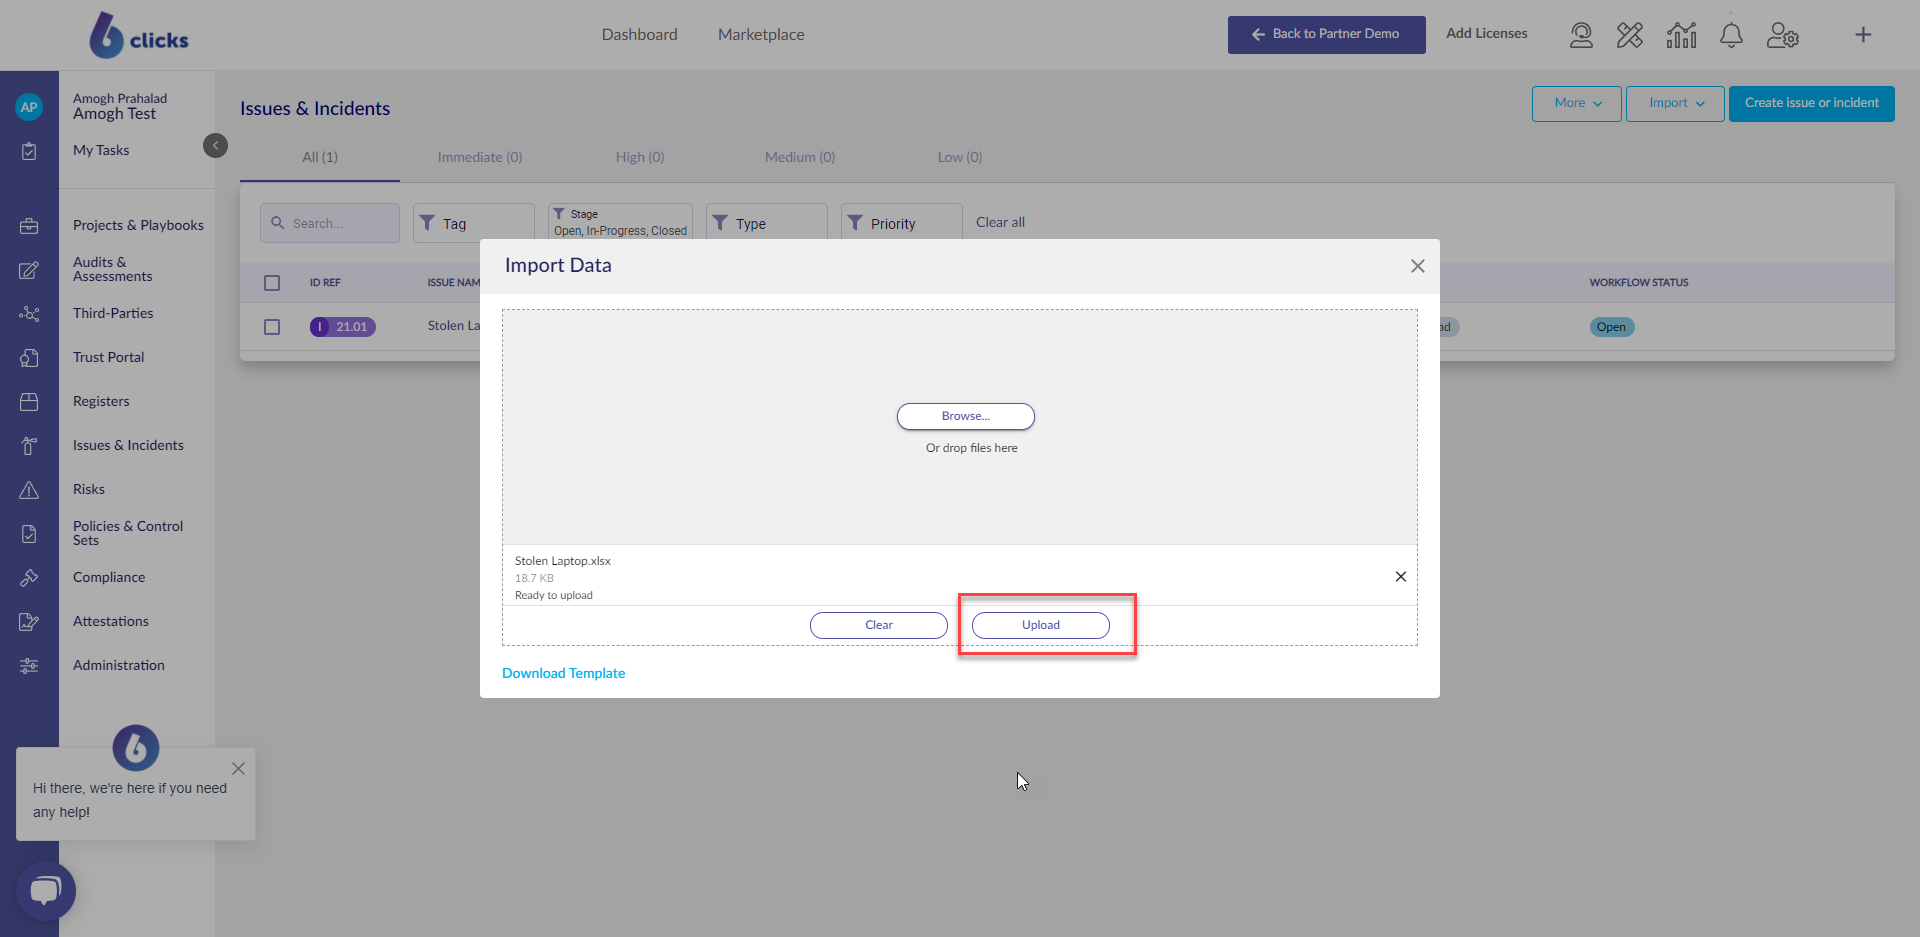
Once the file is ready to be uploaded, it will show the file name below the Browse button with the text 'Ready to upload,' select Upload.
 Once the file has successfully uploaded, you will see a confirmation pop up at the bottom left of the Issues and Incidents screen confirming the 'Records Imported Successfully'. Refresh the page to see the risks in the risk register.
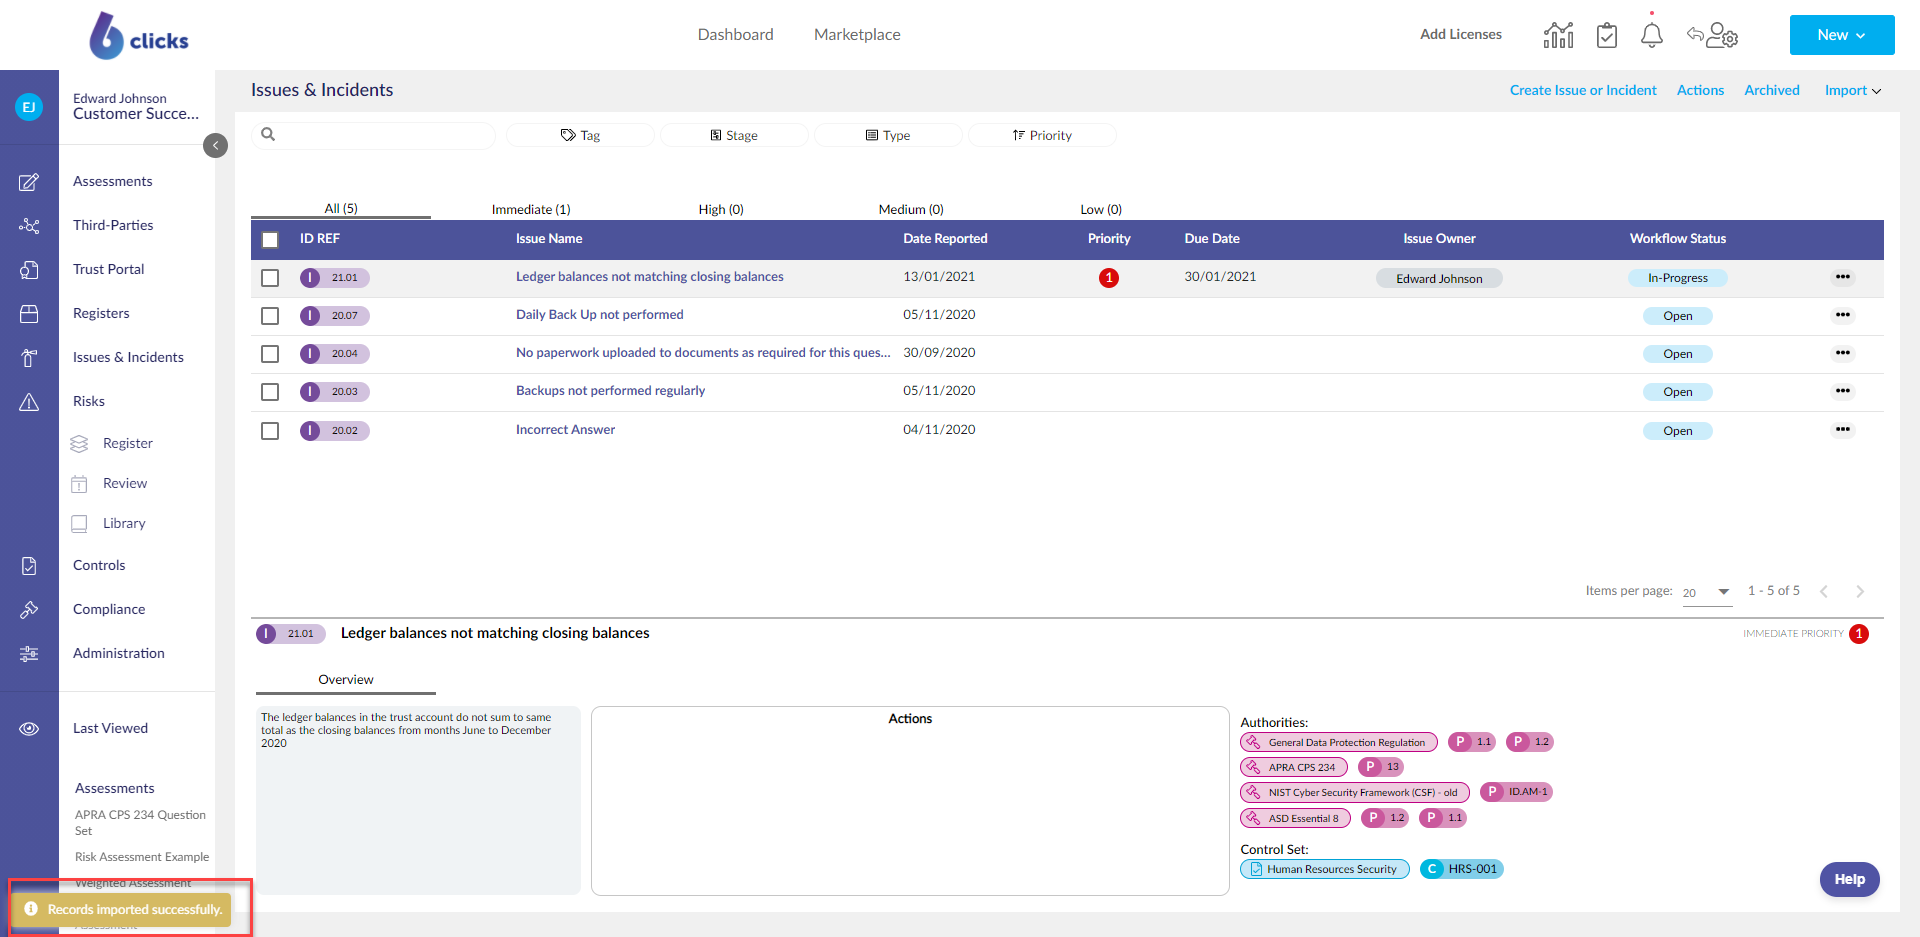 Refresh the page to display imported records.
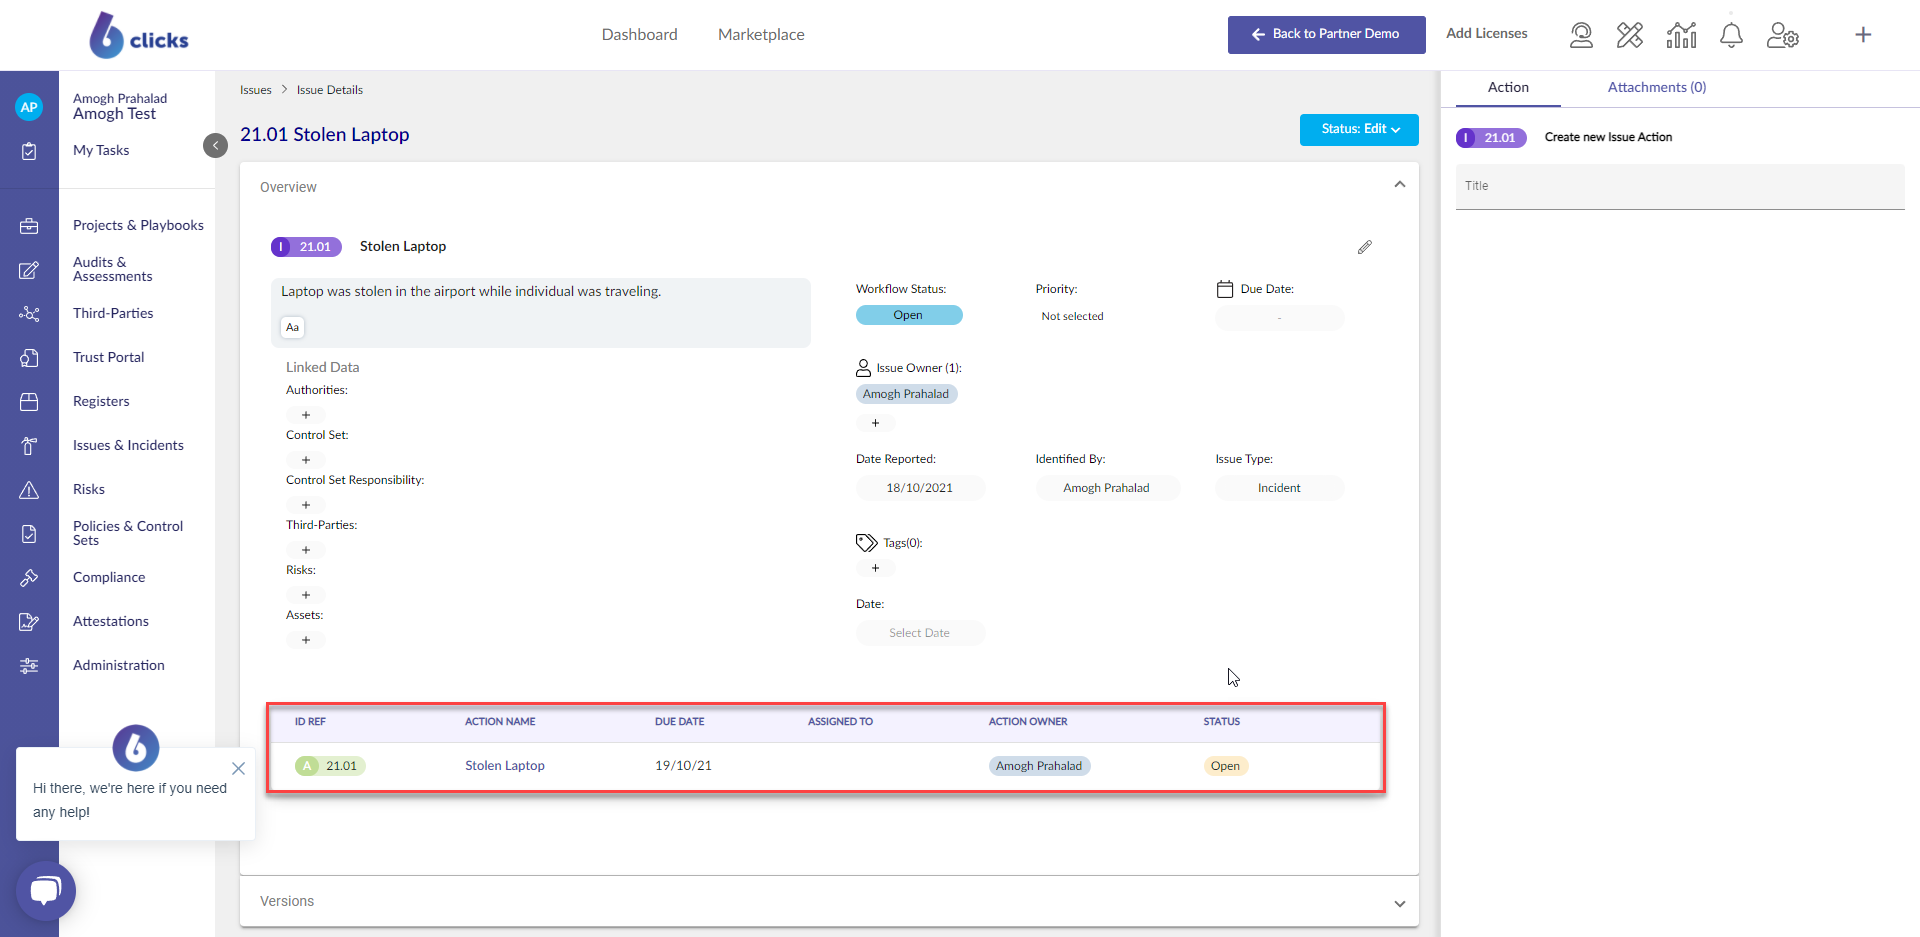
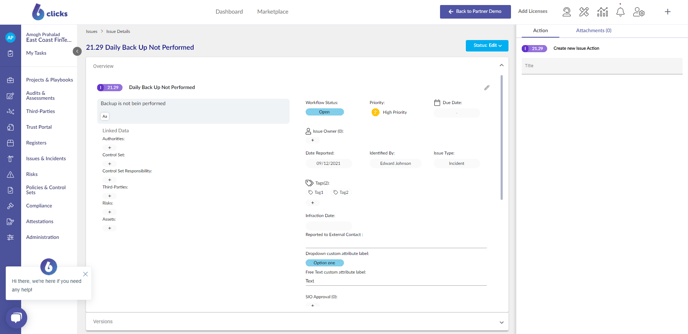
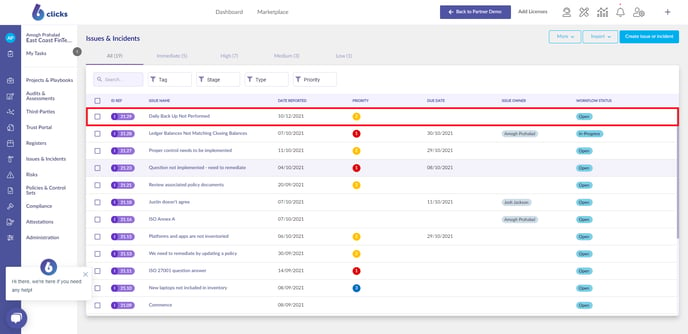 Select an Issue to view Issue Details.
 Importing Actions
To import Actions, select Import > Actions.
Download the Action import template.
The template has 6 columns:
Linked Issue: Add the name of the issue the action will be linked to. If you want to add multiple actions to an issue, add each action as its own row in the template.
Status: Add the status in which the action is in. These should have no spaces in the label (i.e. In Progress should be "InProgress".
Name: Add the name of the action.
Description: Add a description of the action.
Deadline: Add the date on which the action is to be conducted.
Assign Owner: Add the email of a user that already exists in your team. If the email of the user does not exist in your team, they will be added.
To import your Action, simply select Import > Actions, then select the Browse button. Browse for your template or drag and drop it into the space provided next to Browse.
Once the file is ready to be uploaded it will show the file name below the Browse button with the text 'Ready to upload', select Upload.
Once the file has successfully uploaded you will see a confirmation pop up at the bottom left of the Issues and Incidents screen confirming the 'Records Imported Successfully'. Click on the Issue from the Issue register. Refresh the page and the Action is at the bottom of the overview.