
As a partner, you can create project templates and provide them to your client via your exclusive Content Library or through client templates
Project templates are a great way for you to plan and manage client engagements, while also ensuring best practice and repeatability. Projects consist of tasks and sub-tasks that are actionable items that can be assigned to advisors and client users.
Partners can predefine projects using project templates for specific types of engagements to ensure repeatability and best practice. These template projects can then be accessed by clients from your exclusive Content Library, or added to client templates, meaning they will be instantly available when a client is created from the client template. For details on how clients can use templates, head here.
Creating Project Templates
Project templates are created from the Projects menu item under Content.
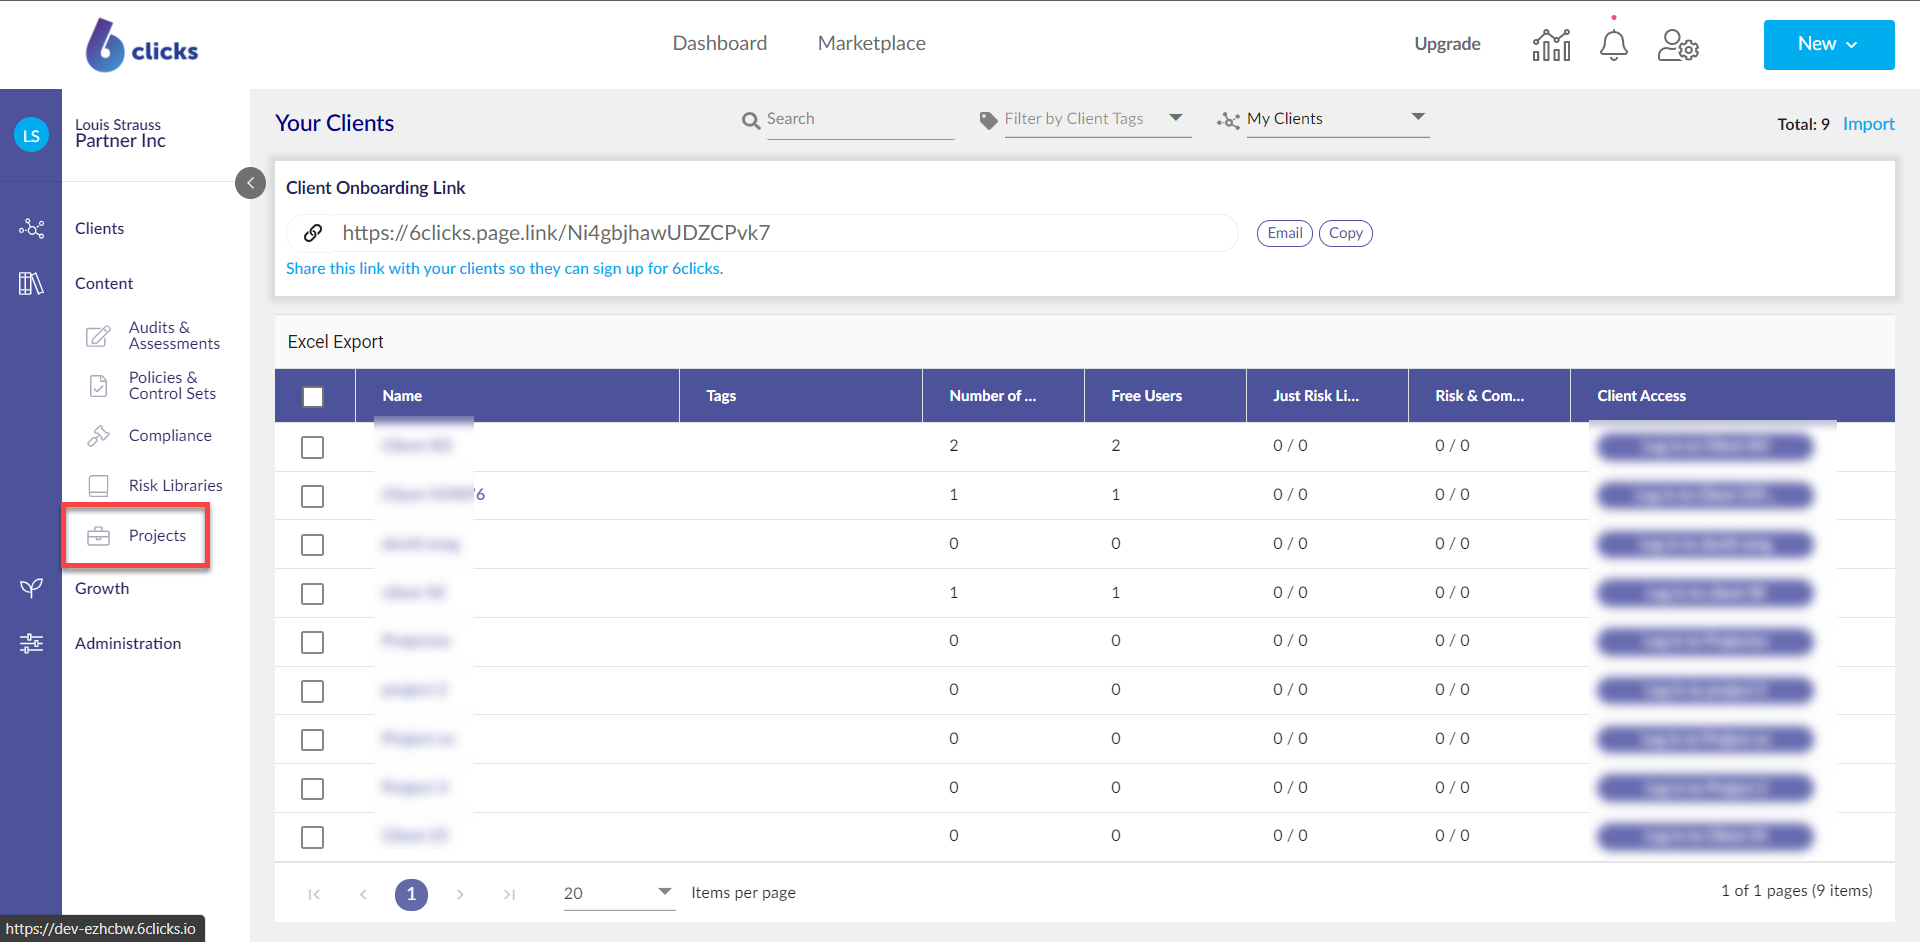
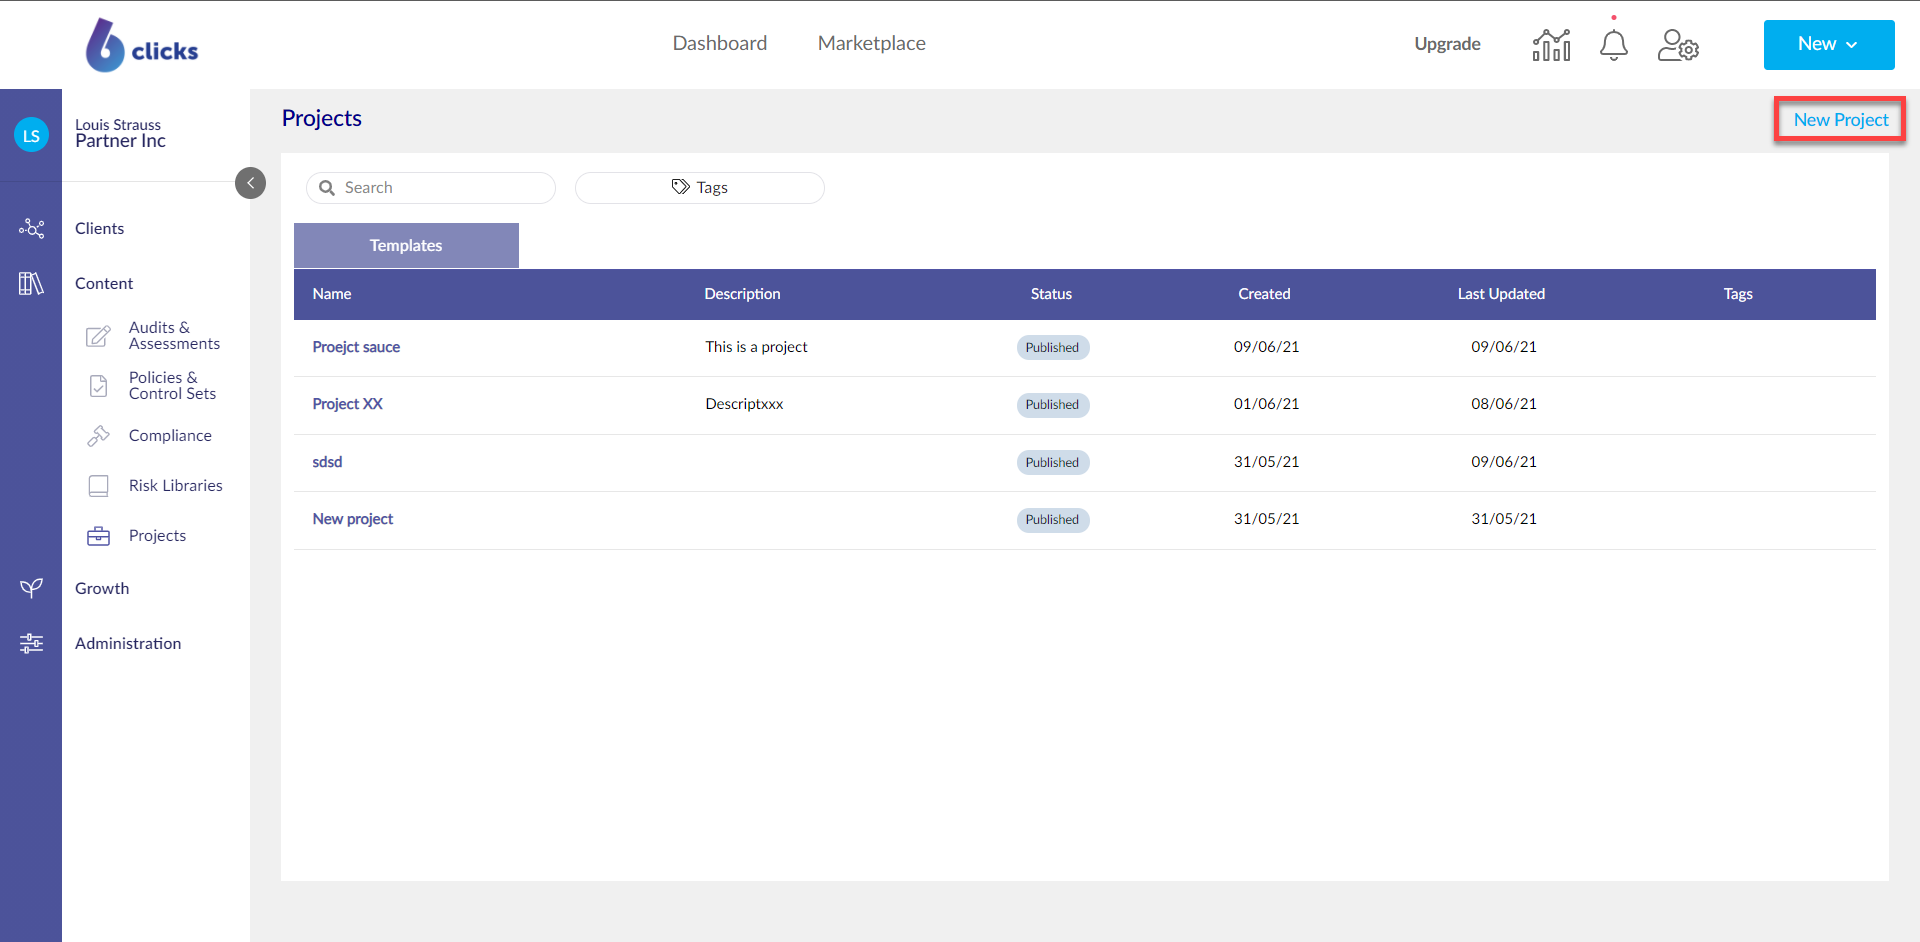
In Projects, click New Project to create a new Project Template.
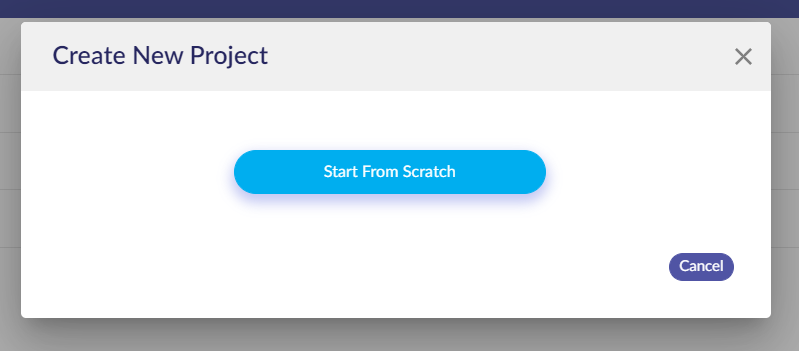
Next hit Start From Scratch.
In the Create New Project modal, enter in the project name and description, then hit Save As Template.
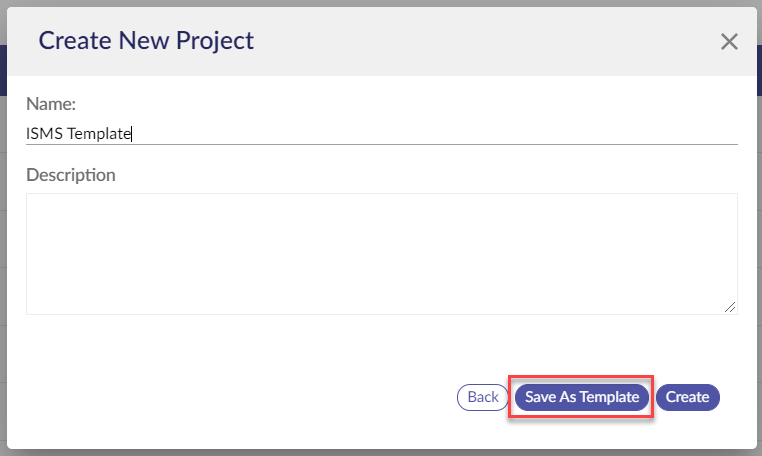
Upon clicking Save As Template, you will be navigated to the project template.
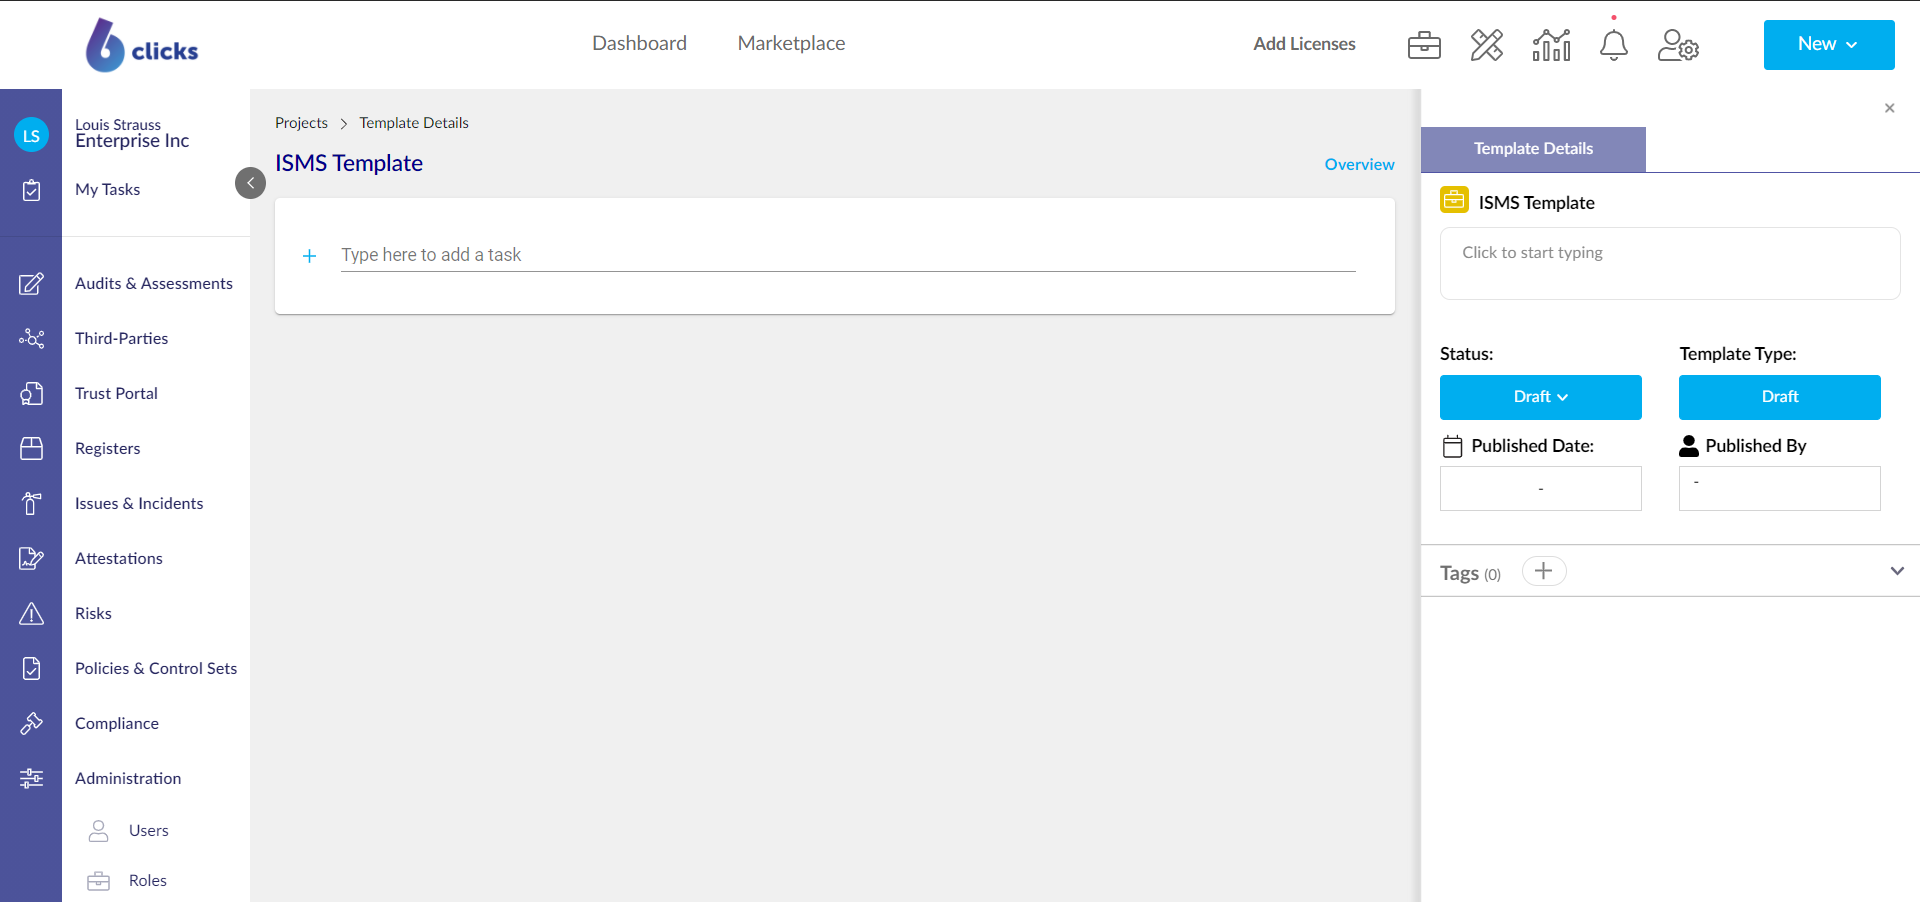
Adding and Moving Tasks
To add your first task, simply type into the task field and hit enter. A task will be created as per the below image.
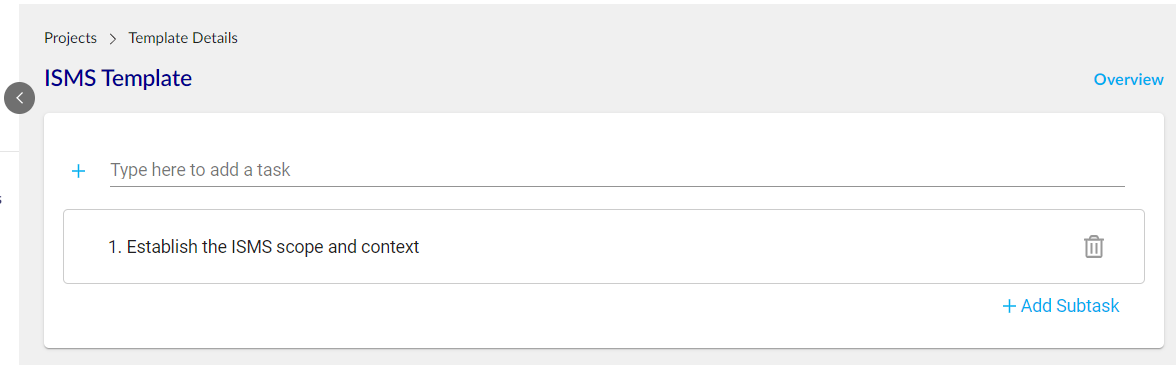
You can add as many tasks as you like. You can also add subtasks by clicking on the + Add Subtask button under each task.
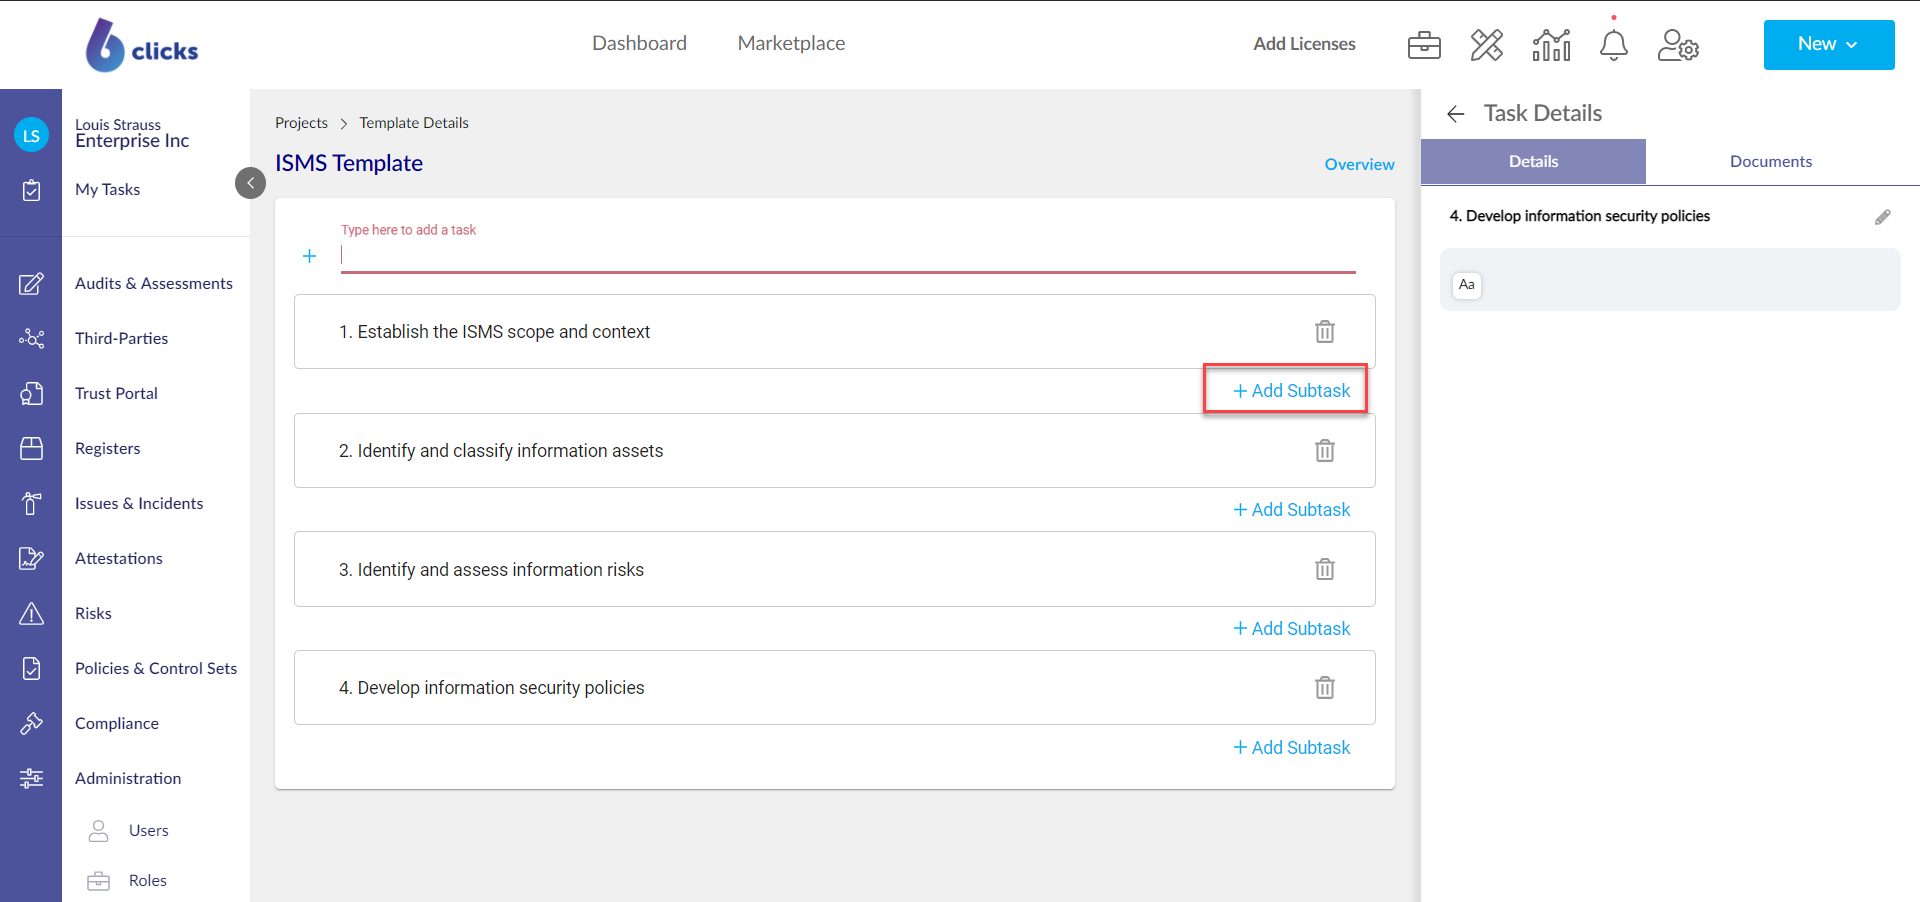
You can add as many subtasks as you like under each task.

You can also move tasks and subtasks by clicking and dragging the task. Note that you cannot make subtasks parent tasks and you cannot make parent tasks subtasks.
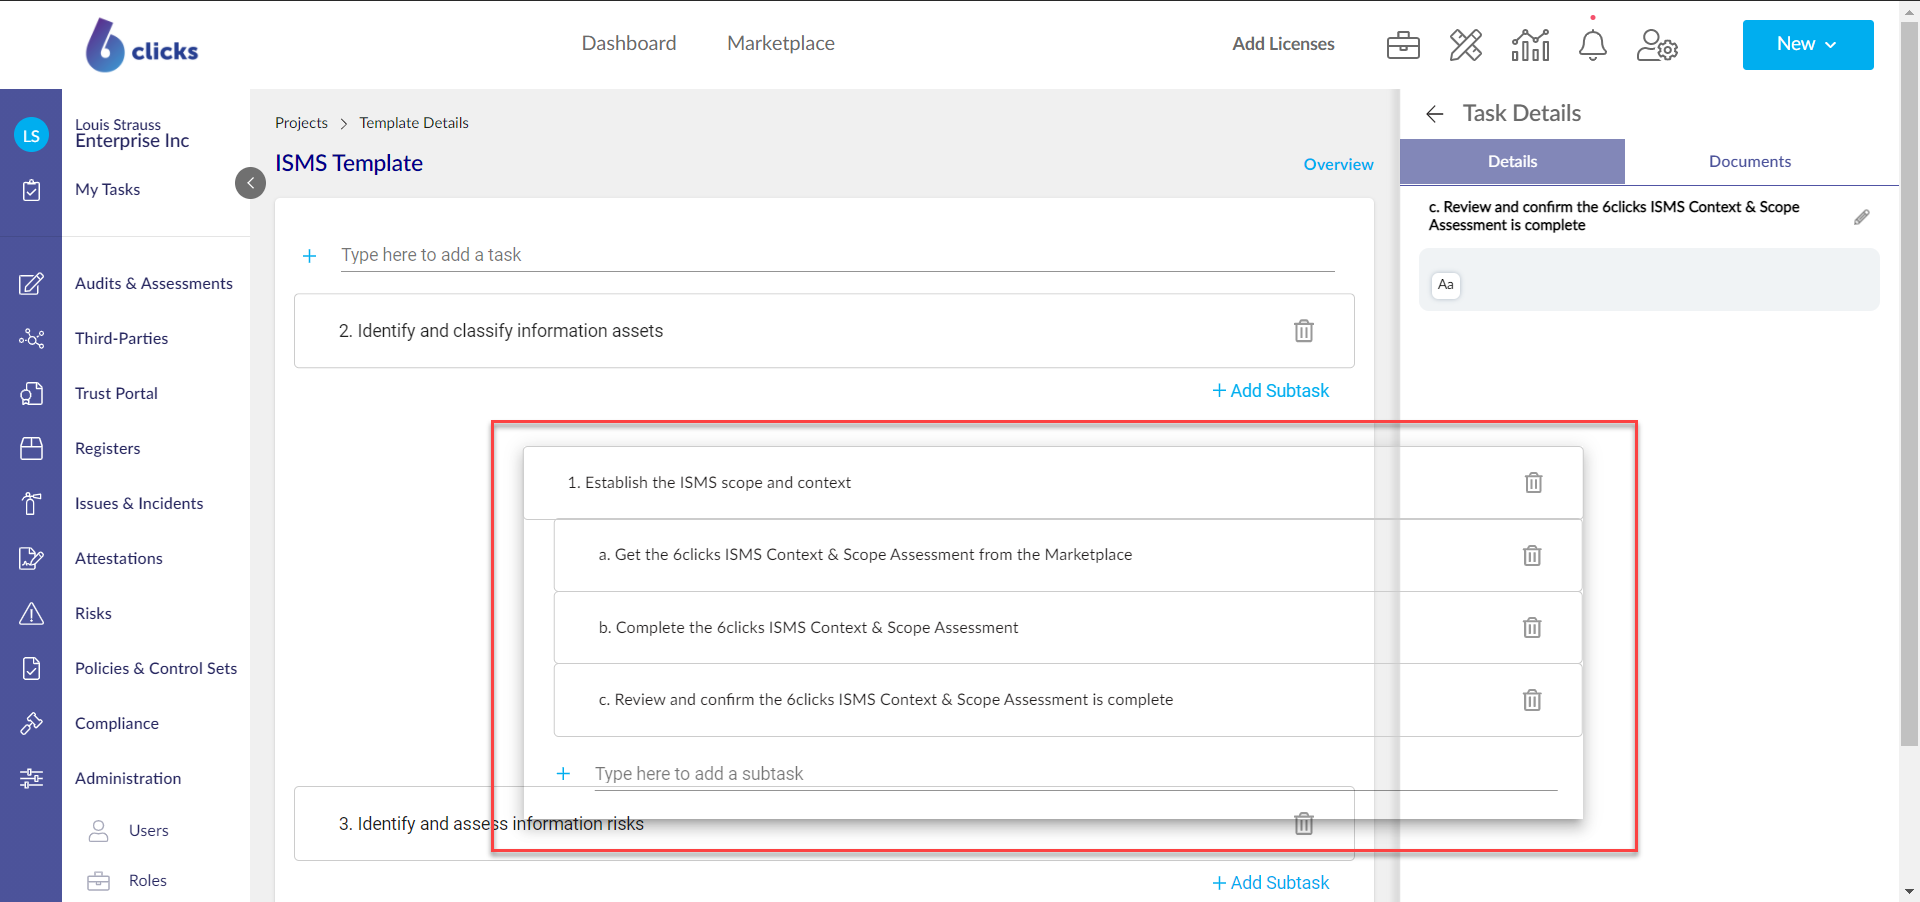
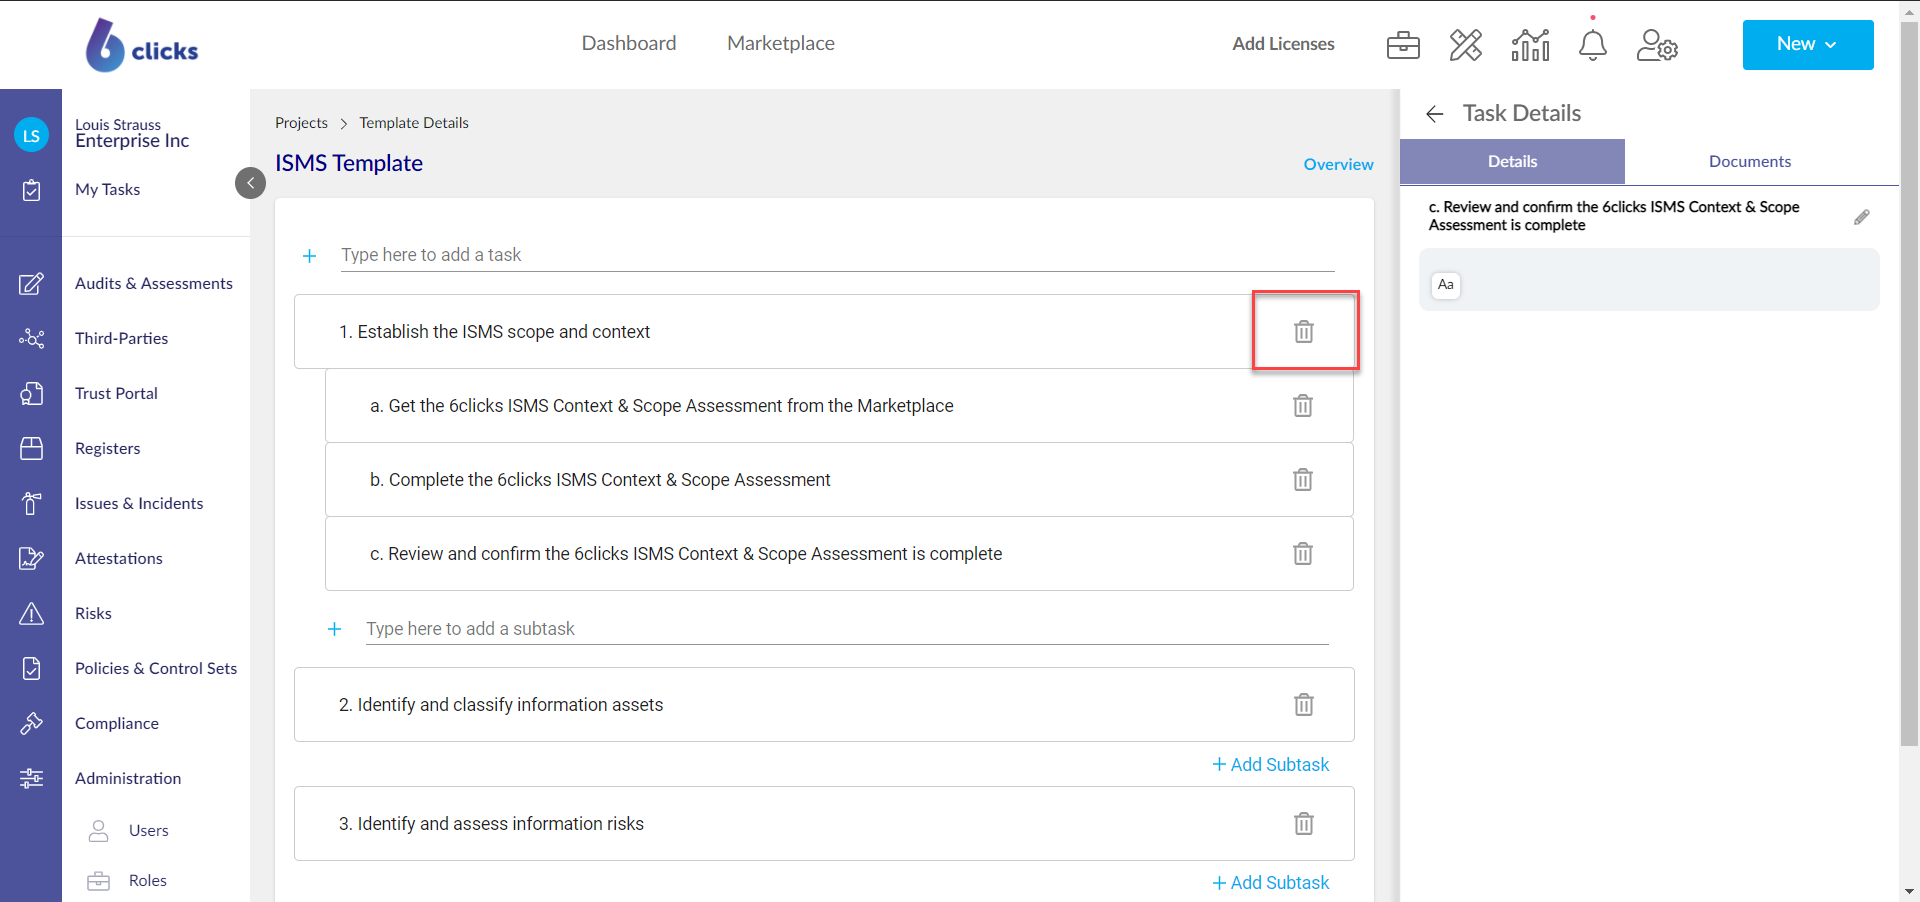
Tasks and subtasks can also be deleted by clicking on the trash icon. If you delete a task that has subtasks, all the subtasks will also be deleted.
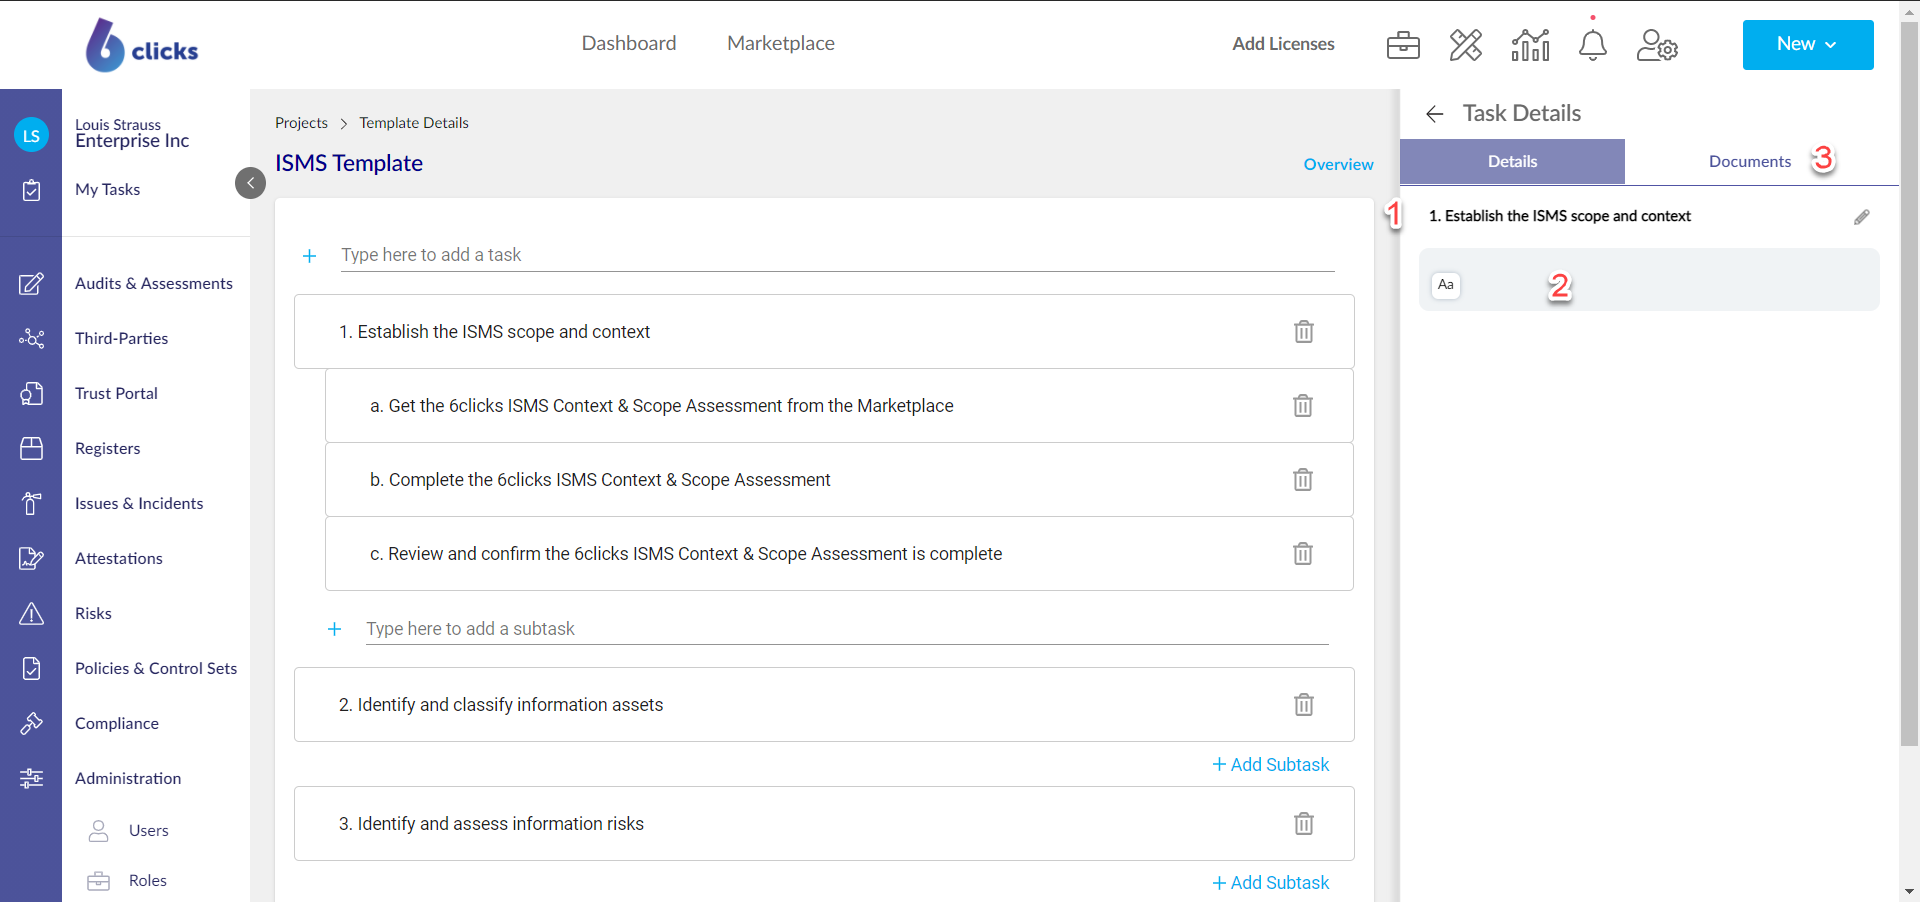
Task Details
The details of tasks and subtasks are displayed in the righthand side panel when clicking the on task. In the task details you can:
- View and update the task name. To update double click on the name.
- Add, view and update task description. To add or update click on the Aa icon.
- Upload and download documents in the Documents tab.
Project Details
The project itself also has details that can be viewed from the right-side panel. This can be accessed by clicking Overview.
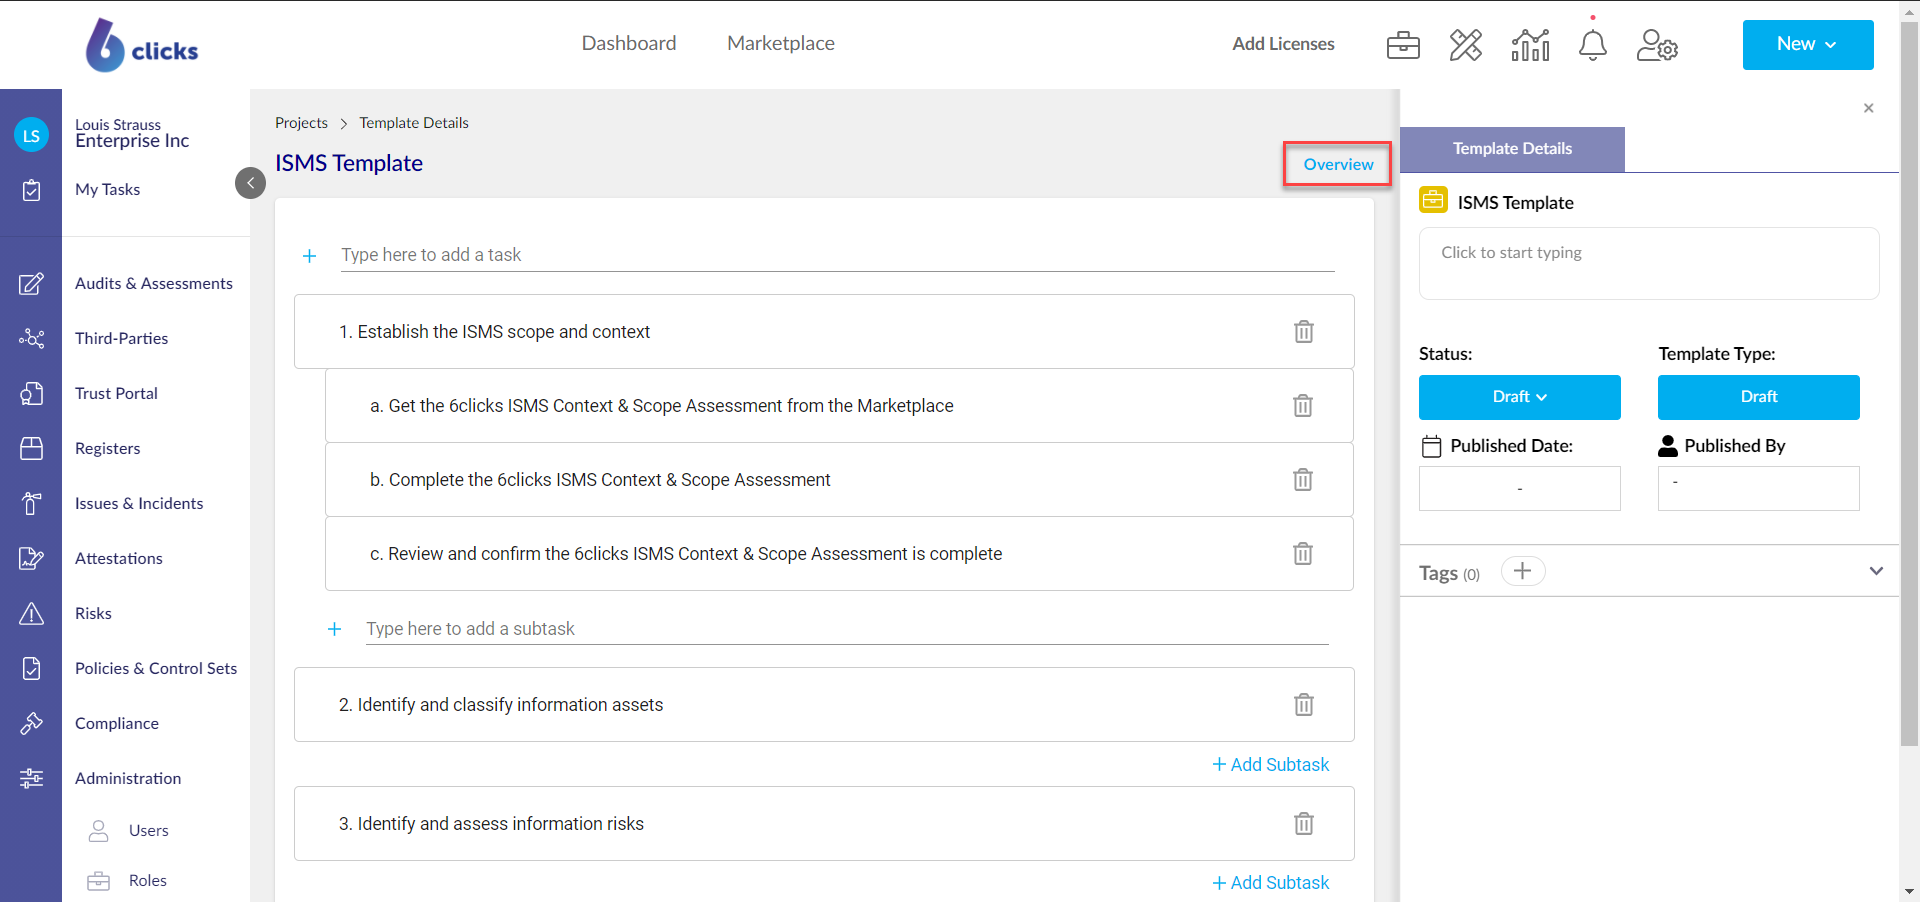
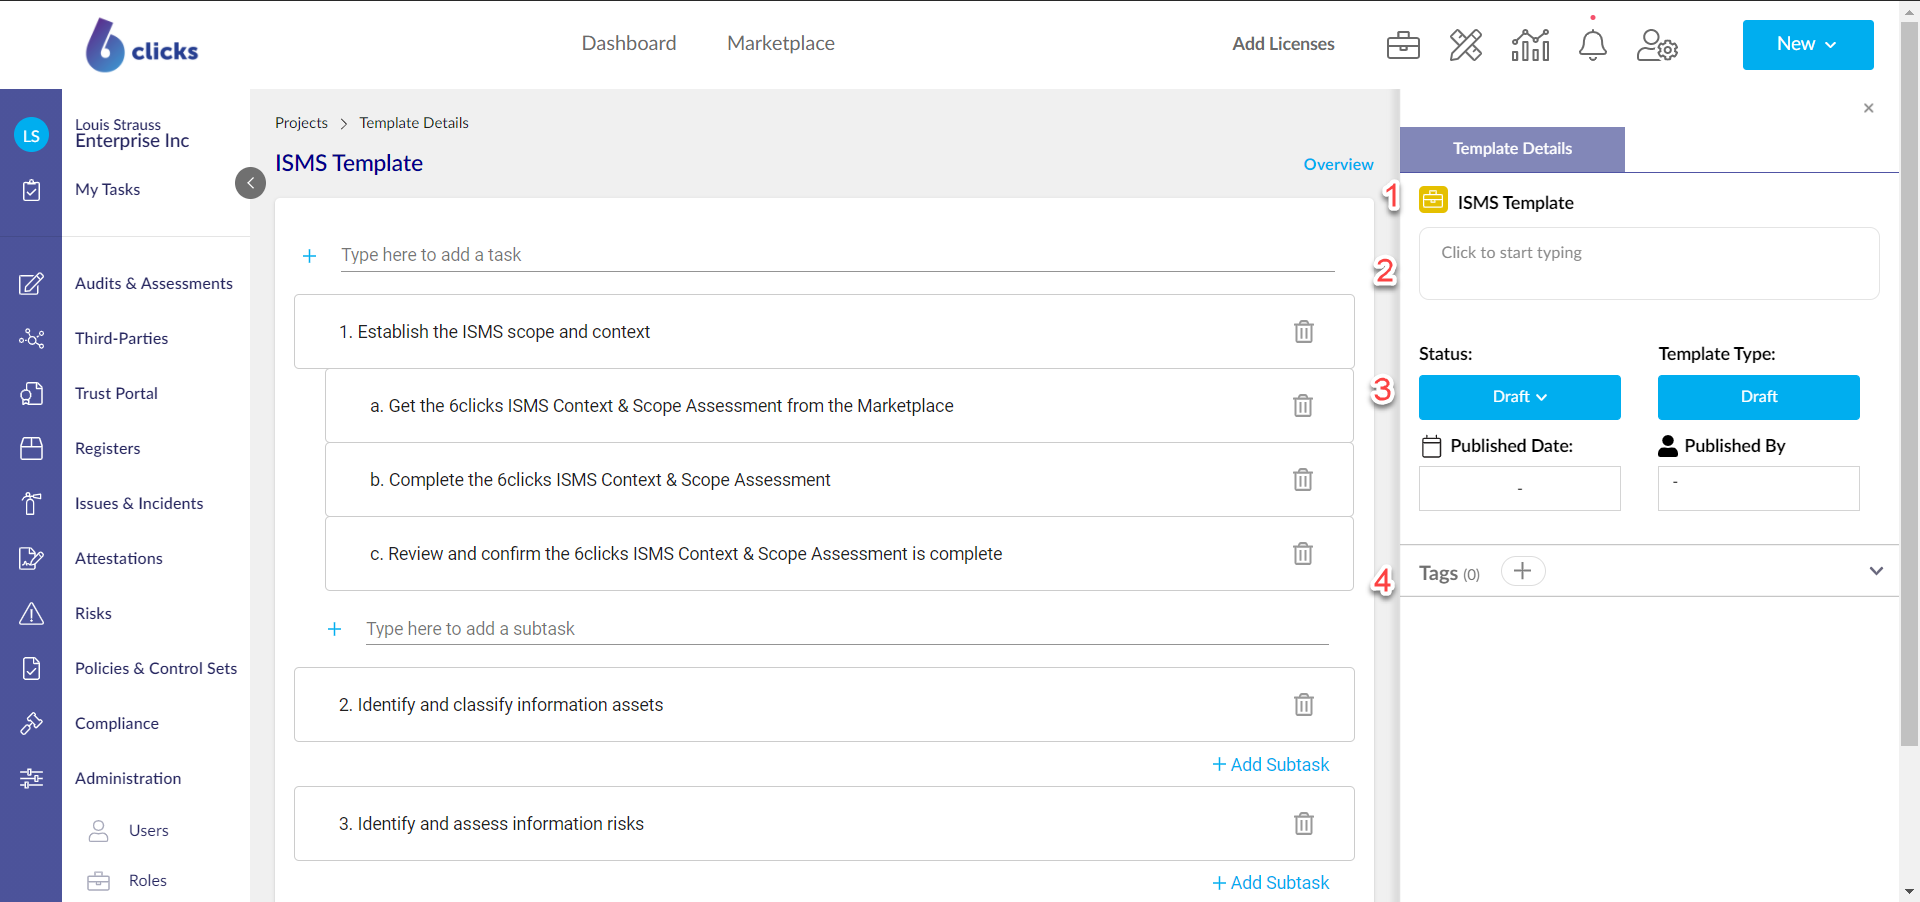
The project details side panel allows you to:
- View and update the project template name. To update double click on the name.
- Add, view and update project description.
- Change the status of the project. Publishing the project makes it available in your exclusive Content Library.
- Add project tags. Tags can be used for filter on the project table.
Adding Projects to your Content Library
To add the project to your Content Library, change the status from Draft to Published.
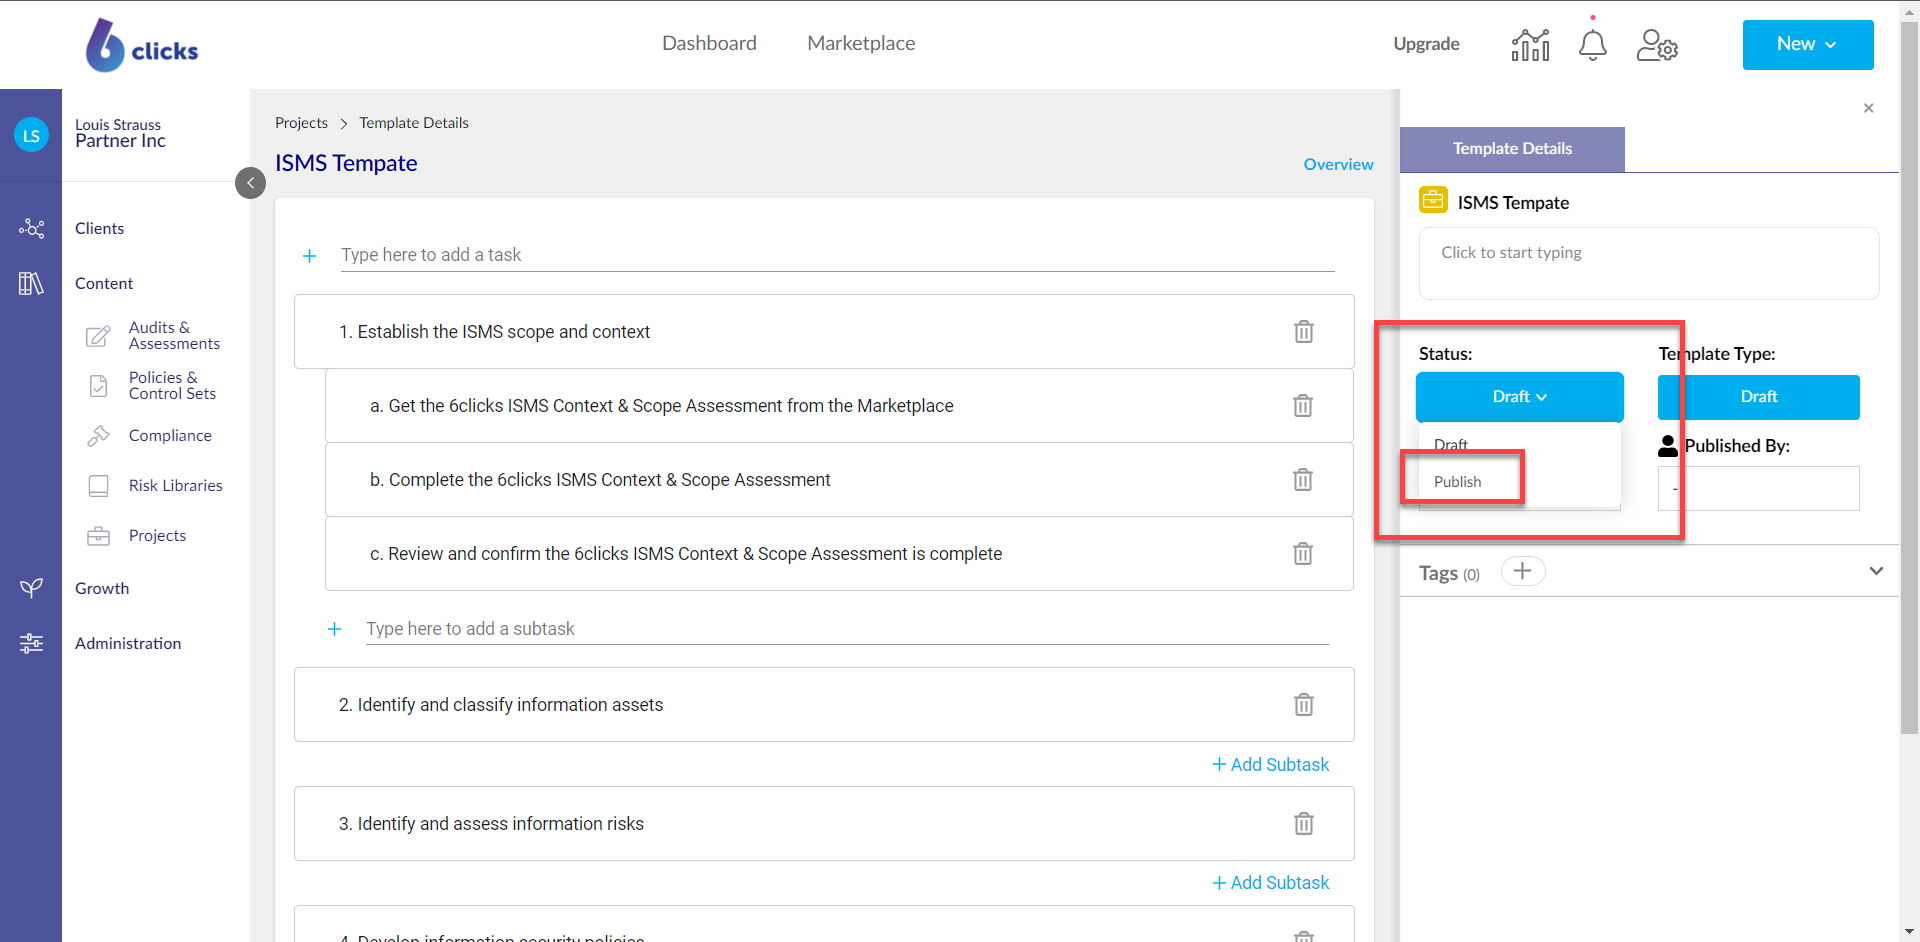
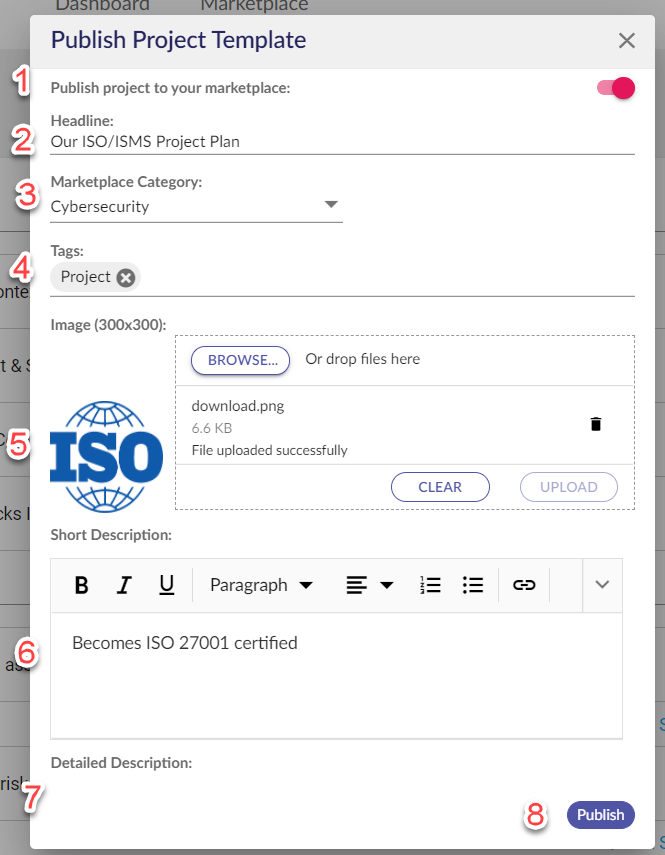
Upon publishing the project template the Publish Project Template modal will appear. To publish a project to the Content Library:
- Turn the Publsh project to your Content Libraryto ON
- Add a Headline for the Content Library item - something short and sharp!
- Select a category for the project.
- Select the Project tag - this is how we group types of Content Library items.
- Upload an image for the project to be displayed in the Content Library.
- Add a short description - this is displayed when the user is searching the Content Library.
- Add a detailed description - this is displayed when the user clicks into the Content Libraryitem to view more details.
- Click Publish once the modal has been filled out to add the project to your Content Library.
The project will be added to the Content Library as per below.

Client Templates and Projects
Projects can be created in client templates. Note that when creating a project in a client template, you need to create project templates if you want them to be copied across when a client is created from a client template.
To access projects in a client template, click the briefcase on the top-right menu.

In Projects, click New Project to create a new Project Template.
Next hit Start From Scratch.
In the Create New Project modal, enter in the project name and description, then hit Save As Template.
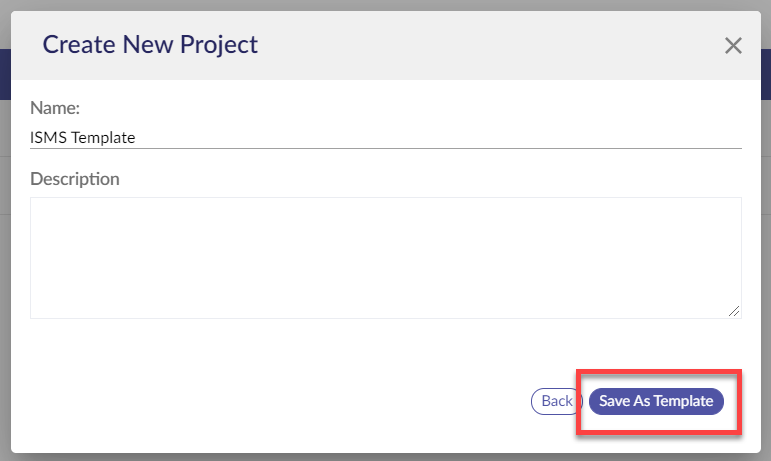
Upon clicking Save As Template, you will be navigated to the project template.
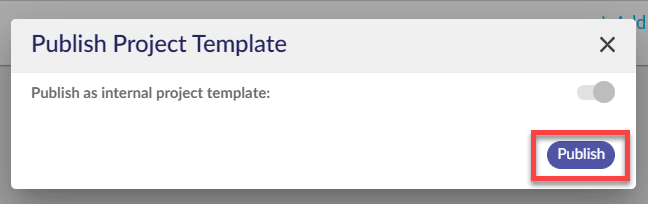
The process of creating a project template is the same as creating a project template in a partner team (above section), except when publishing the project template, you will publish it as an internal project.
When a client is created from the client template, any project templates will be copied across into the newly created client.
For details on how clients can use templates, head here.